In the mid-90s, you recorded your band’s demo on a Tascam cassette tape deck. These surprisingly cheap four-track portable studios were just low tech enough to lend an air of authenticity to a band that calls itself, ‘something like Pearl Jam, but with a piano’. These tape decks disappeared a decade later, just like your dreams of being a rock star, replaced with portable digital recording studios.
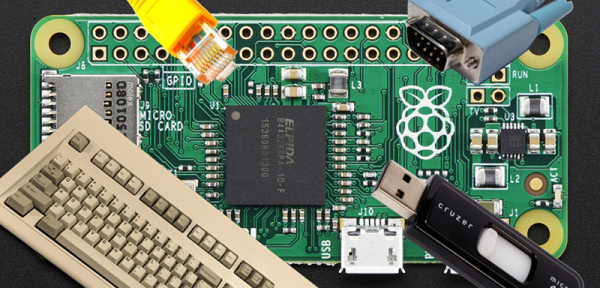
The Raspberry Pi exists, the Linux audio stack is in much better shape than it was ten years ago, and now it’s possible to build your own standalone recording studio. That’s exactly what [Daniel] is doing for our Raspberry Pi Zero contest, and somewhat predictably he’s calling it the piStudio.
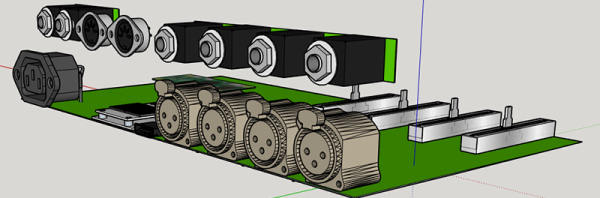
Although the technology has moved from cassette tapes to CompactFlash cards to hard drives, the design of these four-track mini recording studios hasn’t really changed since their introduction in the 1980s. There are four channels, each with a fader, balance, EQ, and a line in and XLR jack. There are master controls, a few VU meters, and if the technology is digital, a pair of MIDI jacks. Since [Daniel] is using a Raspberry Pi for this project, he threw in an LCD for a great user interface.
As with all digital recorders, the money is in the analog to digital converters. [Daniel] is using a 24-bit, 216kHz, four-channel chip, Texas Instruments’ PCM4204. That’s more than enough to confuse the ears of an audiophile, although that much data will require a hard drive. Good thing there will be SATA.
Although you can buy an eight-channel solid state recorder for a few hundred dollars – and [Daniel] will assuredly put more than that into this project, it’s a great application of a ubiquitous Linux computer for a device that’s very, very useful.

The Raspberry Pi Zero contest is presented by Hackaday and Adafruit. Prizes include Raspberry Pi Zeros from Adafruit and gift cards to The Hackaday Store!
See All the Entries || Enter Your Project Now!