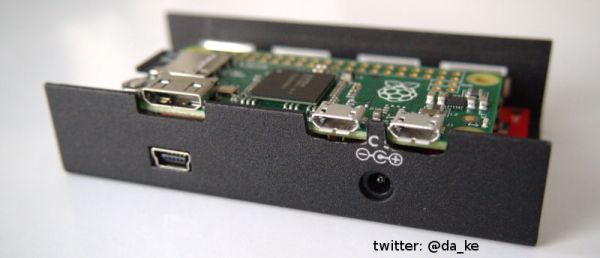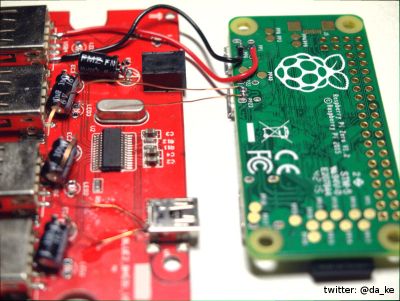
Just as the USB port on your phone can serve as a serial connection, mass storage device, and a network connection, the Pi Zero can do the same. We’ve seen a few people turn the Zero into a single USB gadget, but what about turning the Zero into a USB HID device, network connection, and serial port all at the same time? That’s what [Tobias] did, and his method is even easier than the old one.
The old method of turning the Pi Zero into a USB device required the user to modify and recompile the kernel. Obviously, this isn’t an ideal solution. [Tobias]’ implementation fixes this by putting everything into userland. Everything is configurable through a script and a few tweaks to how the Pi starts up.
The result is a Raspberry Pi Zero that will appear as any USB peripheral. [Tobias] goes through the usual examples: setting the Pi up as a serial device for hacking and code cracking in a terminal, as an Ethernet device to give the Pi Zero networking capabilities, as a keyboard to send keypresses to another computer, and as a mass storage device so that other computers can read a small portion of the Pi’s SD card.
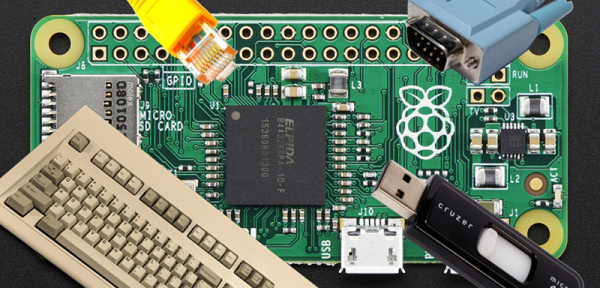
There are plenty more USB gadgets the Pi can emulate, from printers to audio devices to MIDI adapters to webcams. If you can wrap your head around what a Pi Zero could do when configured as one of these devices, drop a note in the comments.