With the fine work needed for surface-mount technology, most of the job entails overcoming the limits of the human body. Eyes more than a couple of decades old need help to see what’s going on, and fingers that are fine for manipulating relatively large objects need mechanical assistance to grasp tiny SMT components. But where it can really fall apart is when you get the shakes, those involuntary tiny muscle movements that we rarely notice in the real world, but wreak havoc as we try to place components on a PCB.
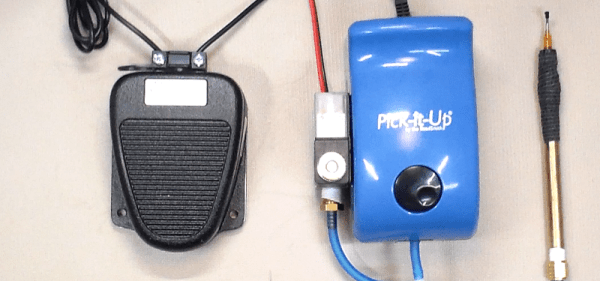
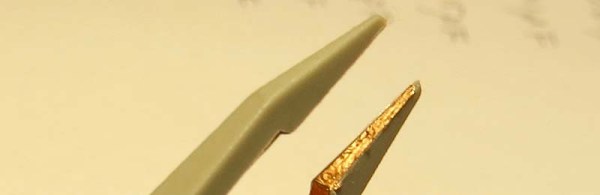
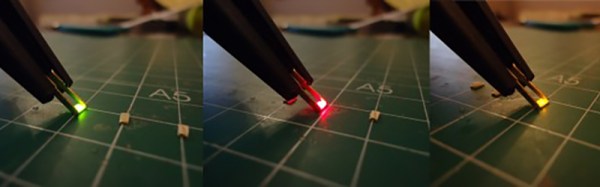
To fight the shakes, you can do one of two things: remove the human, or improve the human. Unable to justify a pick and place robot for the former, [Tom] opted to build a quick hand support for surface-mount work, and the results are impressive considering it’s built entirely of scrap. It’s just a three-piece arm with standard butt hinges for joints; mounted so the hinge pins are perpendicular to the work surface and fitted with a horizontal hand rest, it constrains movement to a plane above the PCB. A hole in the hand rest for a small vacuum tip allows [Tom] to pick up a part and place it on the board — he reports that the tackiness of the solder paste is enough to remove the SMD from the tip. The video below shows it in action with decent results, but we wonder if an acrylic hand rest might provide better visibility.
Not ready for your own pick and place? That’s understandable; not every shop needs that scale of production. But we think this is a great idea for making SMT approachable to a wider audience.
Continue reading “Simple Mechanism Gives Support For SMT Assembly”
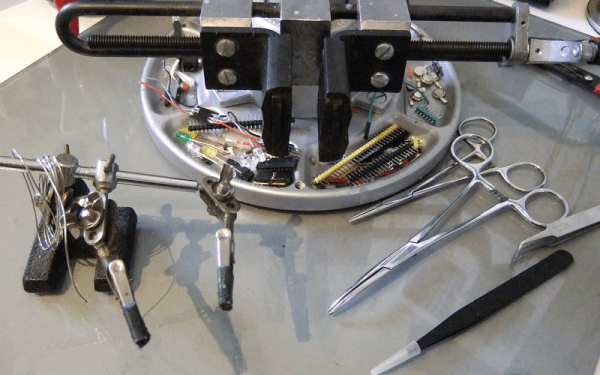
 Our own helping hands, purchased for $5 from a surplus shop, have seen nearly twenty years of use now. About ten years ago, I heat-shrinked and plasti-dipped the jaws, and since then they do less damage to cable insulation. The clips kept coming loose, but that was fixed with a little epoxy. I never used the magnifying glass, and by removing it I bought some more sliding room for the jaws, which was an easy win. The base has a “non-slip” coating of Shoe-Goo that keeps it in place on the desk. Cork might be classier.