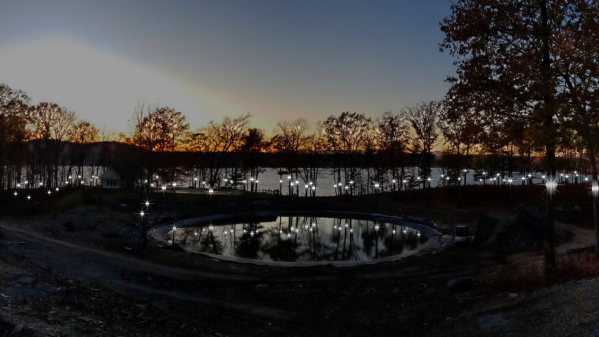
Electronics-based art installations are often fleeting and specific things that only a select few people who are in the right place or time get to experience before they are lost to the ravages of ‘progress.’ So it’s wonderful to find a dedicated son who has recreated his father’s 1973 art installation, showing it to the world in a miniature form. The network-iv-rebooted project is a recreation of an installation once housed within a departure lounge in terminal C of Seattle-Tacoma airport.

The original unit comprises an array of 1024 GE R6A neon lamps, controlled from a Data General Nova 1210 minicomputer. A bank of three analog synthesizers also drove into no fewer than 32 resonators. An 8×8 array of input switches was the only user-facing input. The switches were mounted to a floor-standing pedestal facing the display.
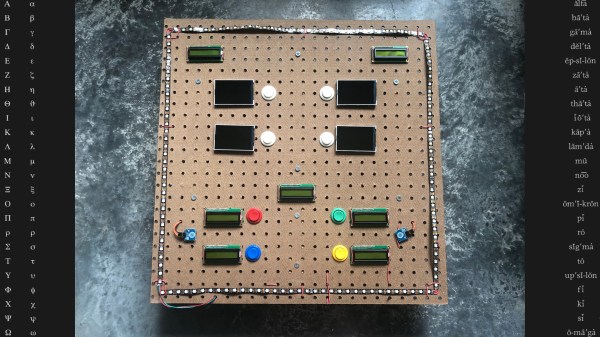
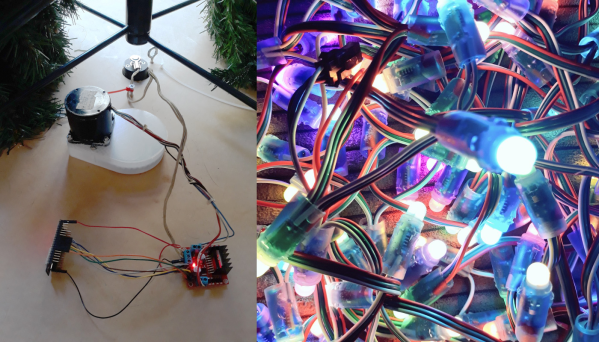
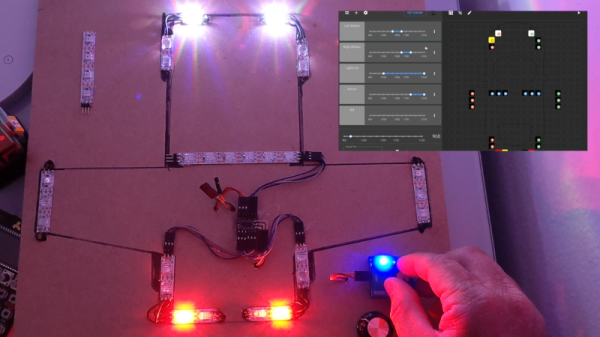
For the re-creation, the neon lamps were replaced with 16×16 WS2811 LED modules, driven via a Teensy 4.0 using the OctoWS2811 library. The display Teensy is controlled from a Raspberry Pi 4, hooked up as a virtual serial device over USB. A second Teensy (you can’t have too many Teensies!) is responsible for scanning a miniature 8×8 push button array as well as running a simulation of the original sound synthesis setup. Audio is pushed out of the Teensy using a PT8211 I2S audio DAC, before driving a final audio power amp.
Continue reading “Rebooting An 1973 Art Installation Running On A Nova”
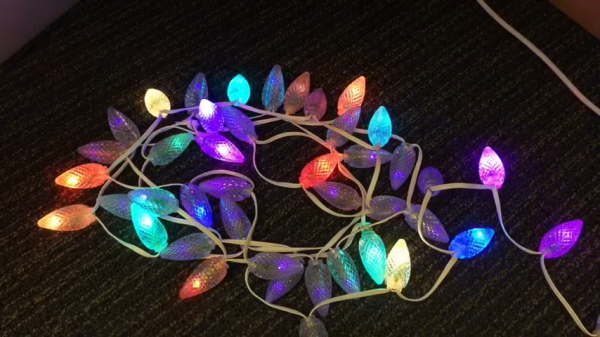
 The program is known as TwinkleFOX, and relies on the popular