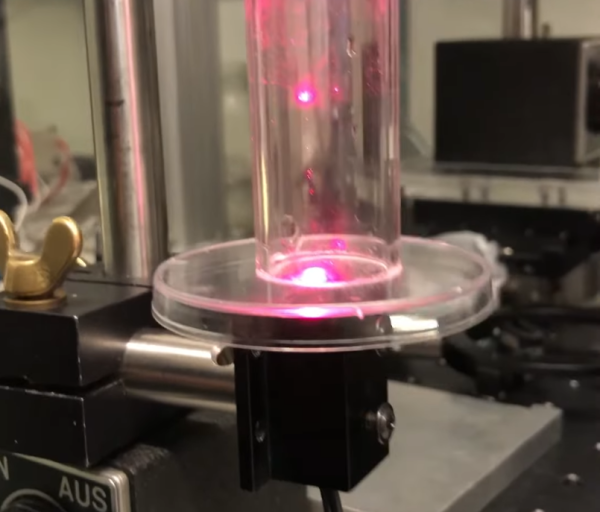
![[nanofix] and his assortment of tweezers](https://hackaday.com/wp-content/uploads/2026/01/nanofix-tweezers-banner.jpg?w=600&h=450)
Attributed to Picasso was the notion that when art critics get together they talk about content, style, trend, and meaning; but that when painters get together they talk about where to get the best turpentine. We can extend that sentiment into the digital age by saying that when philosophers get together they talk about ideas, theory, and meaning; but when hackers get together they talk about where to get the best tweezers.
In this video [nanofix] runs us through his collection of tweezers talking about what he likes and doesn’t like for each. If you’re just getting into microsoldering this video will have some tips about where you should start, and if you’ve been soldering tiny stuff for a while you might find some ideas for a helpful new bit of kit, or two.
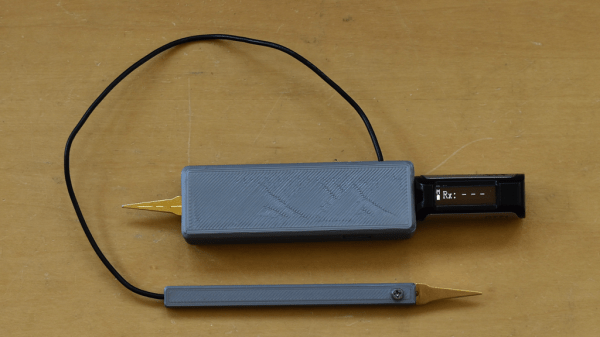
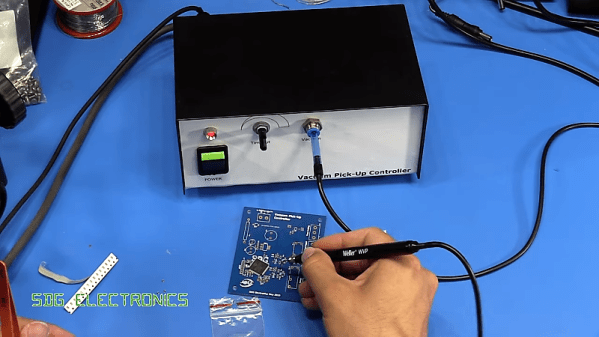
If you’re interested in tweezers and novel applications you might want to check out “smart” tweezers, which can read capacitance and resistance values on the fly. Or read about a suction based SMD tool, which can securely hold SMD components with less risk of them flying across the bench and disappearing forever into the carpet on the floor.
Continue reading “Reviewing Tweezers For Microsoldering And SMD Work”