
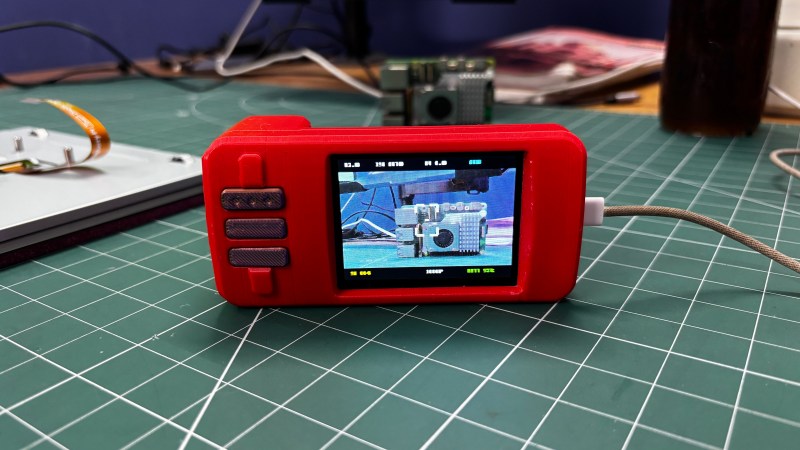
An open-source, DIY, point-and-shoot digital camera.

PolyShot Camera Focuses On Nostalgia

Although we personally have yet to see anyone brandishing an old digital point-and-shoot camera, we hear they’re back in vogue. Why, though? People are nostalgic for that image quality. While he certainly could have simply picked up a vintage model somewhere for a likely inflated price, [Arnov Sharma] decided to build his own version and call it the PolyShot.

The core of this project is the Unihiker K10 dev board, which uses an ESP32-S3, a whopping 2 megapixel camera, and a micro SD card to capture photos and display them back on the screen. The tricky part, if you can call it that, is the custom PCB. It’s a simple board with just three buttons: shutter, gallery, and next image. We do like that the position of the battery compartment creates a nice grip.

The biggest difference here is that there is a few-second delay between pressing the shutter button and actually capturing the image, which you can see in the short videos below. So if you’re trying to get a shot of a skink or something equally speedy, we wish you good luck.

In a future iteration, [Arnov] wants to address the issue of image quality, because this project ended up evolving into a more traditional digital camera. He would also improve the battery life, for which the current expectancy is around three hours on a charge. Ultimately, [Arnov] wants to ditch the Unihiker and design everything from the ground up, using an ESP32-S3 module.

Continue reading “PolyShot Camera Focuses On Nostalgia”

Making A Clock With A Retooled Unihiker K10

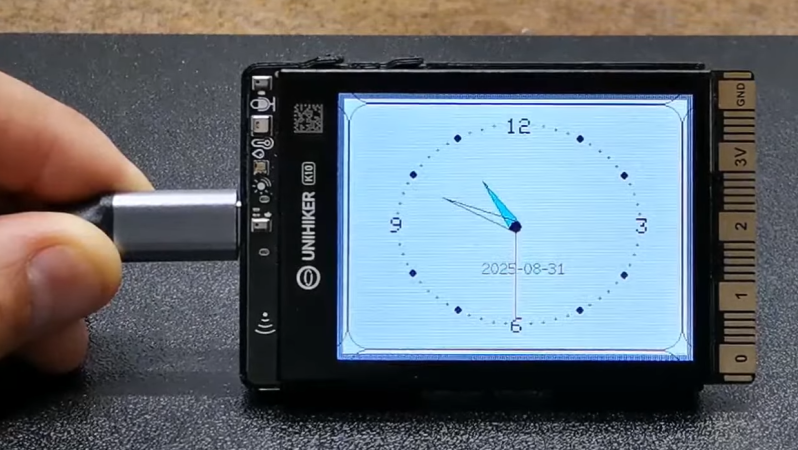
The Unihiker K10 is intended to be a small single-board solution for light AI and machine learning tasks. However, you don’t have to use it in that way if you don’t want to. [mircemk] figured out how to repurpose the device, and whipped up a simple Internet clock build to demonstrate how it’s done. 

While the Unihiker K10 is based on the common ESP32 microcontroller, out of the box, it isn’t compatible with standard Arduino libraries. However, [mircemk] had previously figured out how to get the K10 to play nice with the Arduino environment, building a simple light meter as a proof of concept. It just took a little tinkering to get everything playing nicely together, but soon enough, the TFT LCD and a light sensor were playing nicely with the K10 platform.

Moving forward, [mircemk] wanted to unlock more capability, so set about figuring out how to get WiFi and the onboard buttons working within the Arduino environment. A great way to test this was building a clock—the screen would show an analog clock face, the buttons would be used for control, and the WiFi would be used to query an NTP time server to keep it synced up and accurate.

It took a little work, particularly as the buttons are accessed through an external I/O expansion chip, but [mircemk] got there in the end. The clock may not be a particularly advanced project, but the write-up demonstrates how the K10 can readily be used with Arduino libraries for when you’re not interested in leveraging its fancier AI/ML capabilities.

We’ve seen a few good builds from [mircemk] before, too, like this neat proximity sensor. Continue reading “Making A Clock With A Retooled Unihiker K10”







