Old-School Video Switching Levels Up With Modern USB Control

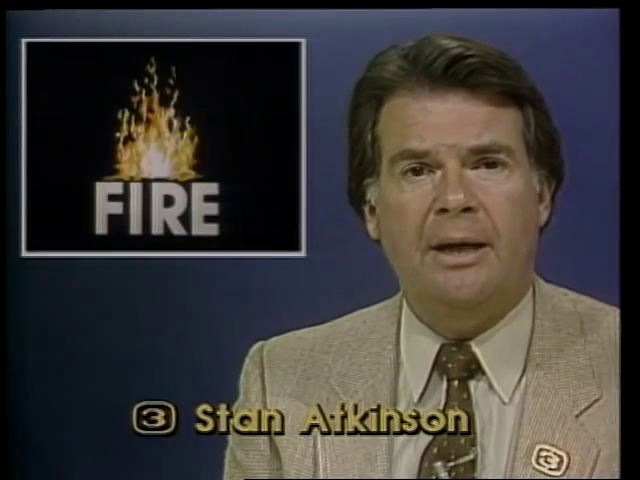
Video effects and mixing are done digitally today, but it wasn’t always so. When analog ruled the video world, a big switch panel was key to effective results.

VIdeo like this was the result of combining different analog feeds with different effects. The better the hardware, the more was possible.

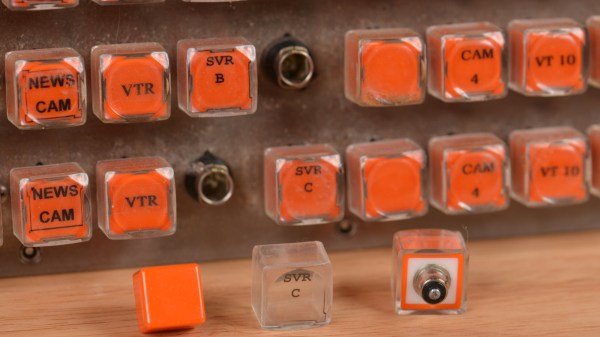
Devices like [Glen]’s Grass Valley Series 300 Crosspoint Switch Panel were an important part of that world. With tools like that, a human operator could set up a composited preview feed in true WYSIWYG style, and switch to live on cue. All done with relatively simple CMOS ICs and buttons. Lots and lots of buttons.

[Glen] reverse engineers the panel to show how it works, and most of the heavy lifting is done by the MC14051B analog multiplexer/demultiplexer, and the MC14532B 8-bit priority encoder. Once that’s figured out, the door is open to modernizing things a little by using a microcontroller to drive the device, turning it into a USB peripheral.

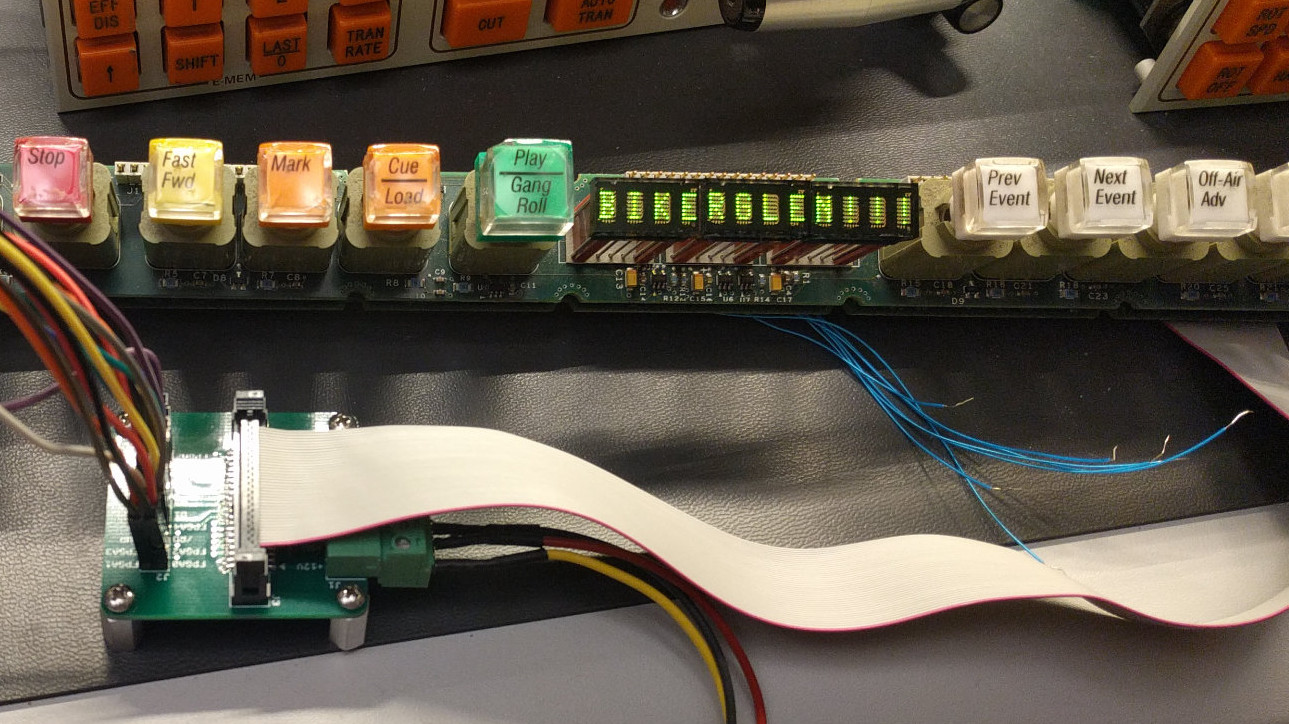
With a little design work, [Glen] builds a PCB around the EFM8UB2 8-bit microcontroller to act as a USB peripheral and control the switch panel, taking care of things like key scanning and lamp control. The last step: a GUI application for monitoring and controlling the panel over USB.

This isn’t [Glen]’s first time interfacing to vintage video mixing and switching, and as many of us know it’s sometimes tricky work to interface to existing hardware. We covered his earlier video switcher project using hardware that was not nearly as easy to work with as this one.

Taking Over The Amazing Control Panel Of A Vintage Video Switcher

Where does he get such wonderful toys? [Glenn] snagged parts of a Grass Valley Kalypso 4-M/E video mixer switcher control surface from eBay and since been reverse engineering the button and display modules to bend them to his will. The hardware dates back to the turn of the century and the two modules would have been laid out with up to a few dozen others to complete a video mixing switcher console.

[Glenn’s] previous adventures delved into a strip of ten backlit buttons and gives us a close look at each of the keyswitches and the technique he used to pull together his own pinout and schematic of that strip. But things get a lot hairier this time around. The long strip seen above is a “machine control plane” module and includes a dozen addressible character displays, driven by a combination of microcontrollers and FPGAs. The square panel is a “Crosspoint Switch Matrix” module include eight individual 32 x 32 LCDs drive by three dedicated ICs that can display in red, green, or amber.

[Glen] used an STM8 Nucleo 64 to interface with the panels and wrote a bit of code to help map out what each pin on each machine control plane connector might do. He was able to stream out some packets from the plane that changed as he pressed buttons, and ended up feeding back a brute-force of that packet format to figure out the LED display protocols.

But the LCDs on the crosspoint switch were a more difficult nut to crack. He ended up going back to the original source of the equipment (eBay) to get a working control unit that he could sniff. He laid out a man-in-the-middle board that has a connector on either side with a pin header in the middle for his logic analyzer. As with most LCDs, the secret sauce was the initialization sequence — an almost impossible thing to brute force, yet exceedingly simple to sniff when you have a working system. So far he has them running under USB control, and if you are lucky enough to have some of this gear in your parts box, [Glen] has painstakingly recorded all of the details you need to get them up and running.