Industrial GPU Adapted For The Desktop

As technologies change and adapt, we’re often left with seemingly useless junk that has nowhere to go. Certainly anyone still sitting on a pile of floppy disks feels this way sometimes, but odds are anyone who owns a mining ASIC or an NFT can attest to that as well. The trillions of dollars flowing into GPU-based data centers will likely become the next victim of this trend, so if you want to capitalize on the losses of some venture capitalist you’ll want to figure out a way to get GPUs meant for a server into your desktop doing useful work.

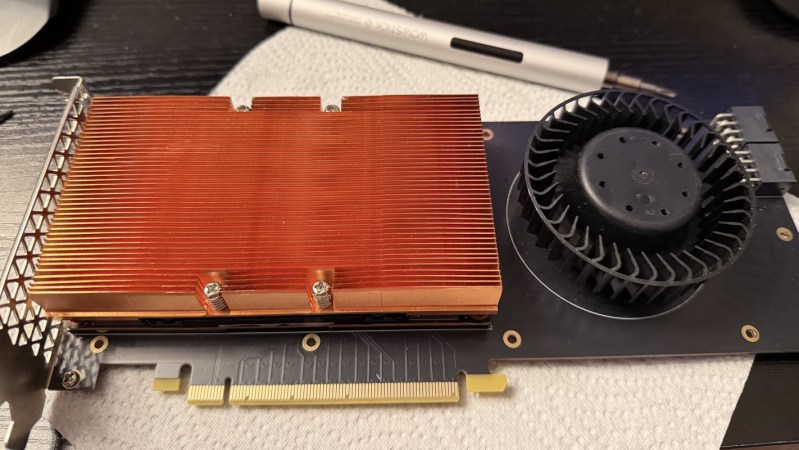
Of course, calling these devices GPUs is a bit of a stretch compared to the Radeon and GeForce cards many of us are used to using for gaming. These don’t even have a PCIe slot or video output, after all. But, as [] notes, the VRAM and GPU cores are very real and can still do useful work. An adapter board is able to mate a Tesla V100 SXM2 16 GB GPU to a standard PCIe slot, which solves the first problem, but the major downside from there is that the cooling fan for this unit was literally deafeningly loud. At 82 dB it was about as loud as a lawnmower, which is fine in a server rack but not great in a bedroom. [Oscar] found a way to tamp down the fan speed, making it usable in a home.

Without video output, the utility of these cards mainly comes from adding VRAM and compute for tasks that benefit from parallel computing. Using tensor splitting, [Oscar] is running a local LLM with this card alongside his RTX 4080, providing 32 GB of VRAM on his NixOS system. With his benchmarking tests, the LLM sports impressive stats for a self-hosted model, ranking somewhere around Claude Sonnet 4.6. What’s even more impressive is that this is all done for around £200, and with the rate the various LLM companies are ratcheting up pricing could pay itself back very quickly. If trading off performance for cost is acceptable, though, it’s possible to run local models on much less powerful hardware as well.
Brazilian Modders Upgrade NVidia Geforce GTX 970 To 8 GB Of VRAM

Although NVidia’s current disastrous RTX 50-series is getting all the attention right now, this wasn’t the first misstep by NVidia. Back in 2014 when NVidia released the GTX 970 users were quickly dismayed to find that their ‘4 GB VRAM’ GPU had actually just 3.5 GB, with the remaining 512 MB being used in a much slower way at just 1/7th of the normal speed. Back then NVidia was subject to a $30/card settlement with disgruntled customers, but there’s a way to at least partially fix these GPUs, as demonstrated by a group of Brazilian modders (original video with horrid English auto-dub).

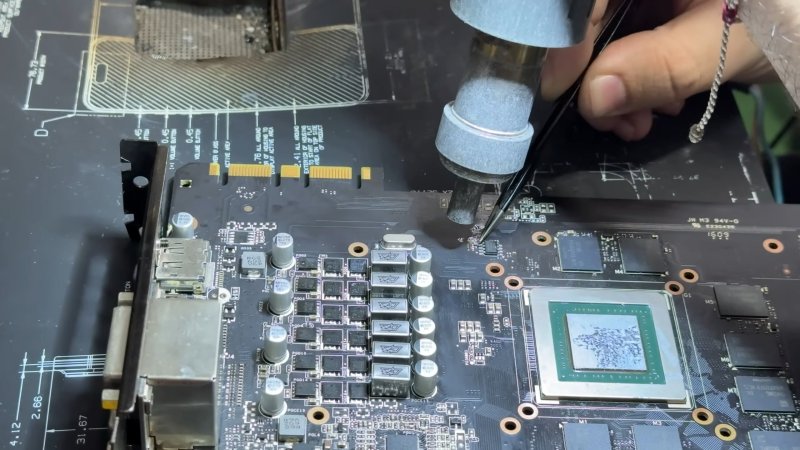
The mod itself is quite straightforward, with the original 512 MB, 7 Gbps GDDR5 memory modules replaced with 1 GB, 8 Gbps chips and adding a resistor on the PCB to make the GPU recognize the higher density VRAM ICs. Although this doesn’t fix the fundamental split VRAM issue of the ASIC, it does give it access to 7 GB of faster, higher-density VRAM. In benchmarks performance was massively increased, with Unigine Superposition showing nearly a doubling in the score.

In addition to giving this GTX 970 a new lease on life, it also shows just how important having more VRAM on a GPU is, which is ironic in this era where somehow GPU manufacturers deem 8 GB of VRAM to be acceptable in 2025.

Continue reading “Brazilian Modders Upgrade NVidia Geforce GTX 970 To 8 GB Of VRAM”

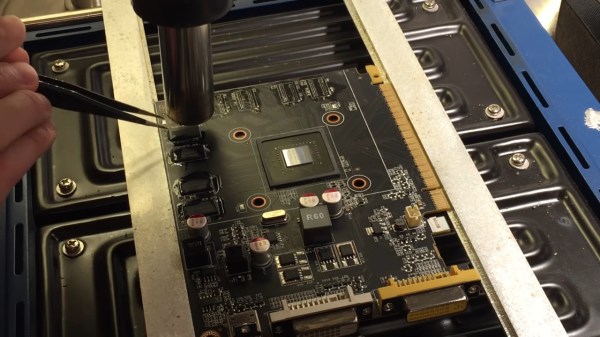
A GPU PCB mounted on top of a preheater, with a hot air gun blowing on top of one of the DDR chips, held with tweezers, about to be removed from the board. Most of the other chips are already gone from the board, with only a few left.

GPU RAM Upgrades Are Closer Than You Think

We’re all used to swapping RAM in our desktops and laptops. What about a GPU, though? [dosdude1] teaches us that soldered-on RAM is merely a frontier to be conquered. Of course, there’s gotta be a good reason to undertake such an effort – in his case, he couldn’t find the specific type of Nvidia GT640 that could be flashed with an Apple BIOS to have his Xserve machine output the Apple boot screen properly. All he could find were 1GB versions, and the Apple BIOS could only be flashed onto a 2GB version. Getting 2GB worth of DDR chips on Aliexpress was way too tempting!

The video goes through the entire replacement process, to the point where you could repeat it yourself — as long as you have access to a preheater, which is a must for reworking relatively large PCBs, as well as a set of regular tools for replacing BGA chips. In the end, the card booted up, and, flashed with a new BIOS, successfully displayed the Apple bootup logo that would normally be missing without the special Apple VBIOS sauce. If you ever want to try such a repair, now you have one less excuse — and, with the GT640 being a relatively old card, you don’t even risk all that much!

This is not the first soldered-in RAM replacement journey we’ve covered recently — here’s our write-up about [Greg Davill] upgrading soldered-in RAM on his Dell XPS! You can upgrade CPUs this way, too. While it’s standard procedure in sufficiently advanced laptop repair shops, even hobbyists can manage it with proper equipment and a good amount of luck, as this EEE PC CPU upgrade illustrates. BGA work and Apple computers getting a second life go hand in hand — just two years ago, we covered this BGA-drilling hack to bypass a dead GPU in a Macbook, and before that, a Macbook water damage revival story.

Continue reading “GPU RAM Upgrades Are Closer Than You Think”

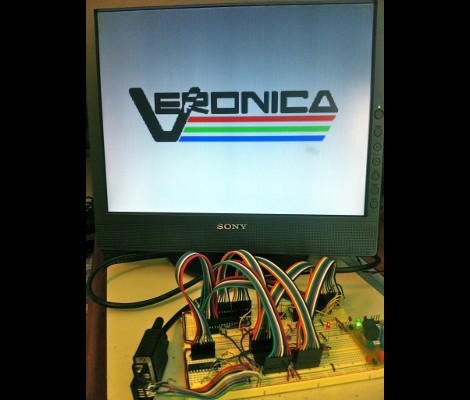
Veronica Gets VRAM And Its Own Boot Logo

[Quinn Dunki] just reported in on the latest iteration in her computer project which is called Veronica. This time she added RAM to increase the VGA performance of her build. Like just about every other part of the project, [Quinn] knew what she wanted to do, but had to overcome a lot of issues along the way.

The goal is to implement a 256×240 display with 8-bit color depth. [Quinn] says this is on par with game console technology from the 1980’s. The problem is that the 10MHz AVR controller can’t really keep up with the scan rate of this size of display. The answer is to add RAM which stores all of the color data, the microcontroller will simply advance the address pointer on the memory chips to match the sync rate of the VGA output.

After hooking up her hardware design she gets a screen full of uninitialized pixel data. But moving from there to the final product seen above was quite frustrating. It turns out that noise on the breadboard was most of the problem, further compounded by entire breadboard row which wasn’t contacting the wires to make the temporary connections. A bit of jockeying for position and by Jove, she’s got a boot screen.

That breadboard sure has become crowded since her first VGA experiments.