When you can buy something at a low price in one location, and sell it at a higher price somewhere else, you’re engaged in what economists call “arbitrage”. We’re not sure if desoldering DDR5 chips from laptop SO-DIMMs to populate a custom PCB to create much-more-expensive desktop memory counts as arbitrage, but it certainly counts as a hack. [VIK-on], who built the cards, claims he’s getting DDR5 performance at almost DDR3 prices. Nice!
Installed, the RAM apparently works well, though [VIK-on] has not shared benchmarks.Specifically, he’s put together a 32 GB UDIMM from donor chips from two 16 GB SO-DIMMs. The memory chips themselves aren’t enough to make a stick of RAM, however: the part where we wish we had more details was in the firmware. The firmware identifies this DIY DIMM as an ADATA AX5U6500C3232G-DCLARWH, specifically. [VIK-on] is still performing stability tests, if those go well, we’re told to expect a how-to guide.
[VIK-on] is in Russia, so SO-DIMM rates may differ in your local market, but he claims walkaway costs of 17,015 ₽ — about $218 or €188, an astounding price for DDR5 in these dark days.
Some say soldering SIMMs seems severe, but hardly strange to Hackaday, and desperate times call for desperate measures. It’s ether that or optimize software, and who wants go to that effort?
The Raspberry Pi shortage has been a meme in hacker circles for what feels like an eternity now, and the Pi 4 seems to be most affected – though, maybe it’s just its popularity. Nevertheless, if you’re looking for a Pi 4, you would need to look far and wide – and things are way worse if you need the 8 GB version specifically. Or so we thought – [MadEDoctor] shows us that refreshing online store pages isn’t the only way, having successfully upgraded the RAM chip on the Pi 4 from 1 GB to 8 GB with help of a hot air gun.
These chips are BGA, and those might feel intimidating if you’re just starting out with hot air – however, we recommend you watch this video, as [MadEDoctor]’s approach is of the kind that brings BGA replacement to hobbyist level. First off, you get a compatible RAM chip somewhere like Aliexpress – lucky for us, those come equipped with a set of balls from the factory. The default balls are made of lead-free solder, and [MadEDoctor] reballed the RAM chip with leaded solder balls to lower the melting point, but it’s by no means a requirement that you do the same.
In fact, you only need a hot air gun, flux, a soldering iron and some solder wick to perform the replacement – no reballing equipment. Put some kapton or metal tape on the board for heat shielding, get the old chip off with hot air, use an iron with wick to clean the pads, add some flux, align the chip, then use hot air to solder a new chip onto the board. Replacing this chip can get your Pi 4 to the highly-sought-after 8 GB target – as an aside, we’re surprised that there was no configuration needed, as the Pi 4 booted right up and successfully recognized the extra RAM added.
We’d personally recommend preheating for such an upgrade – that said, this sure went without a hitch, and such a RAM swap method doesn’t require any stencils, solder paste or solder ball applications. Drop by the video description for compatible RAM chip part numbers, make sure you have your tacky flux and solder wick in order, and let [MadEDoctor] walk you through upgrading your Pi 4 the hacker way. Is this hack to your liking? Take it up a notch with this laptop soldered-in RAM upgrade journey, or that one RAM upgrade for an old GPU to comply to Apple’s whims.
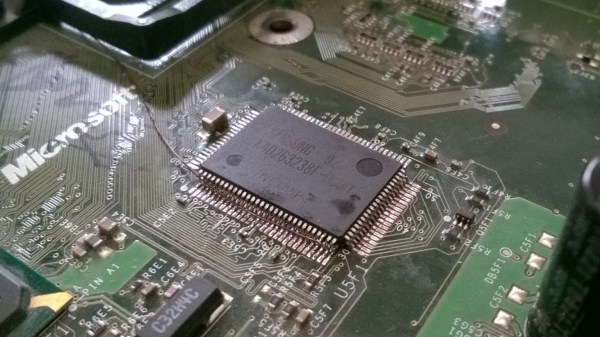
RAM upgrades for the original XBox have been a popular mod — you could relatively easily bump your RAM from 64MB to 128MB. While it wouldn’t give you any benefit in most games written to expect 64MB, it does help with emulators, game development, and running alternative OSes like Linux. The XBox PCB always had footprints for extra RAM chips, so RAM upgrades were simple – just get some new RAM ICs and solder them onto the board. However, in the hardware revision 1.6, these footprints were removed, and RAM upgrades on v1.6 were always considered impossible.
[Prehistoricman] brings a mod that makes RAM upgrades on v1.6 possible using an old trick from the early days of home computers. He’s stacking new RAM chips on top of the old ones and soldering them on in parallel. The overwhelming majority of the RAM lines are shared between chips, which is what makes this mod possible – all you need to connect to the extra chips is magnet wire for extra RAM chip select lines, which are, thankfully, still available on the board. He shares a tutorial with plenty of illustrations, so it should be easier for you to perform this mod, in case you’re stuck with a newer console that doesn’t have the RAM chip footprints left onboard.
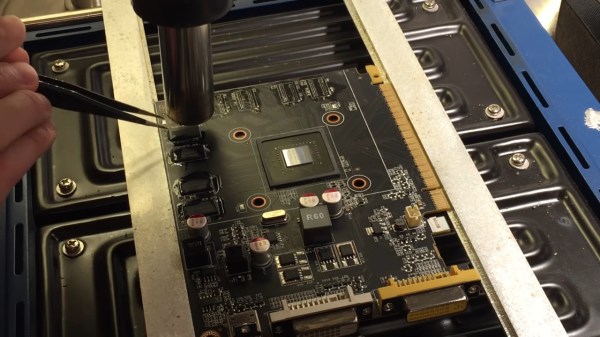
We’re all used to swapping RAM in our desktops and laptops. What about a GPU, though? [dosdude1] teaches us that soldered-on RAM is merely a frontier to be conquered. Of course, there’s gotta be a good reason to undertake such an effort – in his case, he couldn’t find the specific type of Nvidia GT640 that could be flashed with an Apple BIOS to have his Xserve machine output the Apple boot screen properly. All he could find were 1GB versions, and the Apple BIOS could only be flashed onto a 2GB version. Getting 2GB worth of DDR chips on Aliexpress was way too tempting!
The video goes through the entire replacement process, to the point where you could repeat it yourself — as long as you have access to a preheater, which is a must for reworking relatively large PCBs, as well as a set of regular tools for replacing BGA chips. In the end, the card booted up, and, flashed with a new BIOS, successfully displayed the Apple bootup logo that would normally be missing without the special Apple VBIOS sauce. If you ever want to try such a repair, now you have one less excuse — and, with the GT640 being a relatively old card, you don’t even risk all that much!
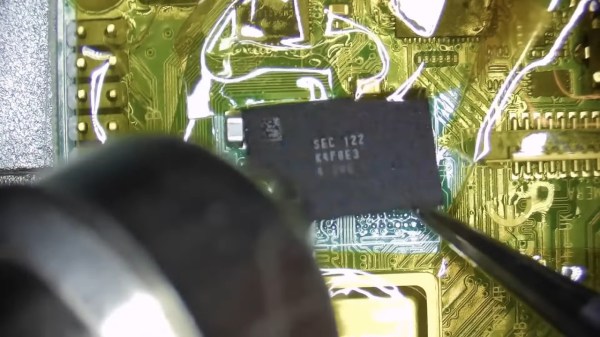
Upgrading the memory in a computer is usually a straightforward case of swapping out a few DIMMs or SODIMMs, with the most complex task being to identify the correct type of memory from the many available. But sometimes a laptop manufacturer can be particularly annoying, and restrict upgradability by soldering the RAM chips directly to the board. Upgrading memory should then be impossible, but this reckons without the skills of [Greg Davill], who worked through the process on his Dell XPS13.
The write-up is a fascinating primer on how DRAM identification works, which for removable DIMMs is handled by an onboard FLASH chip containing the details of the chips on board. A soldered-on laptop has none of these, so instead it employs a series of resistors whose combination tells the BIOS what memory to expect. Some research revealed their configuration, at which point the correct chips were sourced. Surprisingly it’s not as easy as one might expect to buy small quantities of some RAM chips, but he was eventually able to find some via AliExpress. An aside is how he checked the chips he received for fakes, including the useful tip of hiring a dentist to take an x-ray.
The final step is the non-trivial task of reballing and reworking the new BGAs onto the board, before testing the laptop and finding the process to be a success. We’ll leave you with his final words though: “But next time I think I’ll just buy the 16GB variant upfront.“.
We’ve seen quite a lot of [Greg]’s work here at Hackaday, one of his most recent was this amazing LED D20.
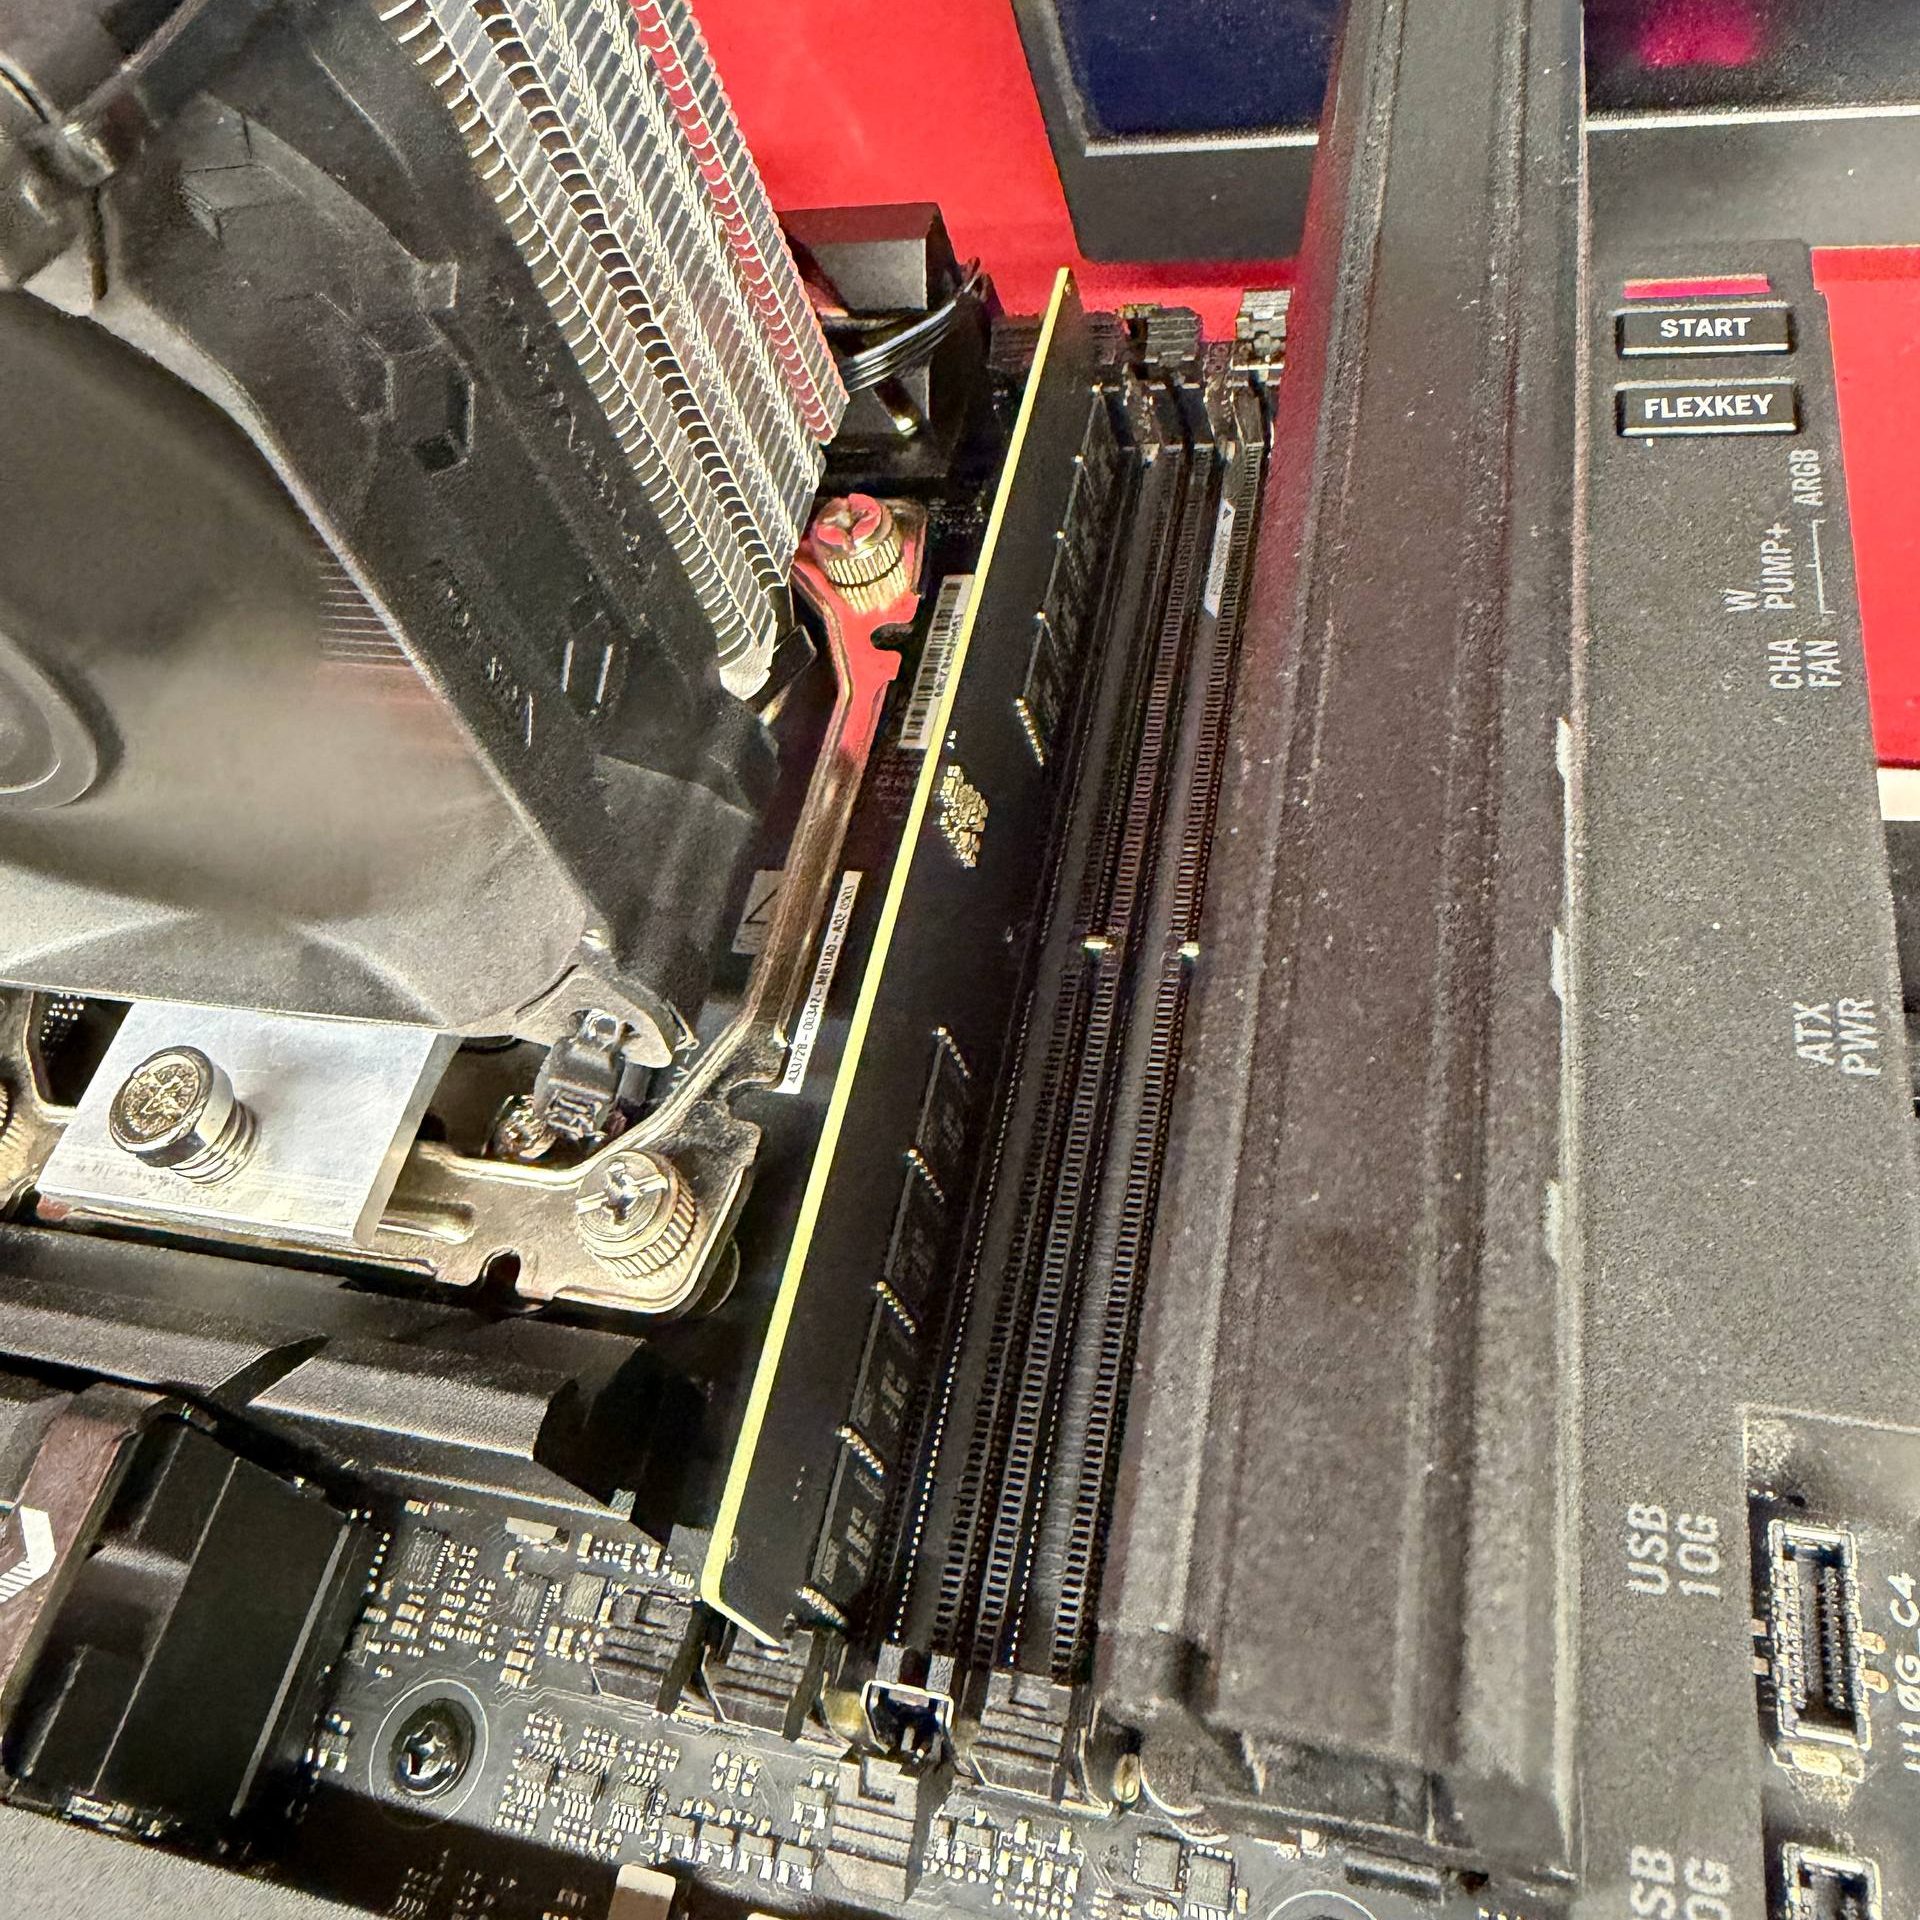
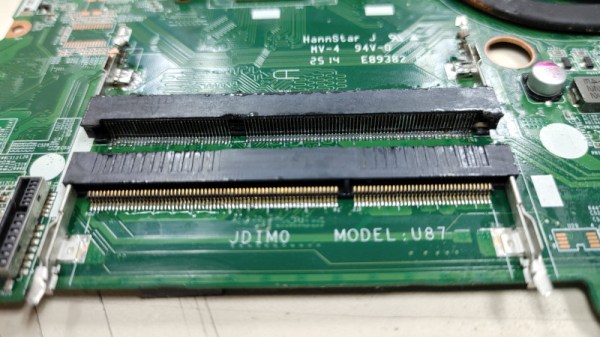
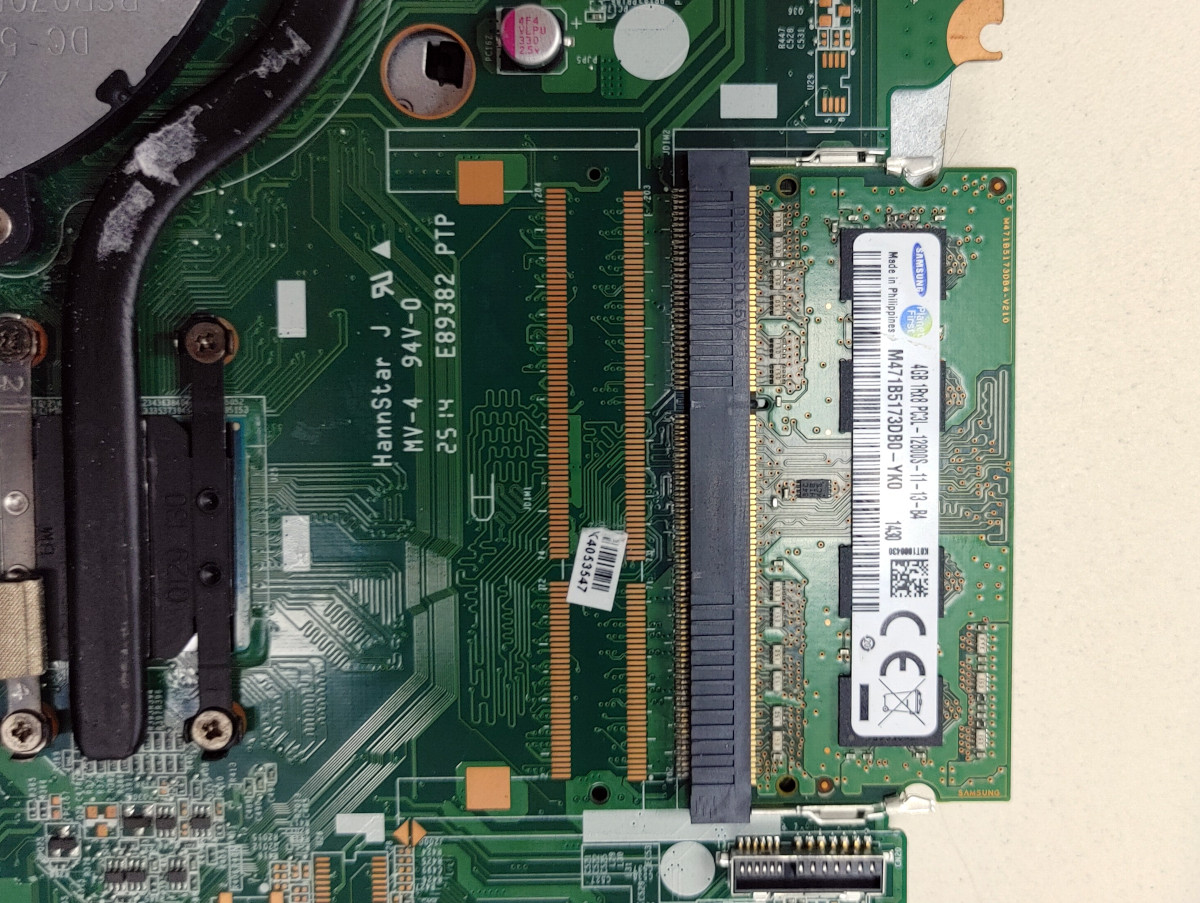
Finding unpopulated pads on a circuit board is often a sign that the device in question has some untapped potential. These blank spots on the board could be left over from features or capabilities that were deleted from the design, or perhaps even represent an optional upgrade that wasn’t installed on this particular specimen. So we certainly understand why [d0rk] was fascinated by the empty SO-DIMM footprint he recently found on a laptop’s motherboard.
The budget Celeron machine shipped with 4 GB of RAM installed in its single socket, a situation [d0rk] hoped he could improve upon with the addition of a second module. But could it really be as simple as pulling the socket from a dead motherboard and soldering it into place? Would other components need to be added to the board? Could the BIOS cope with the unexpected upgrade? There was only one way to find out…
Room to grow
At first, it seemed like the patient didn’t survive the operation. But a close look uncovered that the power button had actually gotten damaged somewhere along the line. Once [d0rk] fixed that the machine started up, but unfortunately the operating system didn’t see the extra RAM module. Even after upgrading the BIOS, the computer remained oblivious to the additional memory.
When he went back in to inspect his solder work for shorts or bad joints, disaster struck. For reasons that aren’t immediately clear, the computer no longer starts. Even after pulling the transplanted SO-DIMM slot off the board entirely, [d0rk] says it won’t make it through the self-test. Obviously a disappointing conclusion, but we respect the effort he put into the attempt.