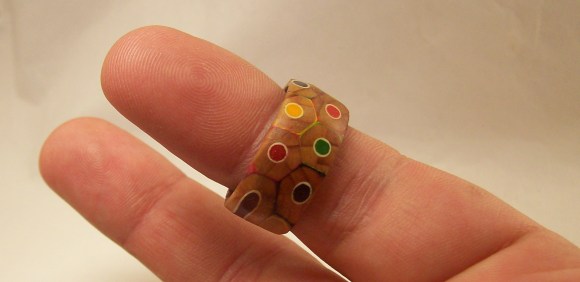
[Peter] proved he has equal parts prowess, patience, and perseverance with this colored pencil ring (imgur link). The ring is made from a cross-section of several colored pencils. The idea seems simple. The build process IS simple. As always though, the devil is in the details.
[Peter] started with a cheap pack of colored pencils. They have to be hexagonal pencils, as round ones won’t work well for this build. [Peter] used two nails to align the pencils, and medium thickness Cyanoacrylate glue to bond them together. Cyanoacrylate (aka super glue) is a very strong but inflexible bond. We’re curious if a different adhesive might have worked better for this task.
Once the block of glued pencils was dry, [Peter] drilled a hole approximately his ring size. He used a band saw to cut a rough ring blank around the hole, then headed to the wood lathe. He mounted the ring with a jam chuck, which is a piece of wood turned to an interference fit with the workpiece. The problem was that the jam chuck cracked the ring as it was being installed. [Peter] was able to glue the ring back together, and turn it down on his lathe.
Click past the break for more on [Peter’s] ring.
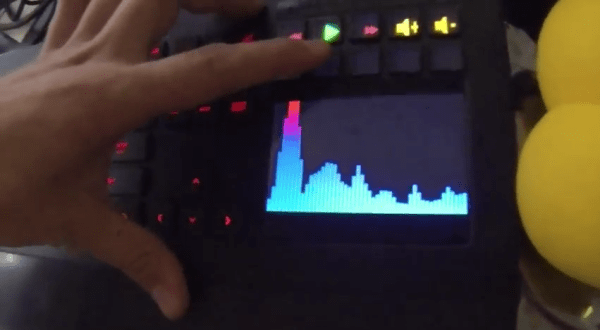
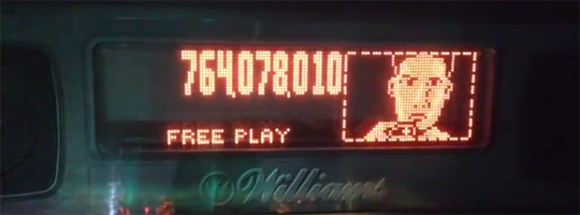
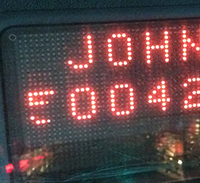 The neon dot matrix displays in pinball machines of this era are finicky devices with a lot of stuff that can go wrong. On powering the display up, [Quinn] noticed a few columns on the left side of the display weren’t working. These machines have great diagnostic menus, so running a test that displays a single column at a time revealed two broken columns. However, when a solid fill test was run, all the columns work, save for a few dots in the upper left corner. This is an odd problem to troubleshoot, but after more tests [Quinn] realized dots in column five and six only work iff both adjacent dots in the same row are lit.