Honeycomb tables are often found on laser cutters, where they provide a way for work material to be laid flat while not interfering with things like airflow. This leads to a cleaner laser cut and a nicer finish, but if one’s work depends on precise positioning and placement, they leave something to be desired because there’s no good way to attach rails, jigs, or anything of the sort in an easy and stable fashion.
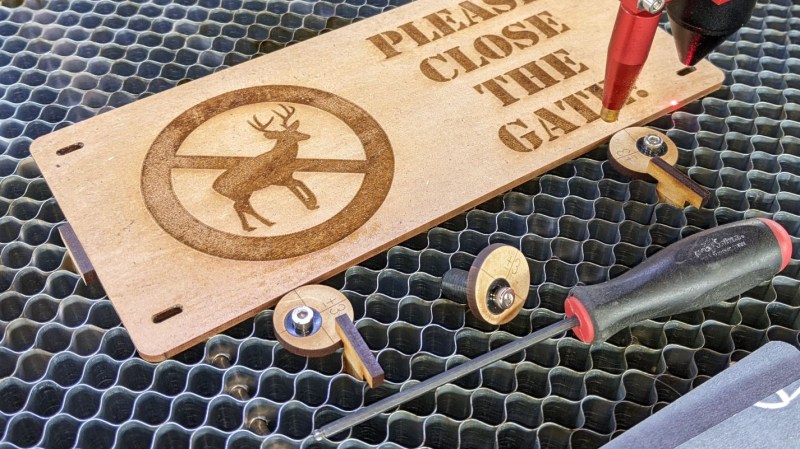
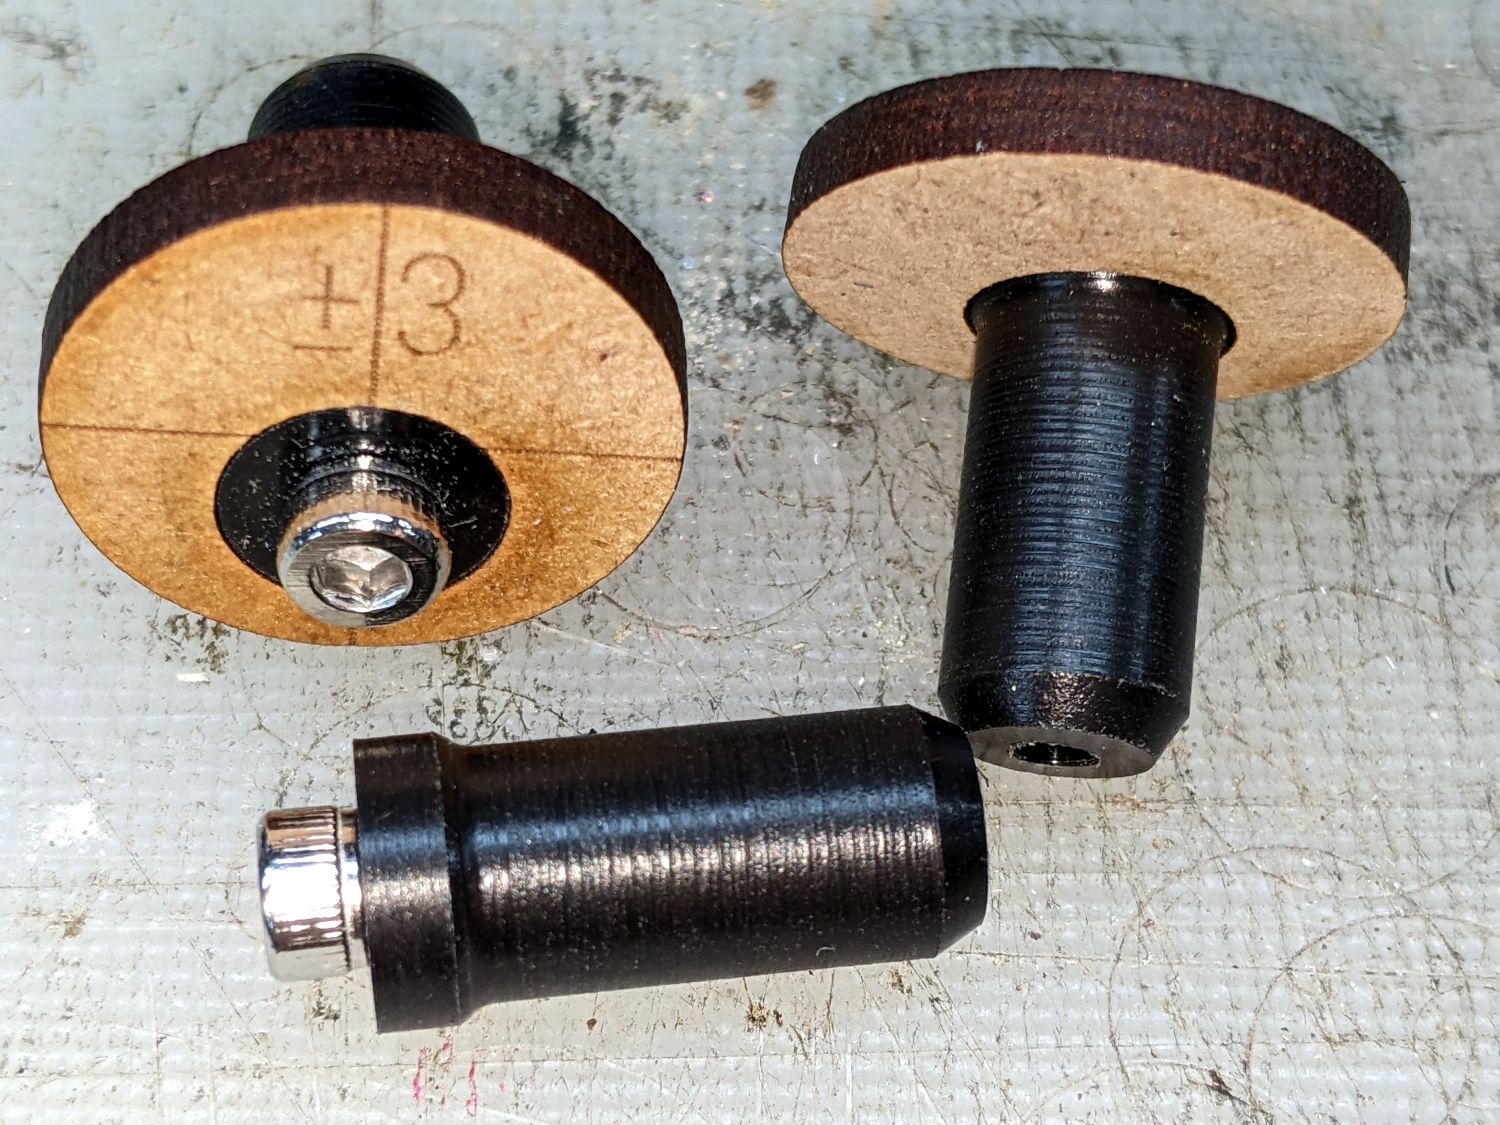 The solution [Ed] found for this was to make himself some adjustable offset stops designed to fit into his laser cutter’s honeycomb table. Each consists of a laser-cut disc of wood, which is screwed off-center into an acetal “plug” sized to fit into the vertical gaps in the honeycomb table. This allows each disc to be rotated to fine-tune positioning. With the help of some T-shaped pegs that are also sized to fit into the honeycomb table, [Ed] has all he needs to fix something like a workpiece or jig into a particular and repeatable position.
The whole thing depends on a friction fit, so the sizing of the plug needs to match a particular honeycomb table’s construction. We think this makes it a good match for 3D printing, as one can measure and print plugs (perhaps employing the Goldilocks approach) that fit with just the right amount of snug.
Honeycomb tables are fantastic for laser cutting, but if you find yourself in a pinch for a replacement, an old radiator can make a pretty decent stand-in.


I can honestly say that probably wouldn’t have occured to me, as I would have just pinched the ones ouf of my mitre box or off a workmate.
“We think this makes it a good match for 3D printing, as one can measure and print plugs (perhaps employing the Goldilocks approach) that fit with just the right amount of snug.”
You could use flexible filament, and build it as an expansion plug, so that tightening the screw causes the plug to compress vertically and expand horizontally, increasing friction against the honeycomb.
or buy rubber rivnuts Available in many sizes.
Idea is similar to a Mitee Bite eccentric clamp but he applied it to positioning. Very smart. Mitee bites though use an eccentric head screw, he inverted that to make the outer part the cam.
He deserves some credit, quite clever.
In reality these things might apply some resistance to movement at the 0 position and between 2 and 3 millimeters. Outside of this range they tend to just move if some force is applied. Welding tables that use this excenter apporach need additional clamping to be fixed in position.
My Approach (I am certainly not the first to come up with this) is to fix a larger cardboard sheet in the laser and contour cut the outline of what i want to engrave and some finger holes. The part cant move and I can reliable place and retrieve it dozend of times.
I have no experience with laser cutting but couldn’t the metal screw heads be a problem? Would it maybe be better to 3D print the whole thing, the plugs with the wooden bit built in, so the whole part is just a solid 3D printed plastic part with no metal parts. If accuracy was an issue then you could always slightly oversize the part and then sand it down manually until it is the exact size it needs to be.