How To Build Jenny’s Budget Mixing Desk

Jenny did an Ask Hackaday article earlier this month, all about the quest for a cheap computer-based audio mixer. The first attempt didn’t go so well, with a problem that many of us are familiar with: Linux applications really doesn’t like using multiple audio devices at the same time. Jenny ran into this issue, and didn’t come across a way to merge the soundcards in a single application.

I’ve fought this problem for a while, probably 10 years now. My first collision with this was an attempt to record a piano with three mics, using a couple different USB pre-amps. And of course, just like Jenny, I was quickly frustrated by the problem that my recording software would only see one interface at a time. The easy solution is to buy an interface with more channels. The Tascam US-4x4HR is a great four channel input/output audio interface, and the Behringer U-PHORIA line goes all the way up to eight mic pre-amps, expandable to 16 with a second DAC that can send audio over ADAT. But those are semi-pro interfaces, with price tags to match.

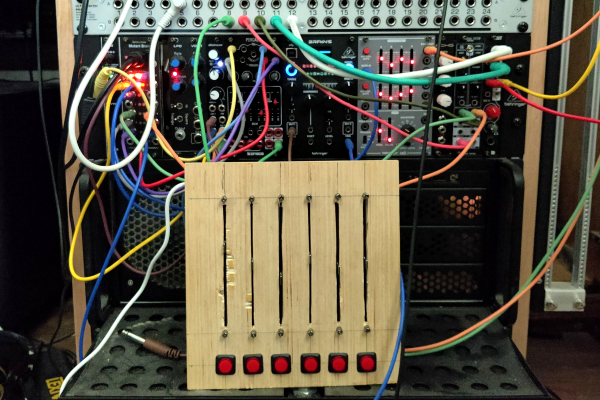
But what about Jenny’s idea, of cobbling multiple super cheap interfaces together? Well yes, that’s possible too. I’ll show you how, but first, let’s talk about how we’re going to control this software mixer monster. Yes, you can just use a mouse or keyboard, but the challenge was to build a mixing desk, and to me, that means physical faders and mute buttons. Now, there are pre-built solutions, with the Behringer X-touch being a popular solution. But again, we’re way above the price-point Jenny set for this problem. So, let’s do what we do best here at Hackaday, and build our own. Continue reading “How To Build Jenny’s Budget Mixing Desk”

What’s Old Is New Again: A Linux PC From A Set Top Box

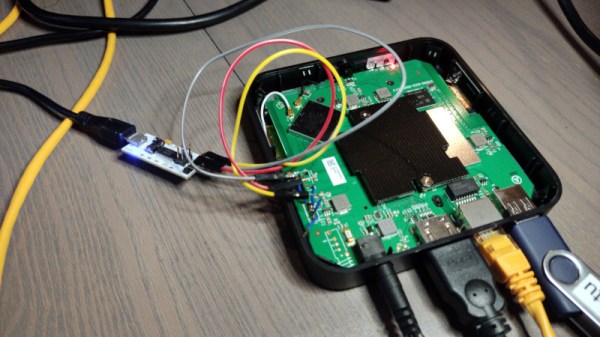
There was a time around two decades ago, when the new hotness was taking control of home routers to use as small Linux computers. An echo of this era lives on in the name of the OpenWrt minimal Linux distribution, in reference to the Linksys WRT54G router which started it all. Routers as small computers were displaced by small cheap Linux machines from the likes of Raspberry Pi, and the promise of discarded home network gear doing interesting stuff receded. Now it might just be back, as [Jasper Devreker] shows us an Android TV set-top box from a mobile carrier repurposed as a Linux computer that can even run a desktop environment.

The method starts as you might expect, by identifying a mystery connector as a debug serial port. This outputs all sorts of interesting boot information, but can be dropped into a uBoot shell. From here with a bit of effort the eMMC storage could be dumped, and from that the nature of the machine could be deduced. The CPU is an Amlogic quad core ARM Cortex-A53 SoC, which by a stroke of luck is a target for which an Armbian build is available. From there a Linux installation could be assembled, and even an AFCE desktop.

These boxes are handed out in the hundreds of thousands by home connectivity providers, so there’s value in this type of hack as they become available for experimenters. Perhaps it’s more useful as a small headless Linux machine than as a desktop, but we sense there are more machines to come in this line.

If you’d like a little bit of history on hackable Linux devices, have a read of one of our earliest posts featuring the Linksys WRT54G.

Curve Tracer Design For Power Vacuum Tubes Testing

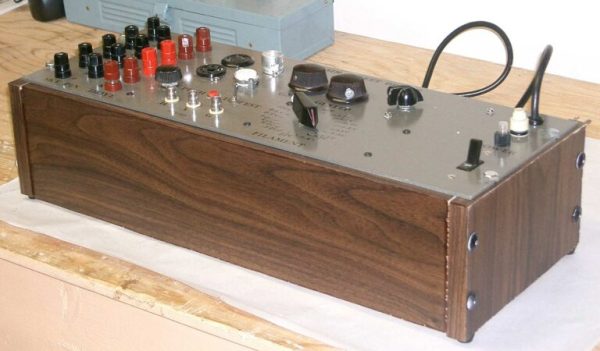
Regardless of the mythical qualities that are all too often attributed to vacuum tubes, they are still components that can be damaged and wear out over time. Much like with transistors and kin, they come with a stack of datasheets, containing various curves detailing their properties and performance. These curves will change as a part ages, and validating these curves can help with debugging a vacuum tube-based circuit. This is where one can either spend an enormous sum on a commercial curve tracer like the Tektronix 570, or build your own, as [Basin Street Design] has done.

A semi-retired electronics design engineer by trade, he has previously covered the development of the curve tracer on Instructables for the version 1 and version 1.1. What this device essentially allows you to do is sweep the connected tube through its input parameter ranges, while observing the resulting curves on an attached (external) oscilloscope. Here a storage oscilloscope (or DSO) is immensely helpful to capture the curves.

In the project pages, the in-depth theory and functioning of the circuitry is explained, along with the schematics and a number of builds. The project has been around since before the VBA tracer which we covered last year, both of which are infinitely more affordable than a genuine Tektronix 570.

Thanks to [Fernando] for the tip.