Supercon is in high gear, after a full day of badge hacking that went well into the midnight hour. Now it’s time for the talks!
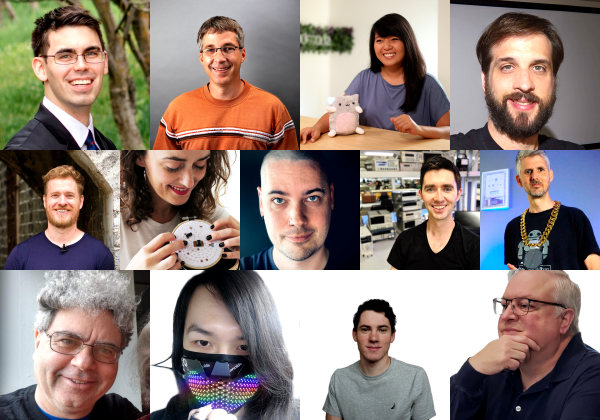
If you’re not here in person, you can still get in on the talks by following the 2022 Hackaday Supercon Livestream, which will be covering all the LACM stage action. We have a great lineup of speakers starting off with a keynote by Joe [Kingpin] Grand at 10:00 AM PDT and ending with the 2022 Hackaday Prize Awards at 7:00 PM — come see who won live!
Of course, talks are only one component of Supercon. The secret sauce has always been the people at the con. If you’re not joining us, we still need you to take part. There is a conference chat on Hackaday.io and on the Hackaday Discord server and all are welcome. Pop in and visit with people at the con, and others around the globe who wish they could have made it in person.
Make sure you’re on the live stream Saturday evening to watch as the Grand Prize is presented on stage during the Hackaday Prize Ceremony. Pop into the chat and ask for updates on badge hacking, the SMD Soldering Challenge, and all of the other shenanigans that make Supercon super.