Glowing Eyes Project Keeps It Simple This Halloween

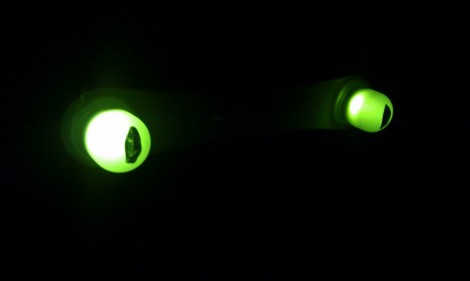
Halloween’s on its way and we want to remind you to get started early so you can show us what you’ve got in store for the little ones this year. [Pete] already finished a simple project to spice up the bushes in front of his house. His trio of glowing and blinking eyes will make a nice addition to the bushes in front of his house. Each is made from a pair of over-sized LEDs mounted on popsicle sticks. After passing the leads through holes in the wood, they are soldered to some resistors and cat-5 cable. The conductors are covered in hot glue to help protect from moisture, and then they’re ready to be driven by the ATtiny2313 which uses random numbers to help ensure the blinking doesn’t look timed. Check out the video after the break to see how he did.

This is a great example that you don’t have to take on the most complicated project in the world to be appreciated. But if you’re looking to be remembered for years to come you might want to aim high by building something like the trash-can jack-in-the-box, or a puking pirate.

Continue reading “Glowing Eyes Project Keeps It Simple This Halloween”

Building A Message Board With A Web Interface

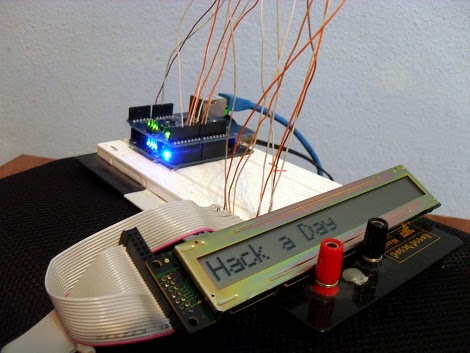
[Sergio] is just getting into hardware hacking. He started by getting an HD44780 compatible LCD screen running with his Arduino. To take the project to the next level, he decided to add a web interface for changing the message displayed on the LCD.

He’s doing things on the cheap (a man after our own hearts), purchasing many of his components off of eBay. Unfortunately that decision came back to bite him when it was time to connect his Arduino to the network. The Ethernet Shield knock-off wasn’t the same as the official version. That one’s got a Wiznet W5100 ethernet chip with does a lot of the heavy lifting for you. Instead, [Sergio] is using a board with an ENC28J60. It took a bit of searching, but eventually he came up with an example to help him get his Arduino serving web pages and listening for updates from them.

The ENC28J60 is actually not a bad piece of hardware. It’s cheap enough, and there are a few hardware/software demos out there that are worth taking a look at.

Adding USB Control For Ikea RGB LED Strips

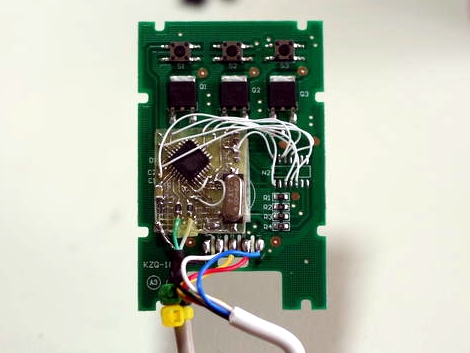
Here’s an altered PCB that gives USB control to an Ikea Dioder. This is a $50 product that comes with four strips each containing nine RGB LEDs. The stock controller has a color selection wheel and a couple of buttons. [Rikard Lindström] wanted to use it to match ambient light to the colors of his computer monitor — yes, it’s another ambilight clone.

Since he already had a bunch of AT90USB162 chips on hand he chose that route. These chips have native USB support (he’s using the LUFA package which is a popular choice), but no on-board ADC. That means no need for the potentiometer from the original controller because there’s no easy way to read its value. Removing it made plenty of room for his add-on PCB. He also depopulated the PIC microcontroller that originally drove the unit, soldering to the empty pads in order to connect is own board. The finished product fits back in the original case, with the addition of a USB cable as the only visible alteration. Now he can dial in colors using a program he wrote.

In case you’re wondering, it looks like this is a newer version of control circuitry when compared to the original Dioder hack we covered.

High Voltage: Using Enclosed Relays For HV Switching


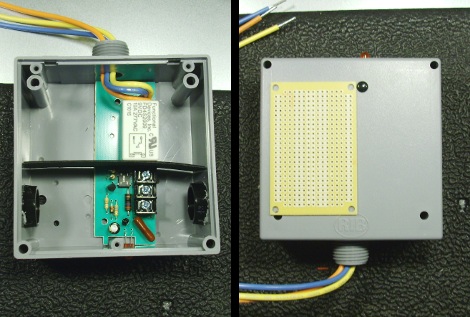
After seeing many projects that use microcontrollers to switch mains voltages [Rob Miles] decided to share his preferred method. The shots you see above are an enclosed relay, part number RIBTU1C manufactured by Functional Devices Inc.

This in itself is not the full control scheme that he uses, but it takes care of the bulk of the hardware. He uses a triggering circuit based on a 555 timer (PDF). [Rob] mentioned that if you shop around, you can get the relay, 555 timer, and other components for under $15. This is a great solution for the money when you consider that you get an enclosure meant for handling high voltage and a nice terminal block to which you can connect the mains wiring. The relay itself can be triggered by a 9V battery via the transistor in the control circuit.

Notice the protoboard in the image above. There’s plenty of room for your driver circuit to rest inside the box, protected by that barrier from the HV circuitry. Check out the rest of the images he sent us after the break.

Continue reading “High Voltage: Using Enclosed Relays For HV Switching”

Project 25 Digital Radios (law Enforcement Grade) Vulnerable To The IM-ME

Would you believe you can track, and even jam law enforcement radio communications using a pretty pink pager? It turns out the digital radios using the APCO-25 protocol can be jammed using the IM-ME hardware. We’ve seen this ‘toy’ so many times… yet it keeps on surprising us. Or rather, [Travis Goodspeed’s] ability to do amazing stuff with the hardware is what makes us perk up.

Details about this were presented in a paper at the USENIX conference a few weeks ago. Join us after the break where we’ve embedded the thirty-minute talk. There’s a lot of interesting stuff in there. The IM-ME can be used to decode the metadata that starts each radio communication. That means you can track who is talking to whom. But for us the most interesting part was starting at about 15:30 when the presenter, [Matt Blaze], talked about directed jamming that can be used to alter law enforcement behavior. A jammer can be set to only jam encrypted communications. This may prompt an officer to switch off encryption, allowing the attackers to listen in on everything being said to or from that radio.

Continue reading “Project 25 Digital Radios (law Enforcement Grade) Vulnerable To The IM-ME”

Very Clean Android Headphone Controller Project

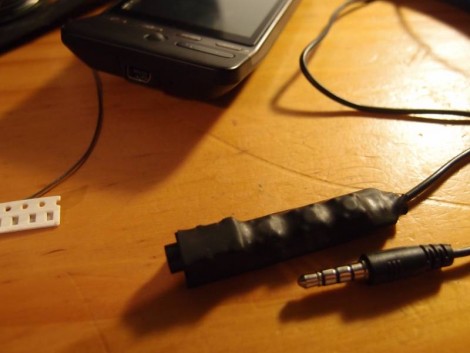
Here’s an Android headphone add-on so clean that most people won’t know you built it yourself. [Will Robertson] was unsatisfied with the stock headphones that came with his HTC phone, but didn’t want to lose the control interface when upgrading. He built this add-on that lets him control the Android music player.

He was inspired to do this after reading about the control interface in one of our previous features. That hack detailed how to add control based on the 4-conductor headphone jack, but didn’t see us through to a clean finished product. [Will] picked up where it left off by designing a sleek surface mount board that hosts a headphone jack and three tactile switches. A patch cable is soldered opposite the jack, making this work as a pass-through device. The icing on the cake is the shrink tubing that masks the fact that this is a diy dongle.

If you want to follow his lead, [Will] posted his EagleCAD design files and footprints for the components he used in the post linked at the top.

Bootloader Burning Basics

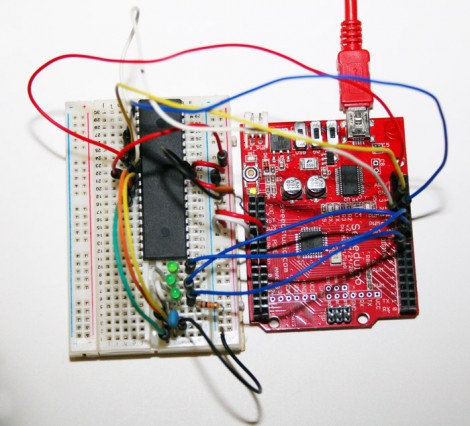
[Charles Gantt] and a few others were having trouble burning the Sanguino bootloader to an ATmega644 chip. With some help from the [Nils Vogil] via the RepRap IRC [Charles] got it worked out and wrote a guide for burning the bootloader using an Arduino as an ISP programmer.

We’re not familiar with the specifics of the Sanguino bootloader, but [Charles] mentioned that he was unable to flash it onto the AVR chip without a resonator. The resonator serves as an external clock source for the chip. We’d bet the programming process changes the fuse settings on the chip to use an external source. Without that source, you won’t be able to communicate with the chip afterwards.

The solution just adds the resonator to the programming circuit. This should be useful when burning any bootloader using an Arduino. But it does make us wonder if there isn’t an alternative method that would let you draw the clock signal from the Arduino itself?