Hacking A Flatbed Scanner To Scan Very Large Documents

lds

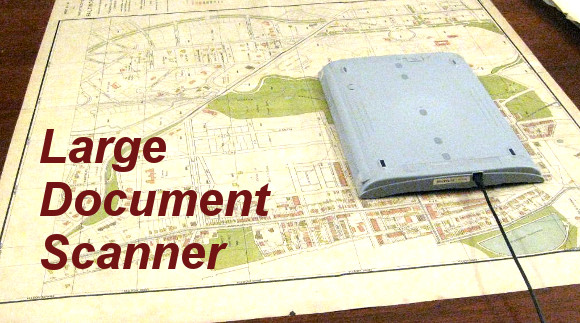
When you need to scan really large documents, camera setups can get pretty expensive. There are professionals that do it, but they are fairly pricey too. What if you need to do it on the cheap? A flatbed scanner would be perfect, but the lip on the edge of most flatbed scanners keeps the document from touching the platen properly. [Matthew] decided to hack his Canon LiDE 90 scanner to use it in a face-down format. By removing the top of the case, and making a couple extra tweaks, the scanner can now lay flat and simply be moved in a grid.

Once you have the images, you’ll need a way to stitch them together. [Matthew] points to this tutorial, but he awesomely decided to write a little Python script to make it all happen automatically. We imagine that script might be useful for more than just this project.

We’ve seen some other scanners recently, but this one is probably the easiest for the majority of hobbyists to achieve with parts on hand.

Priceless Paintings – Scanned And Printed In 3D

painting

When we think of works by Van Gogh and Rembrandt, most of us remember a picture, but we aren’t accustomed to seeing the actual painting. [Tim Zaman], a scientist at Delft University of Technology in the Netherlands, realized that the material presence of the paint conveys meaning as well. He wanted to create a lifelike reproduction in full dimension and color. While a common laser-based technique could have been used for depth mapping, resolution is dependent on the width of the line or dot, and the camera cannot capture color data simultaneously with this method. In his thesis, [Tim] goes into great detail on a hybrid imaging technique involving two cameras and a projector. He and his team eventually used two 40-megapixel Nikon cameras in conjunction with a fringe projector to capture a topographical map with in-plane resolution of  50 μm, and depth resolution of 9.2 μm.

We can’t find a lot of information on the printing process they used, other than references to high-resolution 3D printers by Océ (a Canon company). That said, [Tim] has provided a plethora of images of some of the reproductions, and we have to say they look amazing. The inclusion of depth information takes this a big step further than that gigapixel scanning setup we saw recently.

Check out the BBC interview with Tim, as well as time lapse videos of the scanning and printing process after the break.

Continue reading “Priceless Paintings – Scanned And Printed In 3D”

A Spinning Beachball Of Doom That You Can Carry In Your Pocket

175353_115989

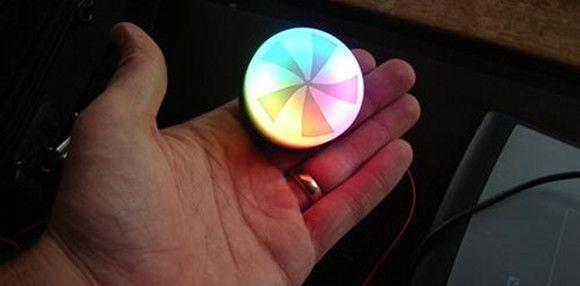
Need a way to tell the world that you’re mentally ‘out to lunch’? Or what about a subtle hint to others that your current thought process is more important than whatever they are saying? [Caleb Kraft] — who earlier this year bid farewell to Hackaday for a position with EETimes — is heading to the World Maker Faire in New York this weekend, and he decided to build just that device. If you’re heading to Maker Faire too, keep an eye out for his eye-catching Spinning Beachball of Doom. He was inspired by iCufflinks from Adafruit, and ended up with a great little device that is small enough to be worn, or just thrown around for fun.

A couple of weeks ago, we linked you to the Adafruit announcement of their new Trinket product line. [Caleb] wasted no time in finding a use for the tiny microcontroller board. He paired it with the Neopixel LED ring, and had it working with just a tiny tweak to the test code. He then used DesignSpark Mechanical to design a 3D-printed case… the most complicated part of the project. It’s too bad his original plan to power the whole thing with button cells didn’t work out, because it could have been a neat (albeit expensive) upgrade to LED throwies. That said, [Caleb] mentions that a small LiPo battery would be a good alternative.

This is a fun little project that most anyone could throw together in an afternoon. Don’t be surprised if we start seeing these show up more and more.

To see what it looks like in action, check out the video after the break.

Continue reading “A Spinning Beachball Of Doom That You Can Carry In Your Pocket”

Modifying A Knock-off Battery Charger To Be Safer

i-tv5pN2R-X3

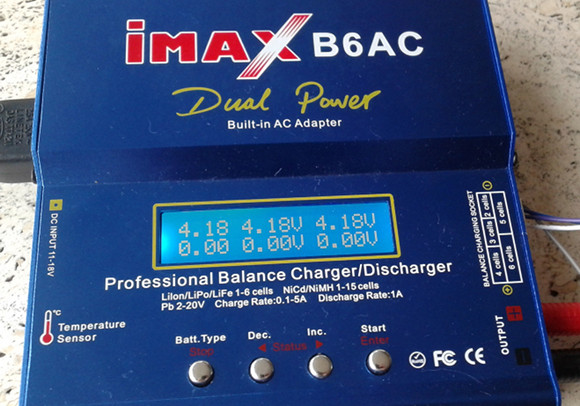
Sometimes buying a low-cost clone off of eBay is a great option, but [Martin] wisely decided to test his counterfeit IMAX B6AC, and found it grossly lacking. His detailed breakdown shows an alarming array of problems, including poor design and construction, and a lack of warning if the balance circuit fails. In addition, the charger wasn’t properly calibrated. By using a precision multimeter, Martin found that the charger actually brought cells above critical voltage. So really, using a charger like this out of the box can both destroy your battery pack and/or start a fire. One other interesting detail – this model can only be calibrated once. Sweet features.

[Martin] detailed his fixes in a well-illustrated blog post. He first had to re-enable the calibration menu using this method which requires bricking the device first! Once un-bricked, however, he could do the recalibration using a voltage divider and a reliable power source.

This project really underscores the need for a precisely calibrated multimeter. Not only would [Martin] not have been able to test his charger properly, but the re-calibration wouldn’t have been as accurate as needed. As hobbyists, this is a reminder that we can only trust our tools if they are accurate.

Adding A Display To A USB Digital Scale

arduino_scale

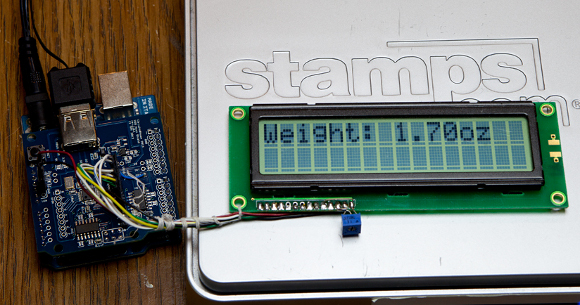
[Oleg] found himself in possession of a Stamps.com Model 510 5lb digital scale.  It’s a great scale, but only works as a USB HID device. In other words, it’s a digital scale without a digital display. He decided he wanted it to be more standalone, so he added a Toshiba HD44780 (compatible) display. An Arduino UNO and USB Host shield were used to make it happen. His sketch simply polls the scale and outputs the weight on the display.

In this case, he used the USB Host Shield from Circuits at Home, but a brief look shows they use the same MAX3421 controller chip as Sparkfun and other versions of the board. You might also be able to pull off the same functionality with an AVR running V-USB, though admittedly it wouldn’t be so easy.

We haven’t found a great way to add USB host mode to projects other than shields like the one [Oleg] used. If you know of a better way, share your ideas in the comments.

Of course, if this isn’t hardcore enough for you, forget using a consumer scale – make your own from scratch!