PCB Renewal Aims To Make Old Boards Useful Again

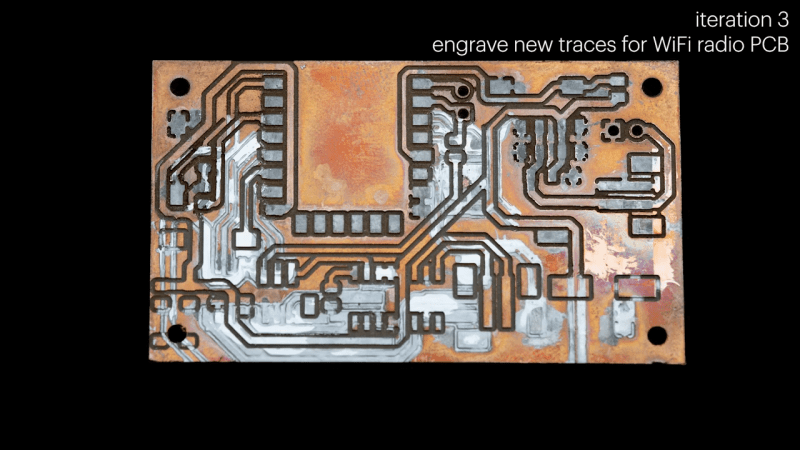
We’ve all made a few bad PCBs in our time. Sometimes they’re recoverable, and a few bodge wires will make ’em good. Sometimes they’re too far gone and we have to start again. But what if you could take an existing PCB, make a few mods, and turn it into the one you really want? That’s what “PCB Renewal” aims to do, as per the research paper from [Huaishu Peng] and the research group at the University of Maryland.
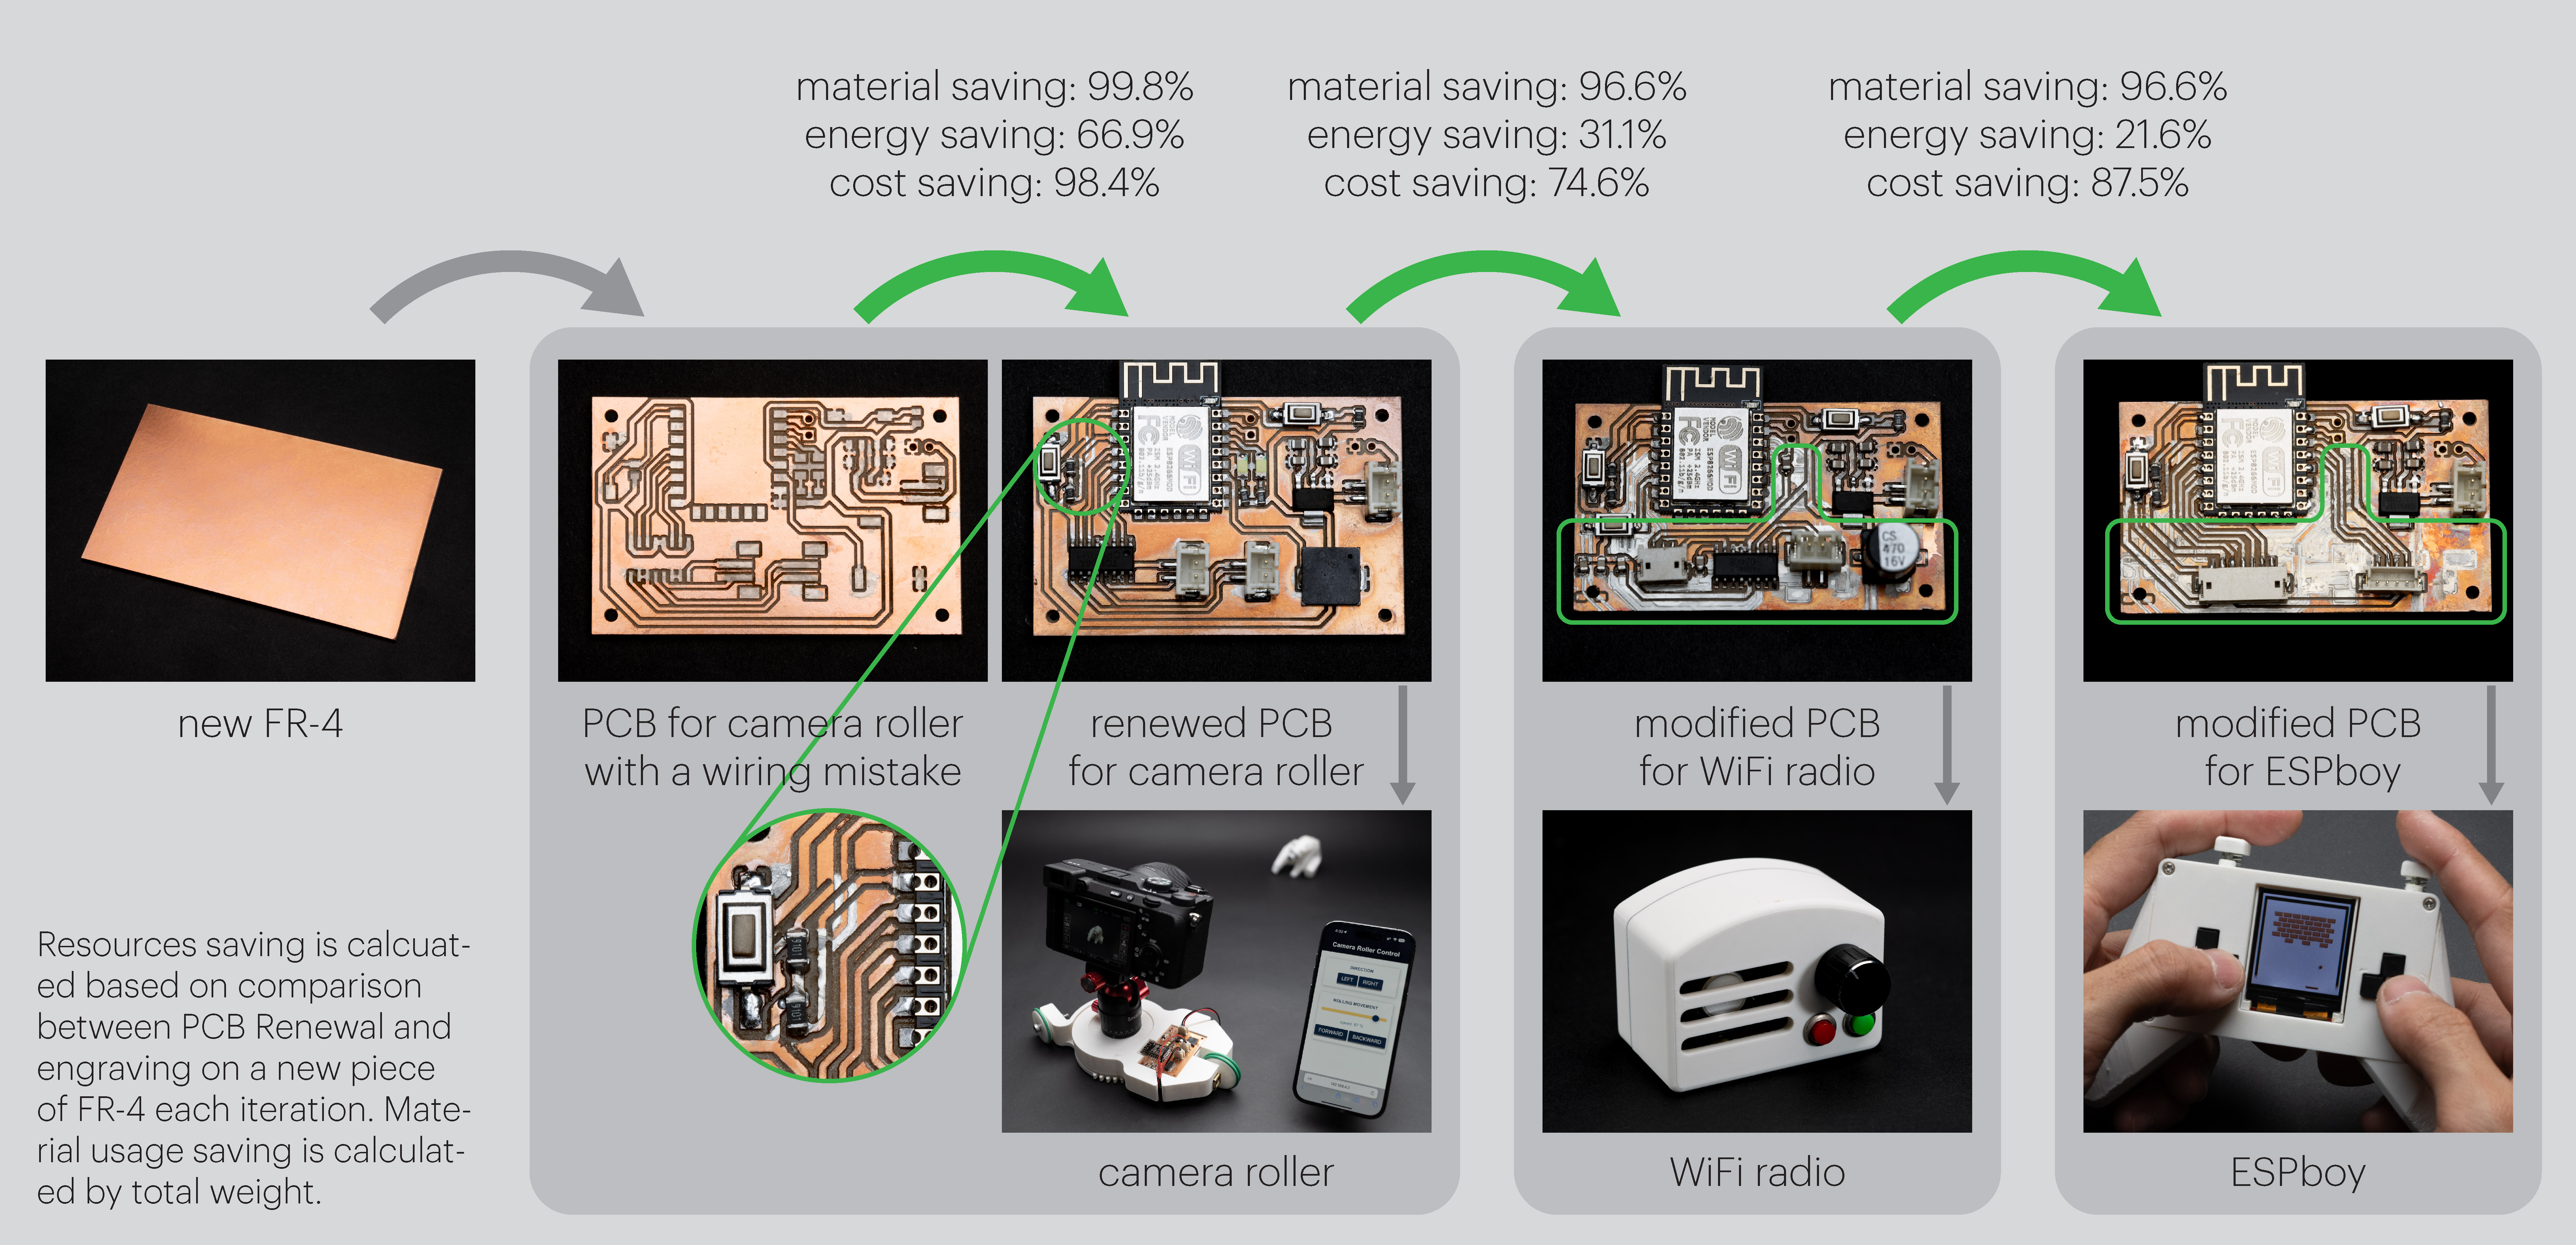
The plugin quantifies resource and time savings made by reusing an old board.

The concept is straightforward — PCB Renewal exists as a KiCad plugin that can analyze the differences between the PCB you have and the one you really want. Assuming they’re similar enough, it will generate toolpaths to modify the board with milling and epoxy deposition to create the traces you need out of the board you already have.

Obviously, there are limitations. You’ll never turn a PlayStation motherboard into something you could drop into an Xbox with a tool like this. Instead, it’s more about gradual modifications. Say you need to correct a couple of misplaced traces or missing grounds, or you want to swap one microcontroller for a similar unit on your existing board. Rather than making brand new PCBs, you could modify the ones you already have.

Of course, it’s worth noting that if you already have the hardware to do epoxy deposition and milling, you could probably just make new PCBs whenever you need them. However, PCB Renewal lets you save resources by not manufacturing new boards when you don’t have to.

We’ve seen work from [Huaishu Peng]’s research group before, too, in the form of an innovative “solderless PCB”.

Continue reading “PCB Renewal Aims To Make Old Boards Useful Again” →
A Delay Line Memory Demo Board

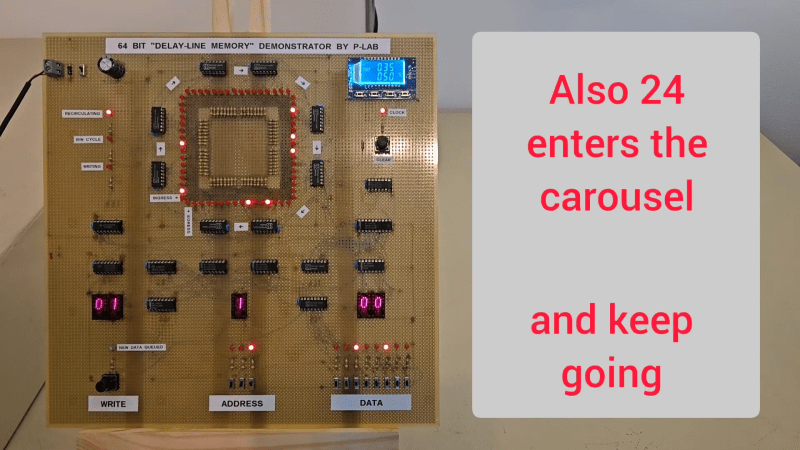
Delay line memory is a technology from yesteryear, but it’s not been entirely forgotten. [P-Lab] has developed a demo board for delay-line memory, which shows how it worked in a very obvious way with lots of visual aids.

If you’re unfamiliar with the technology, it’s a form of memory that was used in classic computers like the Univac-I and the Olivetti Programma 101. It’s a sequential-access technology, where data is stored as pulses in some kind of medium, and read out in order. Different forms of the technology exist, such as using acoustic pulses in mercury or torsional waves passing through coiled nickel wire.

In this case, [P-Lab] built a solid state delay line using TTL ICs, capable of storing a full 64 bits of information and running at speeds of up to 150 kHz. It also features a write-queuing system to ensure bits are written at the exact correct time — the sequential-access nature of the technology means random writes and reads aren’t actually possible. The really cool thing is that [P-Lab] paired the memory with lots of LEDs to show how it works. There are lights to indicate the operation of the clock, and the read and write cycles, as well as individual LEDs indicating the status of each individual bit as they roll around the delay line. Combined with the hexadecimal readouts, it makes it easy to get to grips with this old-school way of doing things.

We’ve seen previous work from[P-Lab] in this regard using old-school core rope memory, too. Continue reading “A Delay Line Memory Demo Board” →

LLM Ported To The C64, Kinda

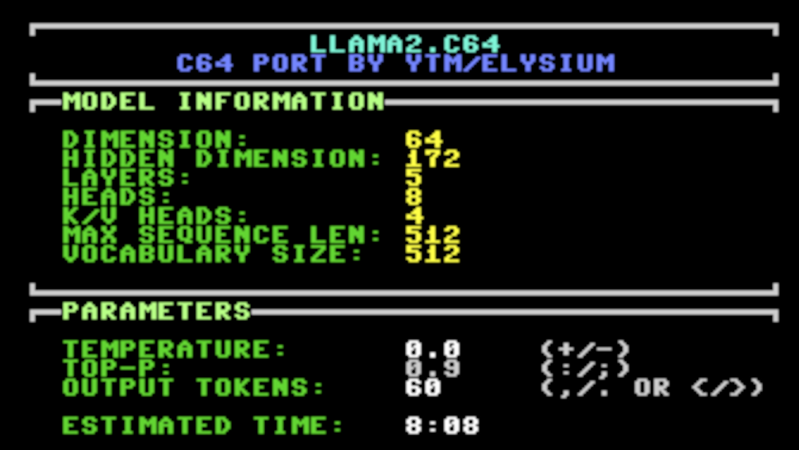
“If there’s one thing the Commodore 64 is missing, it’s a large language model,” is a phrase nobody has uttered on this Earth. Yet, you could run one, if you so desired, thanks to [ytm] and the Llama2.c64 project!

[ytm] did the hard work of porting the Llama 2 model to the most popular computer ever made. Of course, as you might expect, the ancient 8-bit machine doesn’t really have the stones to run an LLM on its own. You will need one rather significant upgrade, in the form of 2 MB additional RAM via a C64 REU.

Now, don’t get ahead of things—this is no wide-ranging ChatGPT clone. It’s not going to do your homework, counsel you on your failed marriage, or solve the geopolitical crisis in your local region. Instead, you’re getting the 260 K tinystories model, which is a tad more limited. In [ytm]’s words… “Imagine prompting a 3-year-old child with the beginning of a story — they will continue it to the best of their vocabulary and abilities.”

It might not be supremely capable, but there’s something fun about seeing such a model talking back on an old-school C64 display. If you’ve been hacking away at your own C64 projects, don’t hesitate to let us know. We certainly can’t get enough of them!

Thanks to [ytm] for the tip!

Hacking Different Sized Nozzles For AnyCubic Printers

If you’ve got a popular 3D printer that has been on the market a good long while, you can probably get any old nozzles you want right off the shelf. If you happen to have an AnyCubic printer, though, you might find it a bit tougher. [Startup Chuck] wanted some specific sized nozzles for his rig, so set about whipping up a solution himself.

[Chuck]’s first experiments were simple enough. He wanted larger nozzles than those on sale, so he did the obvious. He took existing 0.4 mm nozzles and drilled them out with carbide PCB drills to make 0.6 mm and 0.8 mm nozzles. It’s pretty straightforward stuff, and it was a useful hack to really make the best use of the large print area on the AnyCubic Kobra 3.

But what about going the other way? [Chuck] figured out a solution for that, too. He started by punching out the 0.4 mm insert in an existing nozzle. He then figured out how to drive 0.2 mm nozzles from another printer into the nozzle body so he had a viable 0.2 mm nozzle that suited his AnyCubic machine.

The result? [Chuck] can now print tiny little things on his big AnyCubic printer without having to wait for the OEM to come out with the right nozzles. If you want to learn more about nozzles, we can help you there, too.

Continue reading “Hacking Different Sized Nozzles For AnyCubic Printers” →

A Neat E-Paper Digit Clock (or Four)

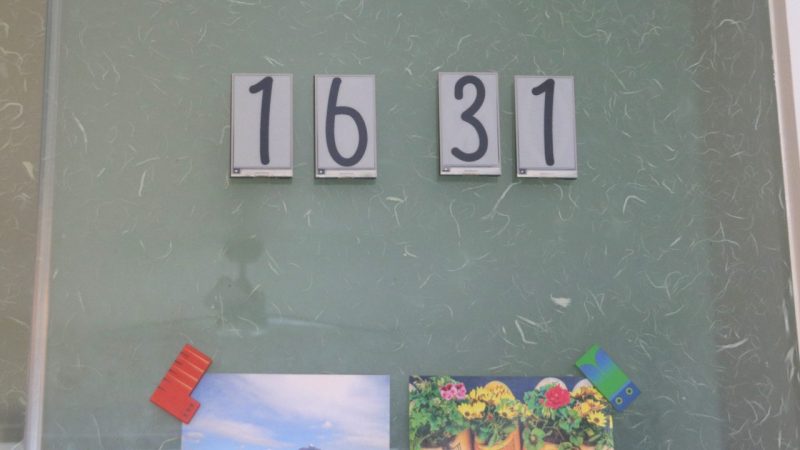
[sprite_tm] had a problem. He needed a clock for the living room, but didn’t want to just buy something off the shelf. In his own words, “It’s an opportunity for a cool project that I’d rather not let go to waste.” Thus started a project to build a fun e-paper digit clock!

There were several goals for the build from the outset. It had to be battery driven, large enough to be easily readable, and readily visible both during the day and in low-light conditions. It also needed to be low maintenance, and “interesting,” as [sprite_tm] put it. This drove the design towards an e-paper solution. However, large e-paper displays can be a bit pricy. That spawned a creative idea—why not grab four smaller displays and make a clock with separate individual digits instead?

The build description covers the full design, from the ESP32 at the heart of things to odd brownout issues and the old-school Nokia batteries providing the juice. Indeed, [sprite_tm] even went the creative route, making each individual digit of the clock operate largely independently. Each has its own battery, microcontroller, and display. To save battery life, only the hours digit has to spend energy syncing with an NTP time server, and it uses the short-range ESPNow protocol to send time updates to the other digits.

It’s an unconventional clock, to be sure; you could even consider it four clocks in one. Ultimately, though, that’s what we like in a timepiece here at Hackaday. Meanwhile, if you’ve come up with a fun and innovative way to tell time, be sure to let us know on the tipsline!

[Thanks to Maarten Tromp for the tip!]

Supercon 2024: Turning Talk Into Action

Most of us have some dream project or three that we’d love to make a reality. We bring it up all the time with friends, muse on it at work, and research it during our downtime. But that’s just talk—and it doesn’t actually get the project done!

At the 2024 Hackaday Supercon, Sarah Vollmer made it clear—her presentation is about turning talk into action. It’s about how to overcome all the hurdles that get in the way of achieving your grand project, so you can actually make it a reality. It might sound like a self-help book—and it kind of is—but it’s rooted in the experience of a bonafide maker who’s been there and done that a few times over.

Continue reading “Supercon 2024: Turning Talk Into Action” →

Single-Board Z80 Computer Draws Inspiration From Picasso

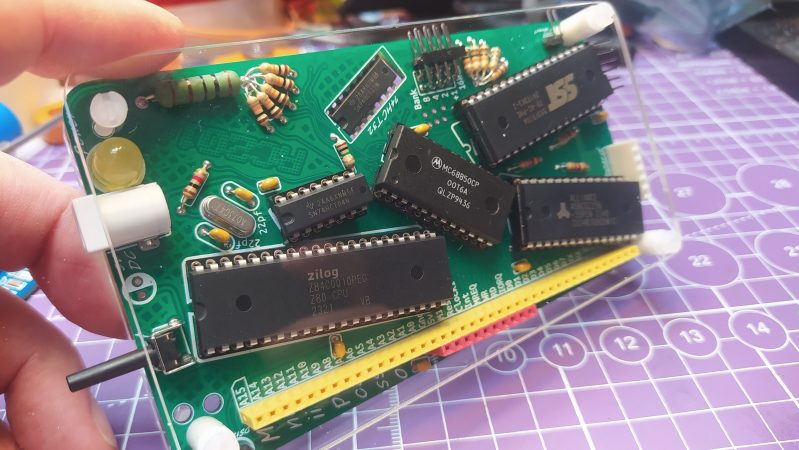
Picasso and the Z80 microprocessor are not two things we often think about at the same time. One is a renowned artist born in the 19th century, the other, a popular CPU that helped launch the microcomputer movement. And yet, the latter has come to inspire a computer based on the former. Meet the RC2014 Mini II Picasso!

As [concretedog] tells the story, what you’re fundamentally looking at is an RC2014 Mini II. As we’ve discussed previously, it’s a single-board Z80 retrocomputer that you can use to do fun things like run BASIC, Forth, or CP/M. However, where it gets kind of fun is in the layout. It’s the same fundamental circuitry as the RC2014, but it’s been given a rather artistic flair. The ICs are twisted this way and that, as are the passive components; even some of the resistors are dancing all over the top of one another. The kit is a limited edition, too, with each coming with a unique combination of colors where the silkscreen and sockets and LED are concerned. Kits are available via Z80Kits for those interested.

We love a good artistic PCB design; indeed, we’ve supported the artform heavily at Supercon and beyond. It’s neat to see the RC2014 designers reminding us that components need not live on a rigid grid; they too can dance and sway and flop all over the place like the eyes and or nose on a classic Picasso.

It’s weird, though; in a way, despite the Picasso inspiration, the whole thing ends up looking distinctly of the 1990s. In any case, if you’re cooking up any such kooky builds of your own, modelled after Picasso or any other Spanish master, don’t hesitate to notify the tipsline.