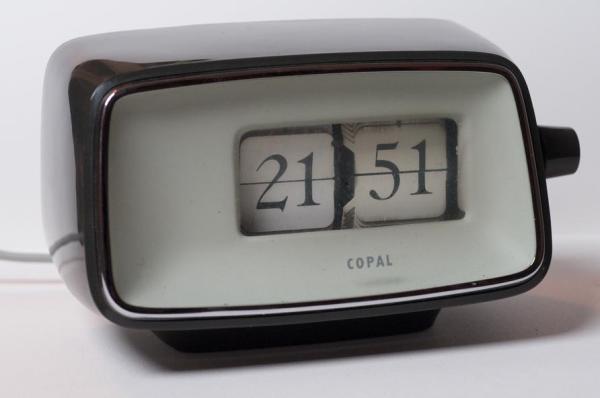
Sometimes it’s nice to have a widget to do a single task and avoid getting distracted by the supposed simplicity of doing it with an app on a smartphone. [Dina Amin] built a timer from an old flip clock to stay focused.
Starting with a disassembly of the flip clocks she found at a flea market with [Simone Giertz], [Amin] decided to change the twenty four hour mechanism to a twenty four minute one which was similar to the amount of time she was already using for several different practices. Since she’s an expert in animation, she planned on turning a set of CT scans into the animation that would play on the section that had previously been the minutes of the clock.
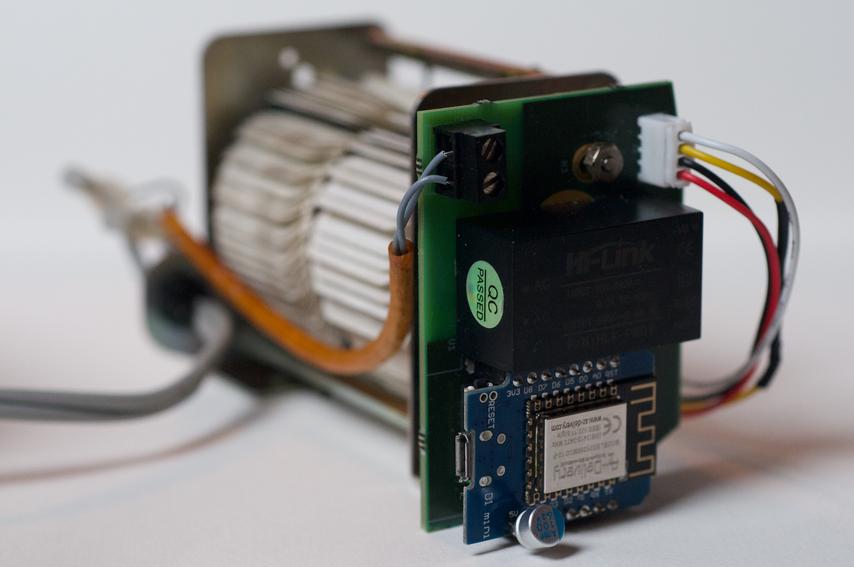
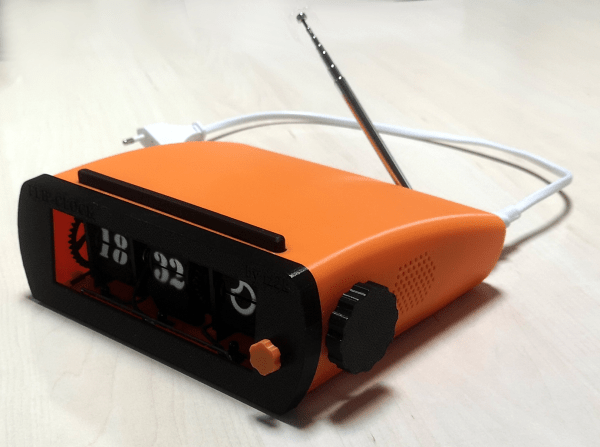
As much of the original clock’s components were damaged, and [Amin] didn’t have a chance to learn clockmaking from scratch in a week, she tried a few different drive mechanisms for the build. The drum from an air fryer timer driven with an electric motor fit the bill, but off enough from proper minutes that [Amin] switched from numerals to a yellow circle that fills in as it approaches the satisfying ding of completion.
If you want to see Simone’s Moon flip clock we’ve covered that project too.