Low-Cost RF Power Sensor Gets All The Details Right

Dirty little secret time: although amateur radio operators talk a good game about relishing the technical challenge of building their own radio equipment, what’s really behind all the DIY gear is the fact that the really good stuff is just too expensive to buy.

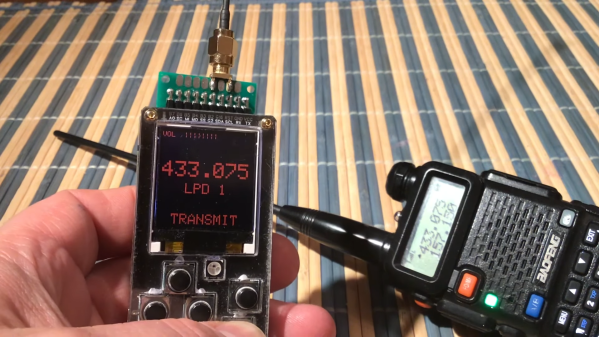
A case in point is this super-low-cost RF power sensor that [Tech Minds (M0DQW)] recently built. It’s based on a design by [DL5NEG] that uses a single Schottky diode and a handful of passive components. The design is simple, but as with all things RF, details count. Chief among these details is the physical layout of the PCB, which features a stripline of precise dimensions to keep the input impedance at the expected 50 ohms. Also important are the number and locations of the vias that stitch the ground planes together on the double-sided PCB.

While [Tech Minds]’ first pass at the sensor hewed closely to the original design and used a homebrew PCB, the sensor seemed like a great candidate for translating to a commercial PCB. This version proved to be just as effective as the original, with the voltage output lining up nicely with the original calibration curves generated by [DL5NEG]. The addition of a nice extruded aluminum case and an N-type RF input made for a very professional-looking tool, not to mention a useful one.

[Tech Minds] is lucky enough to live within view of QO-100, ham radio’s first geosynchronous satellite, so this sensor will be teamed up with an ADC and a Raspberry Pi to create a wattmeter with a graphical display for his 2.4-GHz satellite operations.

Continue reading “Low-Cost RF Power Sensor Gets All The Details Right”

FET: The Friendly Efficient Transistor

If you ever work with a circuit that controls a decent amount of current, you will often encounter a FET – a Field-Effect Transistor. Whether you want to control a couple of powerful LEDs, switch a USB device on and off, or drive a motor, somewhere in the picture, there’s usually a FET doing the heavy lifting. You might not be familiar with how a FET works, how to use one and what are the caveats – let’s go through the basics.

Here’s a simple FET circuit that lets you switch power to, say, a USB port, kind of like a valve that interrupts the current flow. This circuit uses a P-FET – to turn the power on, open the FET by bringing the GATE signal down to ground level, and to switch it off, close the FET by bringing the GATE back up, where the resistor holds it by default. If you want to control it from a 3.3 V MCU that can’t handle the high-side voltage on its pins, you can add a NPN transistor section as shown – this inverts the logic, making it into a more intuitive “high=on, low=off”, and, you no longer risk a GPIO!

This circuit is called a high-side switch – it enables you to toggle power to a device at will through a FET. It’s the most popular usecase for a FET, and if you’re wondering more about high-side switches, I highly recommend this brilliant article by our own [Bil Herd], where he shows you high-side switch basics in a simple and clear way. For this article, you can use this schematic as a reference of how FETs are typically used in a circuit.

Continue reading “FET: The Friendly Efficient Transistor”

3D Print For Extreme Temperatures (But Only If You’re NASA)

At the level pursued by many Hackaday readers, the advent of affordable 3D printing has revolutionised prototyping, as long as the resolution of a desktop printer is adequate and the part can be made in a thermoplastic or resin, it can be in your hands without too long a wait. The same has happened at a much higher level, but for those with extremely deep pockets it extends into exotic high-performance materials which owners of a desktop FDM machine can only dream of.

NASA for example are reporting their new 3D printable nickel-cobalt-chromium alloy that can produce extra-durable laser-sintered metal parts that van withstand up to 2000 Fahrenheit, or 1033 Celcius for non-Americans. This has obvious applications for an organisation producing spacecraft, so naturally they are excited about it.

The alloy receives some of its properties because of its oxide-dispersion-strengthened composition, in which grains of metal oxide are dispersed among its structure. We’re not metallurgists here at Hackaday, but we understand that the inconsistencies in the layers of metal atoms caused by the oxides in the crystal structure of the alloy leads to a higher energy required for the structure to shear.

While these particular materials might never be affordable for us mere mortals to play with, NASA’s did previously look into how it could greatly reduce the cost of high-temperature 3D printing by modifying an existing open source machine.

Make Your ESP32 Talk Like It’s The 80s Again

80s-era electronic speech certainly has a certain retro appeal to it, but it can sometimes be a useful data output method since it can be implemented on very little hardware. [luc] demonstrates this with a talking thermometer project that requires no display and no special hardware to communicate temperatures to a user.

Back in the day, there were chips like the Votrax SC-01A that could play phonemes (distinct sounds that make up a language) on demand. These would be mixed and matched to create identifiable words, in that distinctly synthesized Speak & Spell manner that is so charming-slash-uncanny.

Software-only speech synthesis isn’t new, but it’s better now than it was in Atari’s day.

Nowadays, even hobbyist microcontrollers have more than enough processing power and memory to do a similar job entirely in software, which is exactly what [luc]’s talking thermometer project does. All this is done with the Talkie library, originally written for the Arduino and updated for the ESP32 and other microcontrollers. With it, one only needs headphones or a simple audio amplifier and speaker to output canned voice data from a project.

[luc] uses it to demonstrate how to communicate to a user in a hands-free manner without needing a display, and we also saw this output method in an electric unicycle which had a talking speedometer (judged to better allow the user to keep their eyes on the road, as well as minimizing the parts count.)

Would you like to listen to an authentic, somewhat-understandable 80s-era text-to-speech synthesizer? You’re in luck, because we can show you an authentic vintage MicroVox unit in action. Give it a listen, and compare it to a demo of the Talkie library in the video below.

Continue reading “Make Your ESP32 Talk Like It’s The 80s Again”

Half Crystal Radio, Half Regenerative Radio

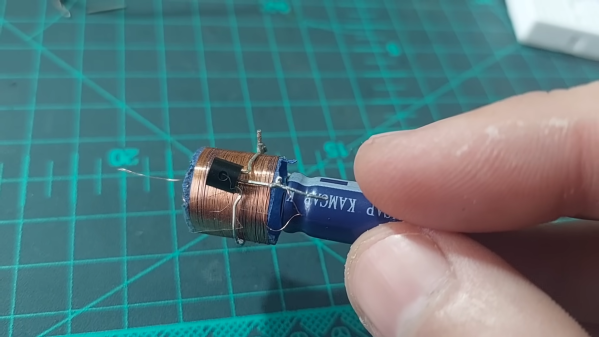
A rite of passage in decades past for the electronics experimenter was the crystal radio. Using very few components and a long wire antenna, such a radio could pick up AM stations with no batteries needed, something important in the days when a zinc-carbon cell cost a lot of pocket money. The days of AM broadcasting may be on the wane, but it’s still possible to make a crystal set that will resolve stations on the FM band. [Andrea Console] has done just that, with a VHF crystal set that whose circuit also doubles as a regenerative receiver when power is applied.

The key to a VHF crystal set lies in the highest quality tuned circuit components to achieve that elusive “Q” factor. In this radio that is coupled to a small-signal zero voltage threshold FET that acts as a detector when no power is applied, and the active component in a regenerative radio when it has power. The regenerative radio increases sensitivity and selectivity by operating at almost the point of oscillation, resulting in a surprisingly good receiver for so few parts. Everyone should make a regenerative radio receiver once in their life!

Testing Part Stiffness? No Need To Re-invent The Bending Rig

If one is serious about testing the stiffness of materials or parts, there’s nothing quite like doing your own tests. And thanks to [JanTec]’s 3-Point Bending Test rig, there’s no need to reinvent the wheel should one wish to do so.

The dial caliper can be mounted to a fixed height, thanks to a section of 3030 T-slot extrusion.

Some simple hardware, a couple spare pieces of 3030 T-slot extrusion, a few 3D-printed parts, and a dial indicator all come together to create a handy rig that will let one get straight to measuring.

Here is how it works: stiffness of a material is measured by placing a sample between two points and applying a known force to the middle of the sample. This will cause the material to bend, and measuring how far a standardized sample deforms under a known amount of force (normally accomplished by a dial indicator) is how one can quantify a material’s stiffness.

When a material talks about its Young’s modulus (E) value, it’s talking about stiffness. A low Young’s modulus means a material is more elastic, a high value means the material is more stiff. (This shouldn’t be confused with strength or toughness, which are more about resistance to non-recoverable deformation, and resistance to fracture, respectively.)

Interested in results, but don’t want to get busy doing your own testing? Someone’s already been there and done that: here’s a great roundup of measurements of 3D-printed parts, using different filaments.

$60 Robot Arm Is Compact

Thanks to 3D printing and inexpensive controllers, a robot arm doesn’t need to break the bank anymore. Case in point? [Build Some Stuff] did a good-looking compact arm with servos for under $60. The arm uses an interesting control mechanism, too.

Instead of the traditional joystick, the arm has a miniature arm with potentiometers at each joint instead of motors. By moving the model arm to different positions, the main arm will mimic your motions. It is similar to old control systems using a synchro (sometimes called a selsyn), but uses potentiometers and servo motors.

Continue reading “$60 Robot Arm Is Compact”