Physical Keys Not Just For Doors Anymore, Now Available For Windows

Physical Key Locks and Unlocks Windows Computer

If you have ever forgotten your computer password after a long weekend or maybe you can remember it but just can’t seem to type it correctly, [Thomas] has a project for you. It’s a physical key that locks and unlocks your PC.

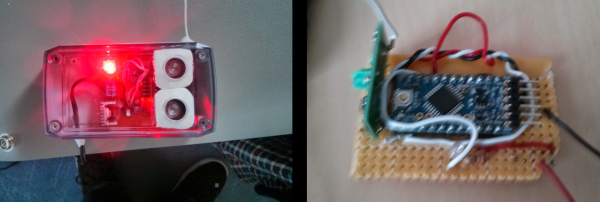
So how does it work? The heart of the project is an Arduino Leonardo. You may recall that this board is a bit different from the preceding Arduinos as it can enumerate on a host computer as a Human Interface Device (HID), such as a keyboard or mouse. The Arduino sketch continually reads an input pin using an internal pull-up resistor to make it logic high with the key switch connecting the signal to ground. When the Arduino sees the pin change from high to low, it sends out a keyboard command consisting of the Windows Key and “L”, which is the keyboard shortcut for locking the computer.

When the physical key is turned again, the Arduino sees the pin change back to a high state and it again emulates a keyboard but this time enters your password. You do have to include your password in the Arduino sketch for this to work. In addition, there are two LED’s wired up to show if the computer is locked or not, but you’ll be able to tell pretty quick when trying to get back to work.

Continue reading “Physical Keys Not Just For Doors Anymore, Now Available For Windows”

Arduino garage door opener

Arduino Garage Door Opener Is Security Minded

Do it yourself garage door openers must be all the rage nowadays. We just got word of another take on this popular idea. [Giles] was commissioned by his friend to find a way to control the friend’s garage door using a smart phone. The request was understandable, considering the costly garage door remote and the fact that the buttons on the expensive remote tended to fail after a while. The inspiration for this project came from some YouTube videos of other similar projects. Those projects all paired an Arduino with a Bluetooth headset in order to control the door from a mobile phone. [Giles] understood that while this would get the job done, it wouldn’t be very secure. Bluetooth headsets typically connect to mobile phones using a four digit PIN. Many of them have known default PINs and even if the default is changed, it wouldn’t take very long to guess a four digit PIN. [Giles] knew he had to find a more secure way.

Continue reading “Arduino Garage Door Opener Is Security Minded”

Upgrade Your Garage Door With Arduino And RFID

RFID Garage Door Opener

[Jason] really wanted to build an RFID controlled garage door opener and decided to turn to Arduino to get the job done. For someone who’s never worked with an Arduino before, he really seemed to know what he was doing.

The Arduino acts as the brains of the operation while an off-the-shelf NFC/RFID reader module is used to read the RFID tags. To add new keys to the system, [Jason] simply swipes his “master” RFID key. An indicator LED lights up and a piezo speaker beeps, letting you know that the system is ready to read a new key. Once the new key is read, the address is stored on an EEPROM. From that point forward the new key is permitted to activate the system.

Whenever a valid key is swiped, the Arduino triggers a relay which can then be used to control just about anything. In this case, [Jason] plans to use it to control his garage door. The system also has a few manual controls. First is the reset button. If this button is held down for two seconds, all of the keys from the EEPROM are erased. This button would obviously only be available to people who are already inside the garage. There is also a DIP switch that allows the user to select how long the relay circuit should remain open. This is configurable in increments of 100ms.

For now the circuit is wired up on a couple of breadboards, but it might be a good idea to use something more permanent. [Jason] could always take it a step further and learn to etch his own PCB’s. Or he could even design a board in Eagle CAD and order a real printed board. Don’t miss the video description of the RFID system below. Continue reading “Upgrade Your Garage Door With Arduino And RFID”

The PebblyPi: A Smart Doorbell

PebblyPi

A Pebble smart watch, and a Raspberry Pi. They are a perfect match. This is probably what [Daniel] thought when he embarked upon his latest project, a smart doorbell called the PebblyPi (tip submitted by [Ben]).

The actual project is quite easy to implement. All you need really need is a Raspberry Pi, a switch, a resistor, and a Pebble Smart Watch (plus a smart phone). Using a simple Python script on the Raspberry Pi, button press notifications are sent to Pushover, which allows the notification to arrive on your smart phone (and thus your Pebble Smart Watch). Pushover is a very cool notification service for Android devices, iPhones, iPads, and your Desktop. The concept behind this project is great, and the fact that it is so simple to implement opens up many other possibilities for interfacing your home electronics with the Pebble Smart Watch (or even just your smart phone). The ability to create custom notifications on any of your devices using any internet connected system is amazing!

You could receive notifications from your absurdly accurate weather station, or even your soil moisture monitor. Have you used Pushover in any of your projects? The possibilities are endless!

Continue reading “The PebblyPi: A Smart Doorbell”

Electric Imp Locks And Unlocks Your Door Automatically

2013-11-19 14.23.18

When the folks over at PinMeTo moved into a new office, they were dismayed to find out an extra key would run them a whopping 500 sek (~$75 USD). Instead, they decided to build their own automatic door lock using the Electric Imp system.

If you’re not familiar, the Electric Imp is a small SD card designed to provide internet (Wi-Fi) functionality to consumer devices. While it looks like an SD card, you cannot just plug it into any SD card slot and expect it to work — it still needs a prototyping board. We’ve seen it used to make a wireless thermal printer, or even make a tweeting cat door to let you know of any feline intruders!

Anyway — back to the hack. To move the lock cylinder they’re using a basic RC servo connected directly to the Imp. A flex sensor is installed on the side of the door over-top the lock — this provides feedback to the Imp whether or not the door is in fact locked. The Imp then communicates to Everymote to allow for keypad access from your mobile phone.

It probably ended up costing more in time and money than a new key, but hey, it looks like it was a fun project to do!

Using A Door Handle Conductivity To Detect Intruders

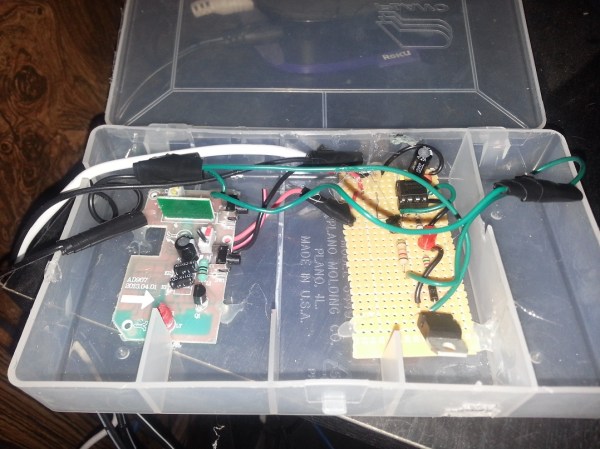
Sometimes the simplest projects can be quite interesting, provided they’re well documented. We hope that the Hackaday readers also think that the door sensor that [Alexander] developed falls into this category. Instead of using common methods such as a magnet + reed switch, he decided to use the strike plate and door conductivity to detect someone walking in. The setup he put together includes an Arduino, a PowerSwitch Tail (a power cord that switches 120vac with a dc control voltage of 3-12vdc), a battery pack made of 8 AA batteries and two crocodile clips for door connections.

Most new hobbyists would have stopped there, but [Alexander] checked his platform’s power consumption and continued his work to decrease it. He therefore put the microcontroller in power-down mode by default and uses an AVR external interrupt to wake it up. In case beginners can’t understand [Alexander]’s code, he actually put a nice flow diagram on his website. Embedded after the break is a video of the system working.

Continue reading “Using A Door Handle Conductivity To Detect Intruders”

Talking Bacon Plushie Greets You At The Door

BaconMaterials

The folks over at [gTar] decided to create a motion activated talking bacon plush toy to greet visitors to their office.

They started with a toy called My First Bacon, available from ThinkGeek — it’s a plush toy that exclaims “I’m Bacon!” when you squeeze it. But then they cut him open. We can’t imagine what must have been going through this poor self-aware Bacon’s mind!

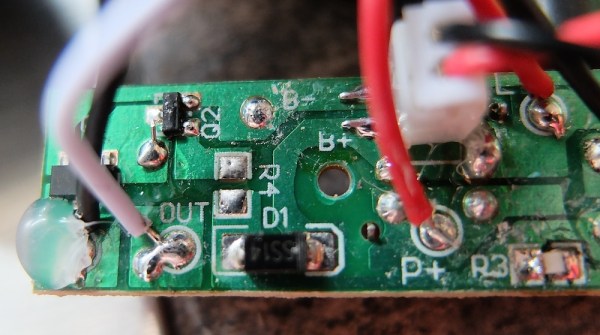
The hack itself is quite simple. They are basically replacing the “squeeze” circuit with an IR motion sensor — a PIR sensor from SparkFun to be precise. In addition to that they needed a small inverter IC. This is because the standard talking bacon module requires a positive leading edge signal in order to trigger the audio output, and their PIR sensor drives an output pin low — slap on an inverter IC (they had an old schmitt trigger lying around) and you’re ready to go!

Continue reading “Talking Bacon Plushie Greets You At The Door”