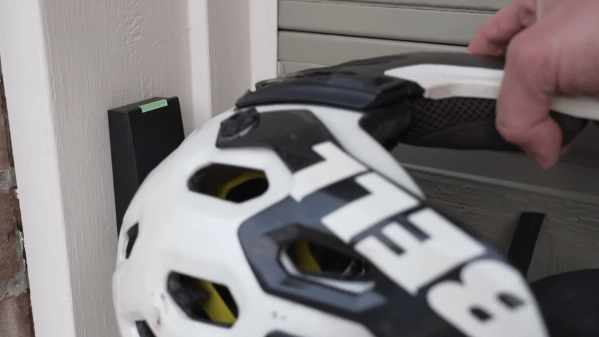
Biking can be an incredibly rewarding hobby, but what do you do with all of your expensive pieces of metal and composite when you aren’t hitting the trails? They take up space that you could use for more bikes! [Chaz] figured there had to be a better way and discovered the unlikely solution of the humble garage opener.
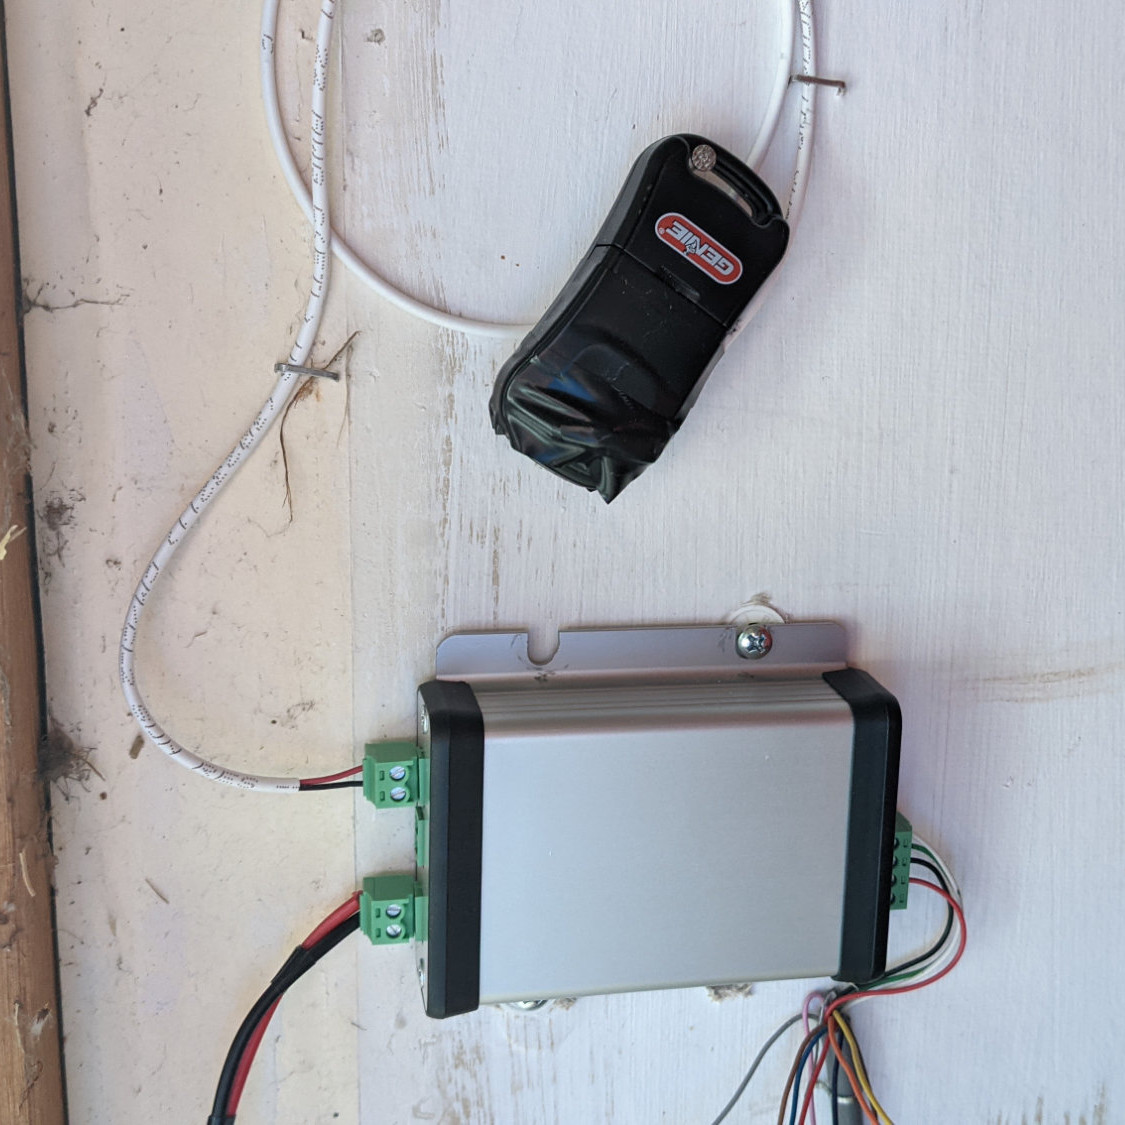
Garage doors are made to lift high with moderate weight, exactly what one would expect from a bike lift. If you have high ceilings in your garage or wherever else you store your bikes there can’t be much easier than pushing a button to get your bike out of the way.
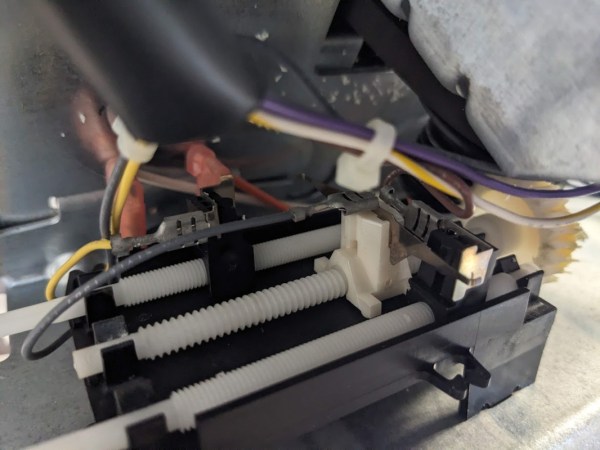
To assemble the unusual bike rack, [Chaz] mounted the motor to the wall with a few scraps of wood, and built a wooden platform that rides along the rail. This additional board allows you to use a traditional bike wheel rack to gently raise the bike. While initially [Chaz] had some questionable results, this was quickly resolved with removing the rotational elements of the mount and allowing a slight slant in the bike.
While not everyone may need to raise their bikes to the heavens, this type of simple hacking is always rewarding to see come together. If you want to see how some more bike specific tech works, check out the insides of this expensive bike seat!
Continue reading “Raise Bikes To The Heavens With Humble Garage Door Opener”