 Pick and Place machines are one of the double-edged swords of electronics.They build your boards fast, but if you don’t have everything setup perfectly, they’ll quickly make a mess. A pick and place can’t grab a resistor from a pile and place it – so far only humans can pull that one off. They need parts organized and oriented in reels or trays.
[Parker Dillmann] had to load some parts, but didn’t have a tray for them, so he 3D printed his own. [Parker] works at a small assembly house in Texas. He’s working on a top secret design which includes FFC connectors. Unfortunately, the connectors shipped in pick and place unfriendly tubes rather than reels. If he couldn’t find a tray, [Parker] would have to hand place those connectors as a second operation, which would increase the time to build each board and leave more chances for mistakes.
Rather than place each part by hand, [Parker] got in touch with his friend [Chris Kraft] who is something of a 3D printing guru. [Chris] confirmed that a 3D printed tray would be possible, though the PLA he prints with was not static safe. That was fine for the connectors, but [Parker] was hoping to save some tray space by putting his PSOC4 chips in the printed tray as well.
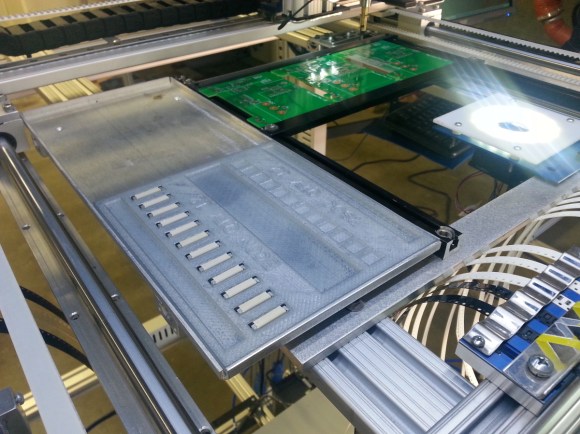
[Parker] used SketchUp to design a tray that would fit his Madell DP2006-2 pick and place. He left .15mm clearance around the parts – just enough to cover any inaccuracies during printing, but not enough to throw off parts placement. He sent the STL file over to [Chris] who used Simplify3D to a create a Gcode file. [Chris] printed the tray at .2 mm layer height on his MakerGear M2 printer, and the results looked great. Would they be good enough for the pick and place machine?
[Parker] received the printed trays in the mail and loaded them with parts. The pick and place had no problem finding and placing the connectors, making this job a huge success. [Parker] even left room for the PSOC4 chips.He plans to paint the tray with anti-static paint before giving them at try.
We really like this story – it’s a perfect example of how 3D printers can speed up processes in manufacturing. Now that the basic design is done, creating new trays is a snap. Nice work [Parker] and [Chris]! Continue reading “3D Printed Trays For Your Pick And Place Machine” →
 Behind a nondescript loading dock in Brooklyn stands a normal looking brick building. Go up 3 narrow flights of stairs – you’ll find yourself at the door to the awesome known as NYC Resistor. Last Saturday, NYC Resistor held their 5th Interactive Show, and Hackaday was there! Much like the city it calls home, the Interactive Show is a melting pot. This particular pot is filled with NYC Resistor members (and the public) showing off their projects, NYU’s Tish School ITP students displaying their interactive art, and a good heaping portion of old fashioned hacker partying.
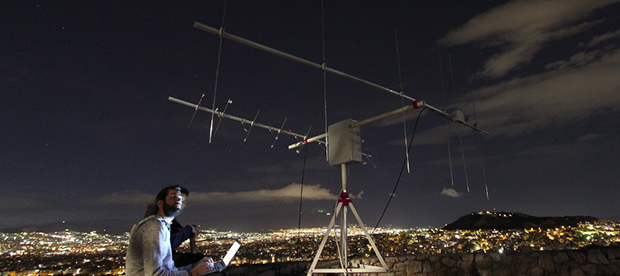 Here’s an interesting thought: it’s possible to build a cubesat for perhaps ten thousand dollars, and hitch a ride on a launch for free thanks to a NASA outreach program. Tracking that satellite along its entire orbit would require dozens of ground stations, all equipped with antennas, USB TV tuners, and a connection to the Internet. It’s actually more expensive to build and launch a cubesat than it costs to build a network of ground stations to get reasonably real-time telemetry from a cubesat. The future is awesome and weird, it seems.