
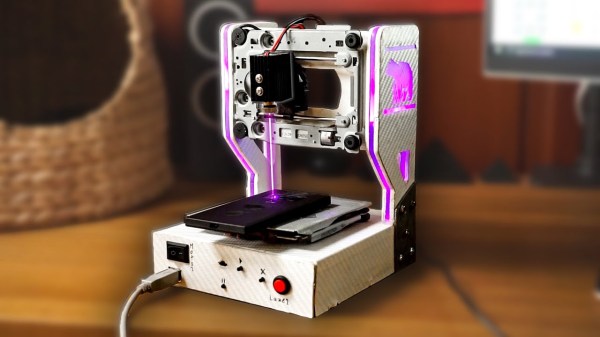
There are plenty of reasons to pick up or build a 3D scanner. Modeling for animation or special effects, reverse engineering or designing various devices or products, and working with fabrics and clothing are all well within the wide range of uses for these tools. [Vojislav] built one a few years ago which used an array of cameras to capture 3D information but the Pi camera modules used in this build limited the capabilities of the scanner in some ways. [Vojislav]’s latest 3D scanner takes a completely different approach by using a single high-quality camera instead.
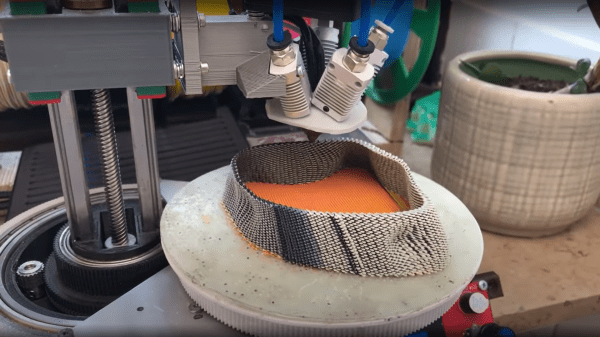
The new 3D scanner is built to carry a full-size DSLR camera, its lens, and a light. Much more similarly to how a 3D printer works, the platform moves the camera around the object in programmable steps for the desired 3D scan. The object being scanned sits on a rotating plate as well, allowing for the entire object to be scanned without needing to move the camera through a full 180° in two axes. The scanner can also be used for scanning more 2D objects while capturing information about texture, such as various textiles.
For anyone looking to reproduce something like this, [Vojislav] has made all of the plans for this build available on the project’s GitHub page including some sample gcode to demonstrate the intended use for the scanner. On the other hand, if you’re short the often large amount of funding required to get a DSLR camera, his older 3D scanner is still worth taking a look at as well.
Continue reading “Improved 3D Scanning Rig Adds Full-Sized Camera Support”

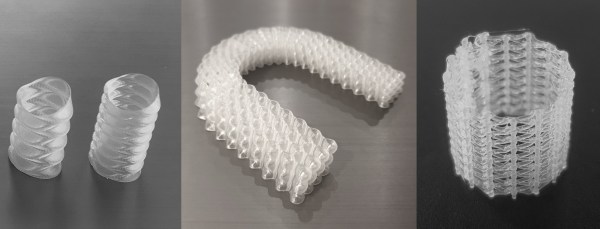
 trick is to use the same weight maps and simply map colours to blender text blocks which are injected into the gcode at export time. These gcode blocks can be used swap tool heads or extruders, enabling blending of multiple filament colours or types in the same object.


