Dremel rotary tools are handy. Some of the attachments are convenient. [vreinkymov] felt the convenience wasn’t worth the cost, so he decided to make a Router Base for his Dremel. These types of attachments are used to hold the Dremel perpendicular to the work surface.
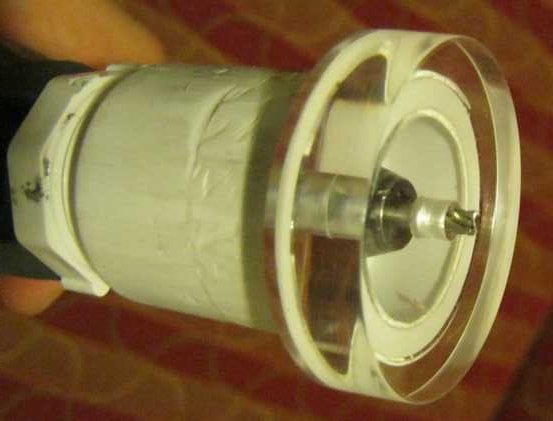
Underneath the little nut/cover near the spindle of the Dremel, there is a 3/4″-12 threaded feature used to attach accessories. A quick trip down the hardware store’s plumbing aisle resulted in finding a PVC reducer with the correct female thread to fit the Dremel. Once on the rotary tool, the reducer threads into a PVC nipple that is glued to a piece of acrylic. The acrylic acts as the base of the router attachment.


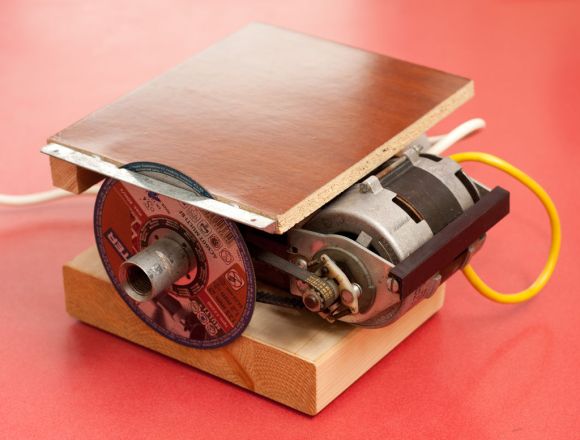 Like a lot of us, [Andrea] has a habit of disassembling everything he runs into. He recently came across a fairly substantial motor he’d salvaged and envisioned