Keeping a cool head is difficult at the best of times, least of all when it’s summer and merely thinking of touching bare skin to the pavement already gets you a second-degree burn. Unfortunately, it’s not possible to spend all summer in an air-conditioned room, but what if you took said room with you? Introducing [Hyperspace Pirate]’s air-conditioned vest.
Following on from last time’s adventures with a battery-powered air-conditioner that merely blew cold air onto one’s overheating body, this time the same compressor is used for a more compact build.
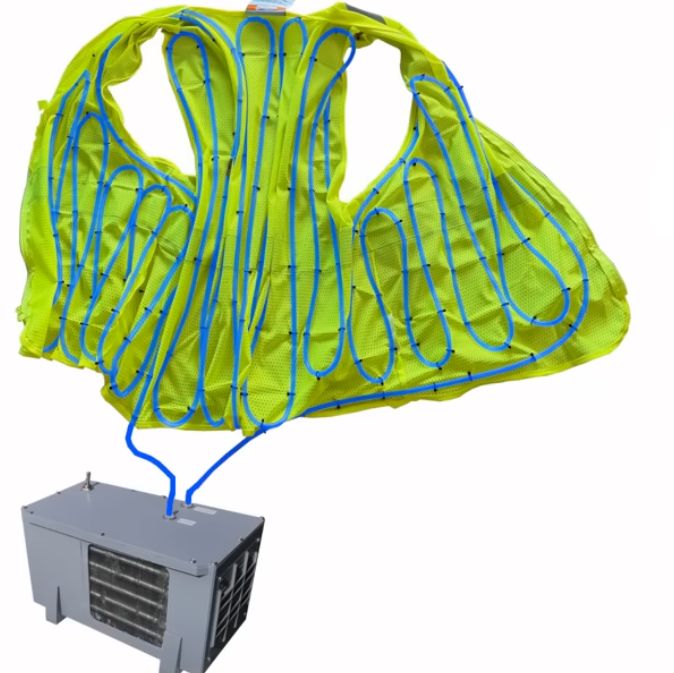
Since obviously using your body as part of the evaporator would be uncomfortable, instead a heat exchanger was used that transfers the delicious frosty cold to water-filled tubing, zip-tied inside a very fashionable vest.
The basic unit runs on a couple of LiPo packs, but a solar-powered circuit was also built and tested using two small-ish panels. Of course, the requisite backpack-sized setup for that configuration is somewhat bulky, but at least the panels can also provide shade in addition to power for the compressor, hitting two fiery birds with one frosty stone.
Compared to one of those solar-powered caps with a built-in fan, this unit with some refinement could actually be an improvement, as well as keeping you a lot chillier. We’re looking forward to [Hyperspace]’s trial runs in the upcoming Floridian summer, as well as future chilling adventures.
Continue reading “Making A DIY Refrigerated Vest With Battery And Solar Power”