How would you like a 7″ tablet with a Quad-core ARM Cortex A9 processor, USB 3.0, 32 GB of storage, 802.11ac, four ports of Gigabit LAN, Bluetooth 4.0, NFC, SATA, HDMI, built-in Zigbee and RFID modules, a camera, speaker and microphone, all for $170? Sound too good to be true? That’s because it probably is. Meet SOAP, the home automation router with a touchscreen, that’s shaping up to be one of the largest scams Kickstarter has ever seen.
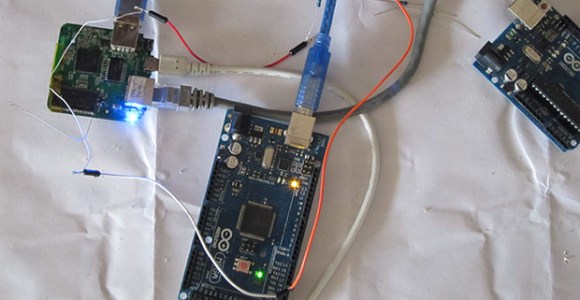
There have been a few threads scattered over the web going over some of the… “inconsistencies” about the SOAP kickstarter, mainly focusing on the possibility of fake Facebook likes and Twitter followers. There’s also the question of their development process: they started building a router with an Arduino, then moved on to a Raspberry Pi, a Beaglebone, Intel Atom-powered Minnowboard, the Gizmo Board, PandaBoard, and Wandboard. If you’re keeping track, that’s at least six completely different architectures used in their development iterations. Anyone who has ever tried to build something – not even build a product, mind you – will realize there’s something off here. This isn’t even considering a reasonably accurate BOM breakdown that puts the total cost of production at $131.
The most damning evidence comes from screenshots of the final board design. These pics have since been removed from the Kickstarter page, but they’re still available on the Google cache. The SOAP team claims they’re putting USB 3.0 ports on their board, but the pics clearly show only four pins on each of the USB ports. USB 3.0 requires nine pins. A closer inspection reveals these screenshots are from the files for Novena, [Bunnie Huang]’s open source laptop.
Continue reading “SOAP: The Home Automation Router And Kickstarter Scam”
 There may be nothing new under the sun when it comes to etching PCBs with UV light, but [Heliosoph] has