[Johann] over on the RepRap wiki has an ingenious solution for making sure a borosilicate glass bed is completely level before printing anything on his Kossel printer: take three force sensitive resistors, put them under the build platform, and wire them in parallel, and connect them to a thermistor input on an electronics board. The calibration is simply a bit of code in the Marlin firmware that touches the nozzle to the bed until the thermistor input maxes out. When it does, the firmware knows the print head has zeroed out and can calculate the precise position and tilt of the bed.
Great, huh? A solution to bed leveling that doesn’t require a Z-probe, uses minimal (and cheap) hardware, and can be retrofitted into just about any existing printer. There’s a problem, though: these force sensitive resistors are only good to 70° C, making the whole setup unusable for anything with a heated bed. Your challenge: figure out a way to use this trick with a heated bed.
The force sensitive resistors used – here’s a link provided by [Johann] – have a maximum operating temperature of 70° C, while the bed temperature when printing with ABS is around 130° C. The FSRs are sensitive to temperature, as well, making this a very interesting problem.
Anyone with any ideas is welcome to comment here, on the RepRap forums, the IRC, or anywhere else. One idea includes putting an FSR in the x carriage, but we’re thinking some sort of specialized heat sink underneath the bed and on top of the FSRs would be a better solution.
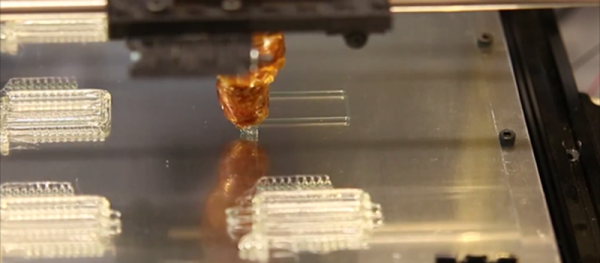
Video of the auto bed leveling trick in action below.
Continue reading “Ask Hackaday: Auto Bed Leveling And High Temperature Force Sensitive Resistors”