With Canada day and Independence day fast approaching, some makers are looking towards setting up their own fireworks to shoot off in celebration – sure you could use a match or lighter… or you could crack out your trusty Arduino and a cellphone! (translated)
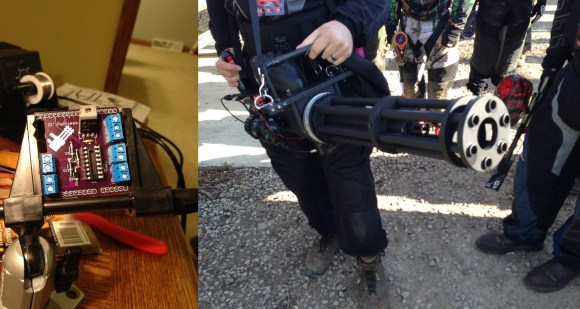
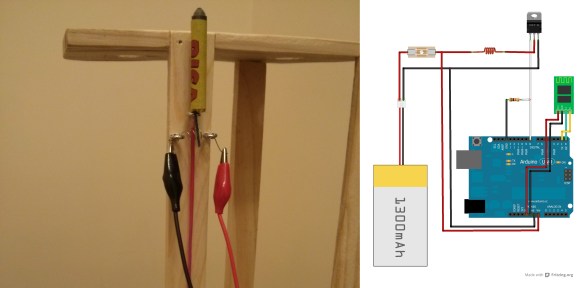
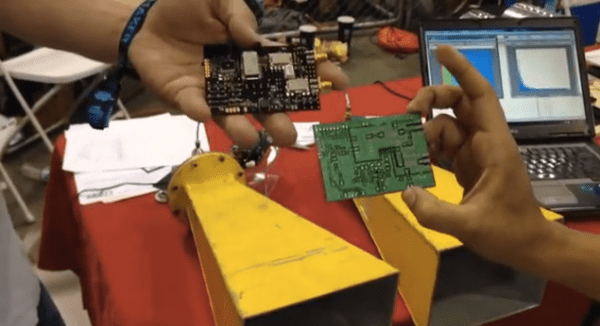
To ignite the fuse, [Oscar] is using a short length of Nichrome wire which is controlled via a Mosfet by the Arduino. To control the Arduino he’s using ArduDroid with a Bluetooth module. The app lets you trigger the various digital and analog outputs, and send and receive data.
Stick around to see a few different demonstration videos of the circuit, testing, and launching some little bottle rockets!
Continue reading “Triggering Remote Fireworks With An Arduino And An Android”
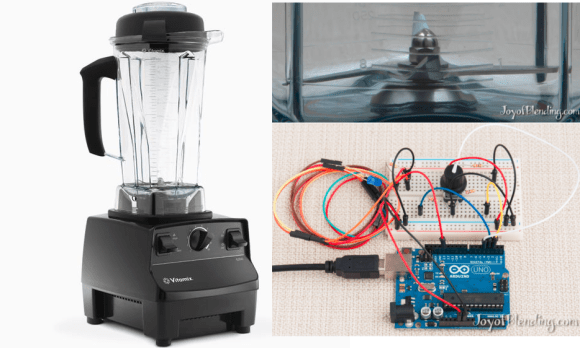 Some people really love their smoothies. We mean really, really, love smoothies and everything about making them, especially the blenders. [Adam] is a big fan of blenders, and wanted to verify that his Vitamix blenders ran as fast as the manufacturer claimed. So he built not one, but