LightByte: Animated Shutters

lighrbright

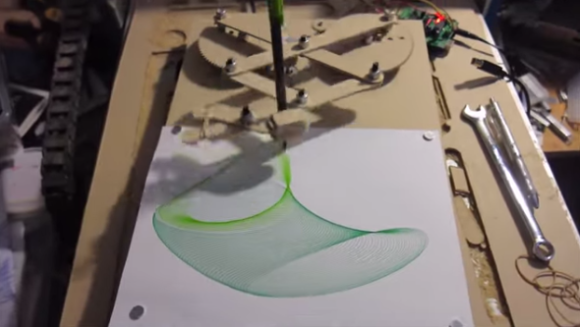
Here’s another interesting project to come out of the MIT Media Lab — it’s called LightByte, and it’s all about interacting with sunlight and shadows in a new, rather unorthodox way.

We suppose its technical name could be a massive interactive sun pixel facade, but that’s a bit too much of a mouthful. What you really want to know is how it works, and the answer is, a lot of servos. We weren’t able to find an exact number but the hardware behind LightByte includes well over 100 servos, and a matrix of Arduinos to control them. While that is quite impressive by itself, it gets better — it’s actually completely interactive; recognizing gestures, responding to text messages and emails, and you can even draw pictures with the included “wand”.

Continue reading “LightByte: Animated Shutters”

Arduino Controlled Dahlander Motor Switch


Dahlander Switch

[Jean-Noel] is fixing a broken Lurem woodworking machine. This machine uses a three-phase Dahlander motor, which has three operation modes: stop, half speed, and full speed. The motor uses a special mechanical switch to select the operating mode. Unfortunately, the mechanical bits inside the switch were broken, and the motor couldn’t be turned on.

To solve the problem without sourcing a new switch, [Jean-Noel] built his own Arduino based Dahlander switch. This consists of three relays that select the wiring configuration for each speed mode. There’s also a button to toggle settings, and two lamps to show what mode the motor is currently in.

The Arduino runs a finite-state machine (FSM), ensuring that the device transitions through the modes in the correct order. This is quite important, since the motor could be damaged if certain restrictions aren’t followed. The state machine graph was generated using Fizzim, a free tool that generates not only FSM graphs, but also Verilog and VHDL code for the machines.

The final product is housed in a DIN rail case, which allows it to be securely mounted along with the rest of the wiring. The detailed write-up on this project explains all the details of the motor, and the challenges of building this replacement switch.

Boxing + Arduino + Geometry = Awesomeness

arduino-boxing-blocker

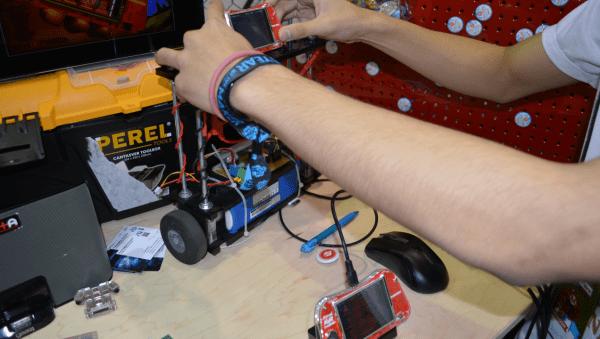
Imagine a machine that [Anderson Silva] could throw a punch at, that would locate his fist in real time and move a punching pad to meet his moving fist. How would you do it? Kinect? Super huge sensor array? Sticking charm? What if we told you it could be done with two electret microphones, an Arduino, and a Gumstix? Yeah, that’s right. You might want to turn your phone off and sit down for this one.

[Benjamin] and his fellow students developed this brilliant proof of concept design that blocks incoming punches for their final project. We’ve seen boxing robots here before, but this one takes the cake. The details are sparse, but we’ve dug into what was made available to us and have a relatively good idea on how they pulled off this awesome piece of electrical engineering.

Continue reading “Boxing + Arduino + Geometry = Awesomeness”

Unlocking Your Computer With A Leonardo And An NFC Shield

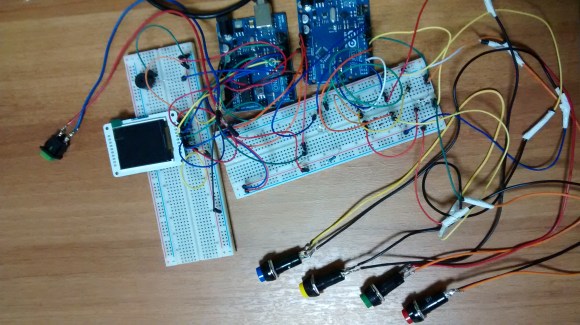
Manually typing your login password every time you need to login on your computer can get annoying, especially if it is long and complex. To tackle this problem [Lewis] assembled an NFC computer unlocker by using an Arduino Leonardo together with an NFC shield. As the latter doesn’t come with its headers soldered, a little bit of handy work was required.

A custom enclosure was printed in order to house the two boards together and discretely mount them under a desk for easy use. Luckily enough very few code was needed as [Lewis] used the Adafruit NFC library. The main program basically scans for nearby NFC cards, compares their (big-endianned) UIDs against a memory stored-one and enters a stored password upon match. We think it is a nice first project for the new generation of hobbyists out there. This is along the same lines as the project we saw in September.

Continue reading “Unlocking Your Computer With A Leonardo And An NFC Shield”

A Real Malware In A Mouse

mouseagain

After reading an April Fools joke we fell for, [Mortimer] decided to replicate this project that turns the common USB mouse into a powerful tool that can bring down corporations and governments. Actually, he just gave himself one-click access to Hackaday, but that’s just as good.

The guts of this modified mouse are pretty simple; the left click, right click, and wheel click of the mouse are wired up to three pins on an Arduino Pro Micro. The USB port of the ‘duino is configured as a USB HID device and has the ability to send keyboard commands in response to any input on the mouse.

Right now, [Mortimer] has this mouse configured that when the left click button is pressed, it highlights the address bar of his browser and types in http://www.hackaday.com. Not quite as subversive as reading extremely small codes printed on a mousepad with the optical sensor, but enough to build upon this project and do some serious damage to a computer.

Video of [Mort]’s mouse below.

Continue reading “A Real Malware In A Mouse”

Dr. Frankenstein’s Wireless Xbox One Steering Wheel

Buy an Xbox One controller and hack it immediately? That’s exactly what [tEEonE] did so he could merge it with a Simraceway SRW-S1 steering wheel. He loves racing games and was psyched to play Forza 5. He already had the steering wheel, but it’s strictly a PC peripheral. [tEEonE] wanted the wheel to control the steering, gas, and brakes and found both the XB1 controller and the SRW-S1 well-suited to the hack.

For steering, [tEEonE] substituted the SRW-S1’s accelerometer for the XB1’s left joystick pot. He connected the X and Y to analog pins on an Arduino Pro. Then he mapped the rotation angles to voltage levels using a DAC and wired that to the XB1 joystick output. The XB1 controller uses Hall effect sensors and magnets on the triggers to control the gas and brake. He removed these and wired the SRW-S1 paddles to their outputs and the XB1 controller is none the wiser.

He also rigged up a 3-point control system to control the sensitivity and calibrate the angles: a button to toggle through menu items and two touch modules to increment and decrement the value. These he wired up to a feedback interface made by reusing a 15-LED strip from the SRW-S1. Finally, he had space left inside the housing for the XB1’s big rumble motors and was able to attach the small motors to the gas and brake paddles with the help of some 3-D printed attachments. Check out this awesome hack in action after the break.


Continue reading “Dr. Frankenstein’s Wireless Xbox One Steering Wheel”

Using A Door Handle Conductivity To Detect Intruders

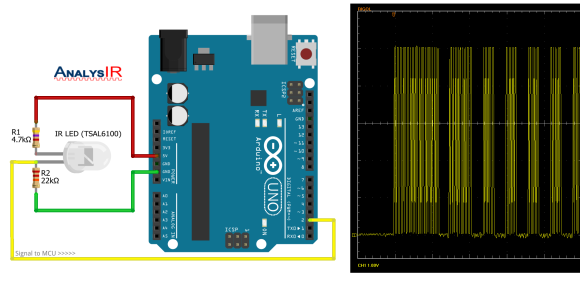
Sometimes the simplest projects can be quite interesting, provided they’re well documented. We hope that the Hackaday readers also think that the door sensor that [Alexander] developed falls into this category. Instead of using common methods such as a magnet + reed switch, he decided to use the strike plate and door conductivity to detect someone walking in. The setup he put together includes an Arduino, a PowerSwitch Tail (a power cord that switches 120vac with a dc control voltage of 3-12vdc), a battery pack made of 8 AA batteries and two crocodile clips for door connections.

Most new hobbyists would have stopped there, but [Alexander] checked his platform’s power consumption and continued his work to decrease it. He therefore put the microcontroller in power-down mode by default and uses an AVR external interrupt to wake it up. In case beginners can’t understand [Alexander]’s code, he actually put a nice flow diagram on his website. Embedded after the break is a video of the system working.

Continue reading “Using A Door Handle Conductivity To Detect Intruders”