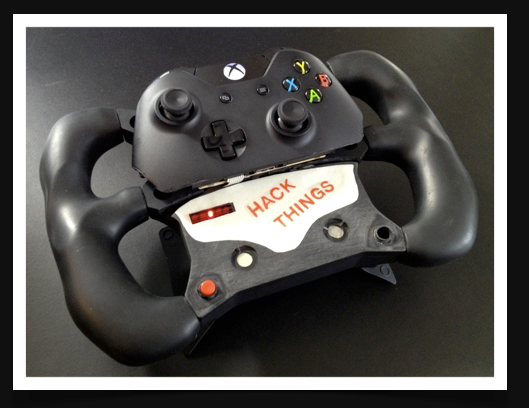
 Buy an Xbox One controller and hack it immediately? That’s exactly what [tEEonE] did so he could merge it with a Simraceway SRW-S1 steering wheel. He loves racing games and was psyched to play Forza 5. He already had the steering wheel, but it’s strictly a PC peripheral. [tEEonE] wanted the wheel to control the steering, gas, and brakes and found both the XB1 controller and the SRW-S1 well-suited to the hack.
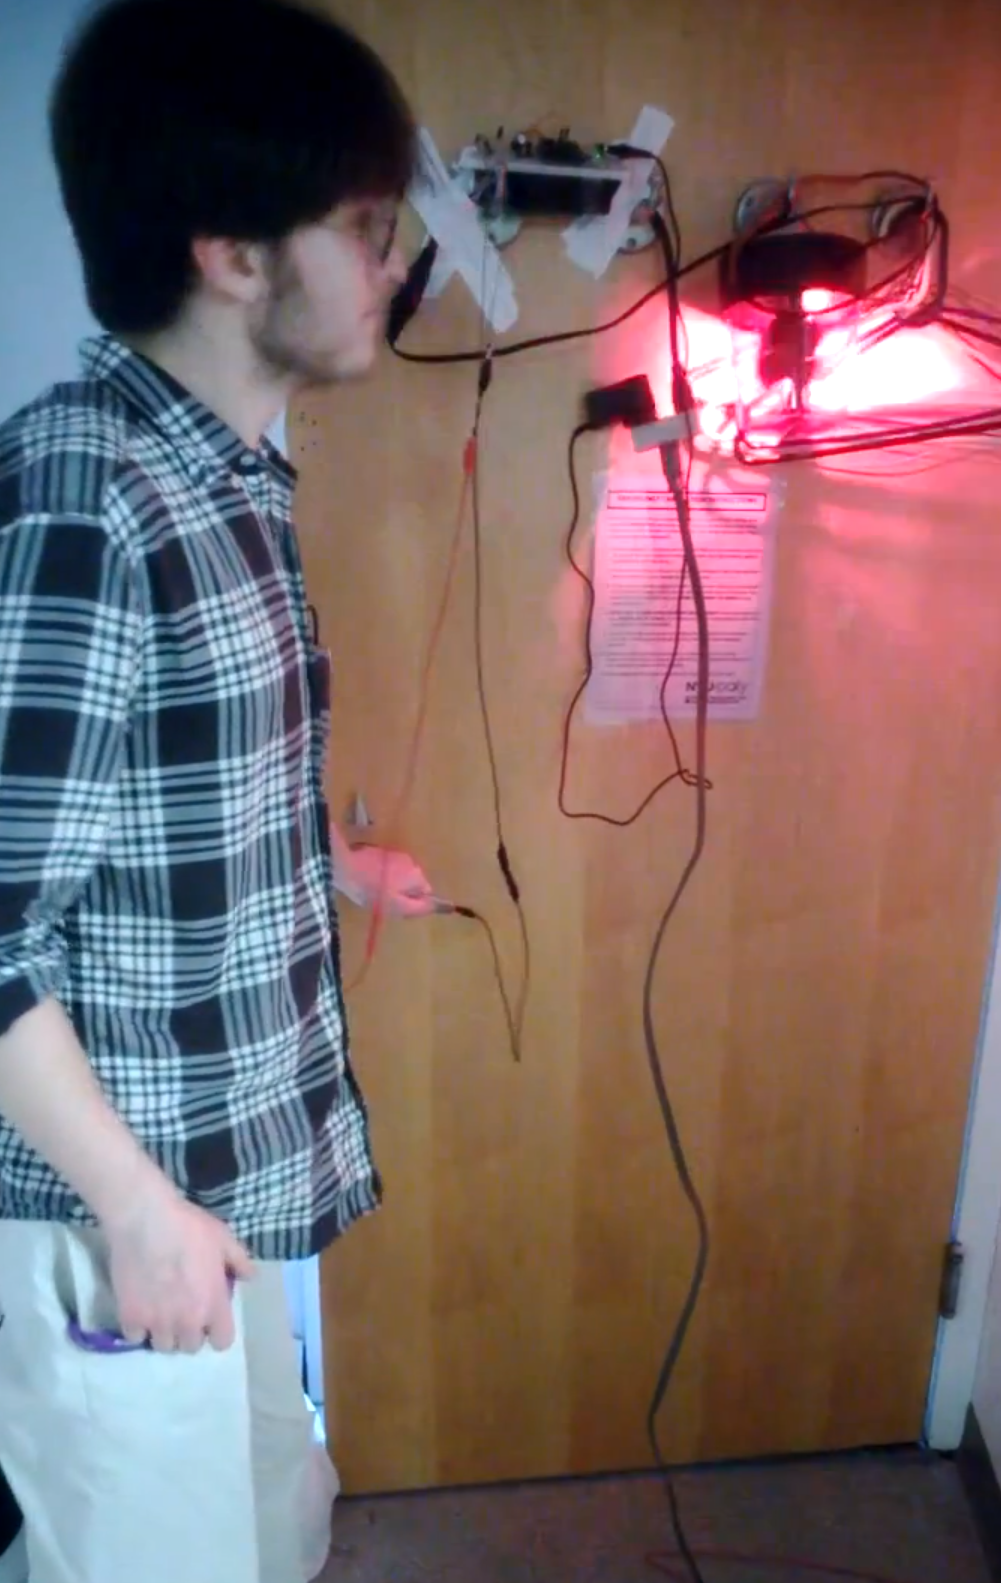
For steering, [tEEonE] substituted the SRW-S1’s accelerometer for the XB1’s left joystick pot. He connected the X and Y to analog pins on an Arduino Pro. Then he mapped the rotation angles to voltage levels using a DAC and wired that to the XB1 joystick output. The XB1 controller uses Hall effect sensors and magnets on the triggers to control the gas and brake. He removed these and wired the SRW-S1 paddles to their outputs and the XB1 controller is none the wiser.
He also rigged up a 3-point control system to control the sensitivity and calibrate the angles: a button to toggle through menu items and two touch modules to increment and decrement the value. These he wired up to a feedback interface made by reusing a 15-LED strip from the SRW-S1. Finally, he had space left inside the housing for the XB1’s big rumble motors and was able to attach the small motors to the gas and brake paddles with the help of some 3-D printed attachments. Check out this awesome hack in action after the break.
Continue reading “Dr. Frankenstein’s Wireless Xbox One Steering Wheel”