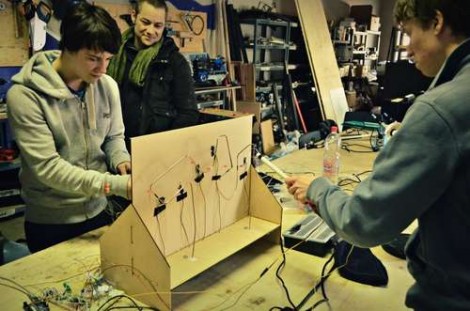
Programming An Arduino Using An Audio File

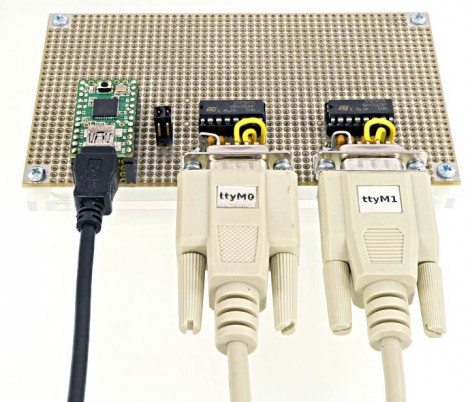
This proof-of-concept is just waiting for you to put it to good use. [Mike Tsao] wrote an Arduino sketch that lets him decode incoming audio data which could be used to program the device. He’s calling the project TribeDuino because it decodes an audio file which is actually the firmware update for a Korg Monotribe.

Earlier in the month [Mike] read our feature on a project that reverse engineered the audio-based firmware update for the Korg hardware. He wanted to see if he could write some code to read that file on his own hardware. All it took was an audio jack and two jumper wires to get the Arduino ready to receive the audio file. His firmware reads the Binary Frequency-Shift Keying encoded data as the audio is played, then echos a checksum to prove that it works.

This would be a fantastic addition to your own projects. Since the audio connection only needs to be mono, it only takes just one Arduino pin to add this jack (the other is a ground connection). Having just played around with alternative ways to push data to a microcontroller ourselves, we might give this a try when we have some free time.

dinos-new-years-ball-drop

Build Your Own Mini Ball Drop For New Year’s Eve

[Dino] wanted to make this New Year’s celebration a bit more interesting, but he can’t make it to New York for the ball drop. Instead, he decided to make his own mini display in his workshop. Obviously he’s working with a slightly smaller budget than the folks at Times Square, but we think his display is pretty neat. If anything, [Dino] can at least guarantee that his New Year’s is 100% Seacrest-free.

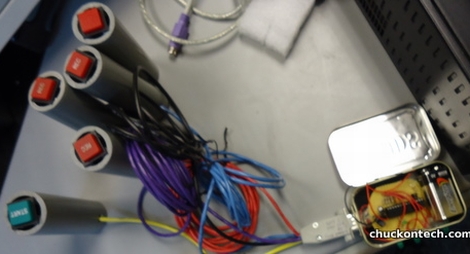
The ball drop is made up of five ping pong balls, each backlit by a 10mm LED. The LEDs and ping pong balls were mounted on the electron gun from a broken oscilloscope, giving it a cool look. The balls are lit one at a time by an Arduino, which illuminates each one for 15 seconds while the final minute of 2011 is counted down. Once midnight hits, a flashing “2012” sign illuminates while Auld Lang Syne plays from a tiny speaker.

The musical part of this build is something that [Dino] spent a lot of time on. He thoroughly explains how he translated the song from sheet music into its digital form, a process that would be helpful for beginners to watch.

Continue reading to see how the display was built, and if you’re just antsy to see the ball drop in action, a short demo can be found at 12:13.

Continue reading “Build Your Own Mini Ball Drop For New Year’s Eve”

StripInvaders Puts Colored Lights Everywhere

There’s not much to be gained by living in a discotheque but colored lights are awesome, especially when they’re as well implemented as [michu]’s StripInvaders.

The StripInvaders project takes a gigantic 5 meter LED strip with WS2801 controllers and turns it into an Ethernet-enabled 24 bit display with the new Arduino Ethernet. While the Ethernet-enabled may seem a little superflous, [michu] implements it quite nicely. The entire 5 meter LED strip can be controlled from a tablet or smartphone.

Apart from a tablet/smartphone interface with OSC, there’s also mDNS support so we’re sure the StripInvaders could make for an interesting LAN party with the appropriate scripts. While the cost of the LED strip itself is fairly high, we’re sure some Hack a Day commenter will come up with a cheaper solution.

The firmware for StripInvaders has been posted on Github, but for a real treat, check out the demo after the break.

Continue reading “StripInvaders Puts Colored Lights Everywhere”

One Way To Reuse Your Christmas Lights Post-holiday

[Andrew] shows us one way to reuse all those strands of Christmas lights you used for decoration this year. He had a friend that was helping with stage props for a local musical and ended up using his skills to build a lighted sign with some animation capabilities.

The original plan was to cut out letters for a sign by hand and ring them with white Christmas lights. It is possible to hand cut parts reasonably well, but [Andrew] knew he could get a much better result in less time using a CNC ShopBot to make them. He didn’t know the spacing for the lights so waited and drilled holes for them by hand. Each strand is connected to a relay, then driven by an Arduino. They turned out great as you can see in the clip after the break.

This is a timely hack, because it uses plain old while incandescent bulb strands which will be going on sale in the next few days. Usually you can get them on clearance for a dollar or less so plan ahead and hit the big box store early. Continue reading “One Way To Reuse Your Christmas Lights Post-holiday”

Arduino Notebook Cover Makes It Easy To Tinker Anywhere

arduino-notebook-cover

[Erv] was putting his holiday shopping list together and decided that instead of buying his friends something from the store, he would give them something a bit more useful. A former Electrical Engineer by trade, [Erv] typically prefers PIC microcontrollers, but he says that Arduinos are just so convenient to use for prototyping that he likes to always have one on hand.

He figured that his friends might enjoy having easy access to an Arduino as well, so he made them some slick ZapBook covers which enable them to have a prototyping platform on hand at all times. The cover is made from a PCB and includes a socket for an Arduino Pro Mini, along with a handful of built-in LEDs. He has extended a few other I/O pins from the Arduino as well, but he says that the small solder bridges connecting the LEDs can be removed in a pinch, freeing up 8 additional pins with ease. We are pretty keen on the idea of an easily portable prototyping setup, though it doesn’t hurt that [Erv] incorporated a Hack a Day skull with light up eyes into his design either!

We’re not sure if he’s planning on releasing the schematics for the board, but the notebooks would be pretty useful for any hackerspaces hosting beginner Arduino programming classes.

Automatic Flashlight Tag Damage Sensor

You’re out at night and playing a boisterous game of flashlight tag. But how can you tell if you’ve been mortally wounded by your opponents light beam? [Kenyer] solved this problem by building a flashlight tag damage sensor which is worn by each participant. It adds a bit of the high-tech equipment used with laser tag while keeping a low-tech price tag.

The sensor relies on a light dependent resistor to register hits when a flashlight beam passes through the round window. It will only register one hit in a three-second time period. At the end of the game, the total number of hits recorded can be flashed back using an on-board LED to see who is the victor. You can see a demo of this functionality in the clip after the break.

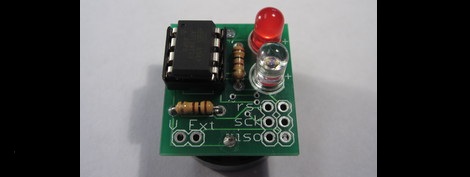
[Kenyer] started with a breadboard prototype using an Arduino as the driver. Obviously the cost of an Arduino for every player is a bit ridiculous. He scaled down the project, running the Arduino code on an ATtiny microcontroller. Continue reading “Automatic Flashlight Tag Damage Sensor”

Computer-aided Paint Brush

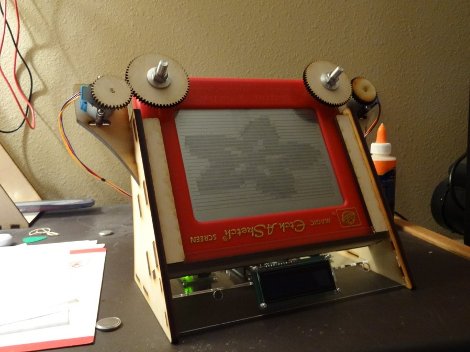
[Nirav] painted this masterpiece by hand… with a little help from a computer. He calls it the semi-automatic paintbrush because you do need to move it over the canvas by hand, but a computer decides when to dispense the ink.

He’s using a piece of hardware we looked at back in September called the InkShield that got a boost from Kickstarter. It’s an Arduino shield that drives an inkjet printer cartridge. The trick is how to know when the cartridge is in position for printing.

The system uses visual processing for that. [Nirav] added an IR led to the cartridge, and uses a camera to extrapolate its position. He actually reused a Python homography module which he had written for use with a projector. That setup was developed as a digital white board, but works just as well for this purpose.

He mentions that results like this won’t be featured in an art museum. But the look is unique, and we’d love to make a set of geeky thank-you notes using the technique.