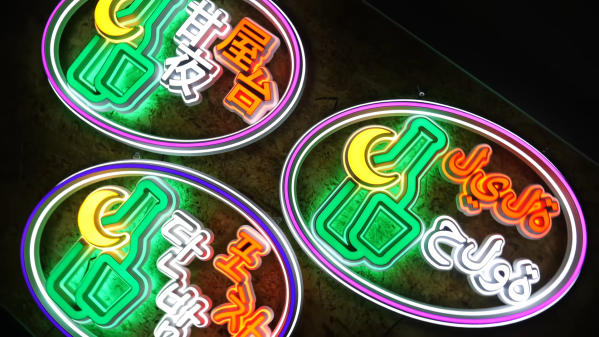
Want to turn a scaled vector graphic into a multicolor 3D print, like a sign? You’ll want to check out [erkannt]’s svg2solid, a web-based tool that reads an SVG and breaks the shapes up by color into individual STL files. Drag those into your slicer (treating them as a single object with multiple parts) and you’re off to the races.

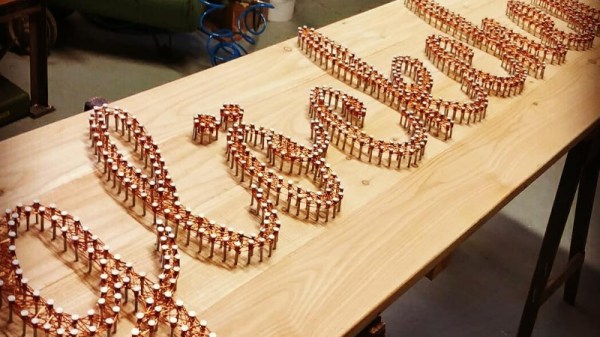
This is especially handy for making 3D printed versions of things like signs, and shown here is an example of exactly that.
It’s true that most 3D printer software supports the .svg format natively nowadays, but that doesn’t mean a tool like this is obsolete. SVG is a 2D format with no depth information, so upon import the slicer assigns a arbitrary height to all imported elements and the user must make any desired adjustments manually. For example, a handy tip for making signs is to make the “background” as thick as desired but limit colored elements to just a few layers deep. Doing so minimizes filament switching while having no impact on final visual appearance.
Being able to drag SVGs directly into the slicer is very handy, but working with 3D models has a certain “what you see is what you get” element to it that can make experimentation or alternate applications a little easier. Since svg2solid turns an SVG into discrete 3D models (separated by color) and each with user-defined heights, if you find yourself needing that then this straightforward tool is worth having in your bookmarks. Or just go straight to the GitHub repository and grab your own copy.
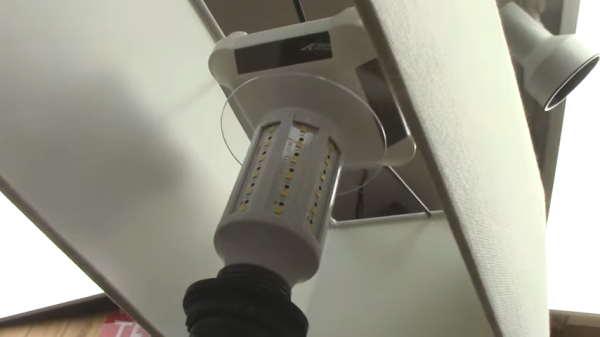
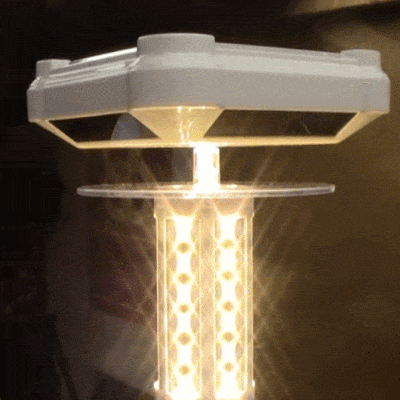
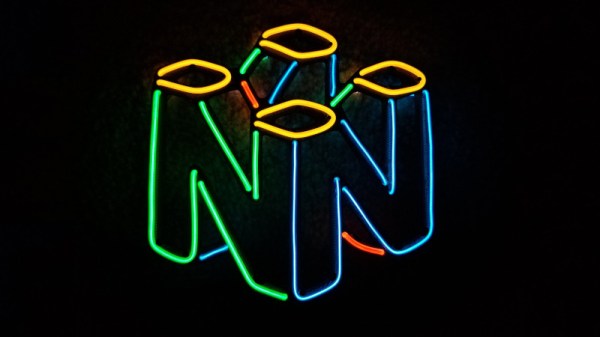
On the other hand, if you prefer your 3D-printed signs to be lit up in a faux-neon style then here’s how to do that in no time at all. Maybe there’s a way to mix the two approaches? If you do, be sure to use our tips line to let us know!