WiiMote Accessibility Modifications

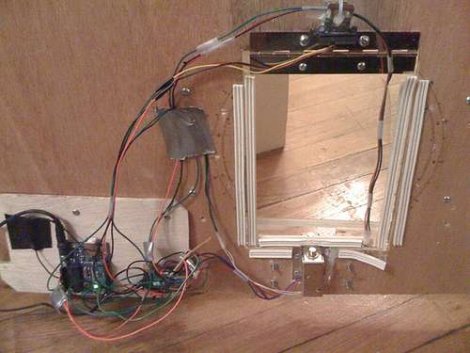
[Catea] has put some considerable effort into making a wiimote more accessible to people with physical disabilities. He started by extending the buttons out to much larger versions mounted on a lap tray. This makes playing games much easier for those that are lacking the fine motor skills to hit the buttons on the wiimote. This alone is a pretty substantial improvement, but [Catea] wanted to do more.

Taking the whole idea further, [Catea] published a second instructible where he outlines the process of adding two Arduinos and  Xbee modulse to make the external buttons wireless.

5 Tones, 1 Arduino

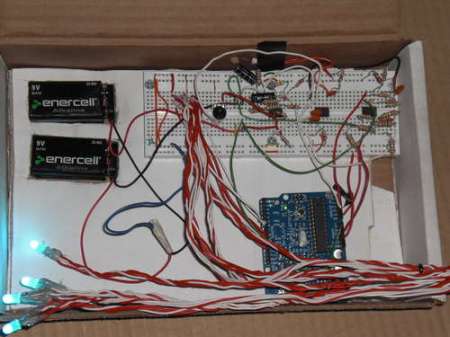
Because the Arduino is in such high demand for producing multiple musical tones at the same time; [Jeremy Blum] has successfully figured out the math and other necessaries that will take your once previously single tone producing MCU and turn it into a 5 tone producing machine. unsurprisingly its really just some creative use of PWM control but it all works out in the end anyway and helps prevent you from purchasing additional sound generating chips. This truly does open up some new doors, as [Jeremy] shows with his still in production thingamakit like project: ReacXion.

Auxiliary Scoreboard Reads Status Directly From Memory

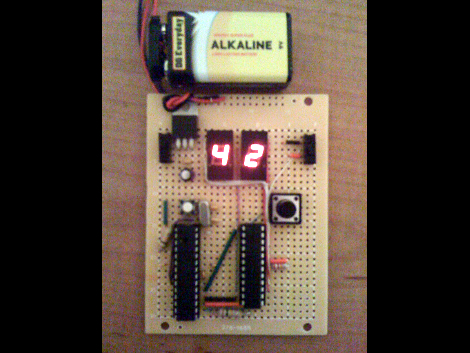
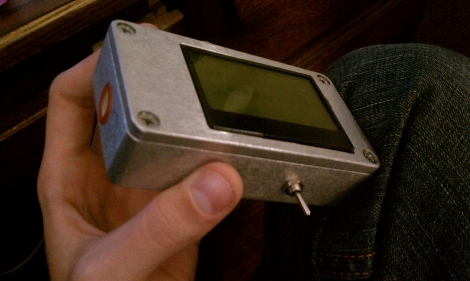
[StaticChanger] built a scoreboard to display his kill statistics from Halo for the PC. Yes, we’ve seen kill counters before, but we like the way that he gathers the data. This project is reading the score directly from an address in memory.

Using a program called Cheat Engine, the memory used by a program can be sniffed. After a few passes, the program will help you find a static memory address for your desired data. Once you have that it’s just a matter of using a pointer to that address in your desired programming language. In this case, a C# program polls the value and instructs an Arduino to display the value on a couple of 7-segment displays. Voila, the number appears next to your screen as you see in the image above.

WiFi Controlled Arduino-bot

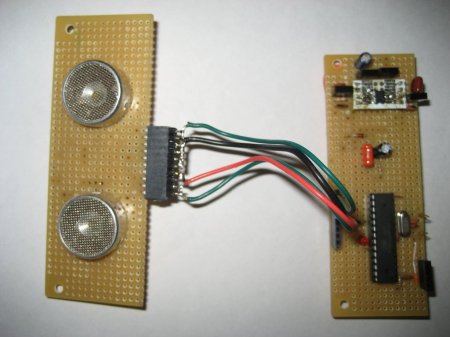
This little robot was built very quickly thanks to the rapid prototyping capabilities of the Arduino. It uses a WiShield 1.0 from AsyncLabs to connect to a wireless network for control via a TCP connection. The body and wheels are wood, with a servo for each motor and a third used to scan a range finder from side to side. We’ve embedded a triad of demo videos after the break that take you through the various feature development of this platform. You’ll see control via a hacked Zipit, as well as joystick control. There’s also a couple of stages of autonomous movement where the distance information comes into play.

Continue reading “WiFi Controlled Arduino-bot”

Todays Arduino Moment

We have gotten a number of Arduino tips in the last couple days, and we thought we would combine them for your convenience. The first tip we received was for some hints provided by [Bill] on some digitalWrite() alternatives. Similar to some previous research we covered, this tip also includes some tips on how to make the direct register writing a little easier by using #define to simplify things. Obviously this wont be as idiot-proof as digitalWrite() is, but we think you can handle it.

Our second tip is for a set of OLED displays from 4dsystems sold as Arduino Shields. They have a couple of different sizes from .96″ to 1.7″, depending on your needs and budget. There is no official display library for them yet, but 4dsystems have been kind enough to provide a few resources to work from. Hopefully we’ll see a few great applications from this, maybe a much bigger pixel Mario? A much smaller Game of Life? Feel free to send us your projects, or leave your ideas in the comments!

RGB Lamp Bulb Replacement

[youtube=http://www.youtube.com/watch?v=TwZBMJS1teg]

Wanting to make some unique and interesting gifts for his nieces as well as improve his PCB skills and expand beyond Arduino, [Jay] has made these color changing Ikea lamps. He’s using an ATTiny2313 for the brains, a handful of RGB LEDs plus 3 warm white LEDs to keep the wife happy. you can download the schematic and PCB files if you want to reproduce this one yourself. You can see his PCB making skills have improved since the nursery room temperature monitor. We think his nieces will be pleased with their gifts.

[via HackedGadgets]

Solar Panel Charger Analysis With Ladyada

[vimeo = http://vimeo.com/13936259%5D

[Phillip Torrone], one of the original crew of HackaDay, now working with [LadyAda] tipped us off to this video of her explaining the device they built for configuring the charging circuits to be used with their solar panels. Unlike most of their tutorials, this one is not intended to be a final product sold on their store. Rather, this is a project that helps them deliver the best quality they can.

The unit itself is built around an Arduino and can log the statistics to an SD card, show battery voltage, panel voltage, and current from panel to charger. You can see in the video above how she uses this to refine her design in real time for optimal results.