CNC Project Roundup

We asked for CNC projects, and wow did you guys deliver!

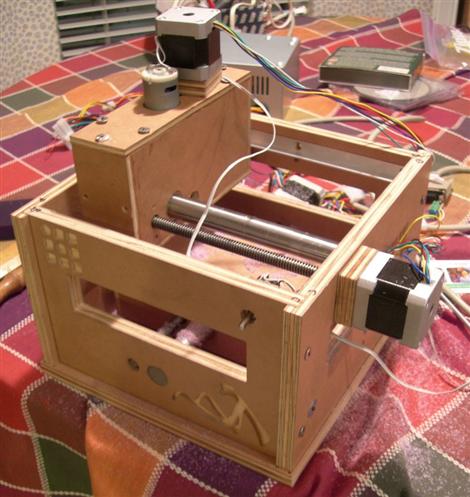
First up is [J-J Shortcut’s] MDF based CNC. He’s made three thus far, with the most recent costing about 180 euro and taking 2 months to build.

[Qwindelzorf] has also constructed a multitude of CNC machines including this industrial size router and this smaller miller.

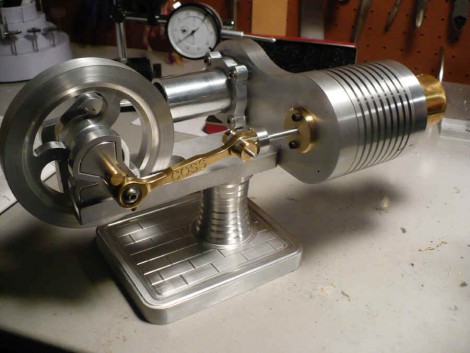
Finally, [Mick’s] large steel CNC which just made its first cut only a week ago!

Keep up the great work guys, CNC machines are not easy to build and your accomplishments are ones for the record books.

Industrial CNC Controller Retrofit

[Jerry] had a beefy CNC lathe whose controller wouldn’t respond. He cracked open the case and found a large scorch mark surrounding one of the servo controllers. Rather than just replace the IC and still be stuck with a 23-year-old controller he decided to retrofit the machine with modern controls.

The journey from a brick of steel to an incredible machine is fascinating. Using a combination of commercially available boards like the ModIO controller and custom-built circuits, he cleaned up control signals and give life to the lights on the original faceplate. The machine is now working beautifully with a new monitor, automatic oiling, and wireless connectivity.

Punching Out Parts

If you’re more of a code monkey than artist, it may be tough to transform your ideas into the 3D models necessary for fabbing. The folks working on openSCAD apparently feel our pain.

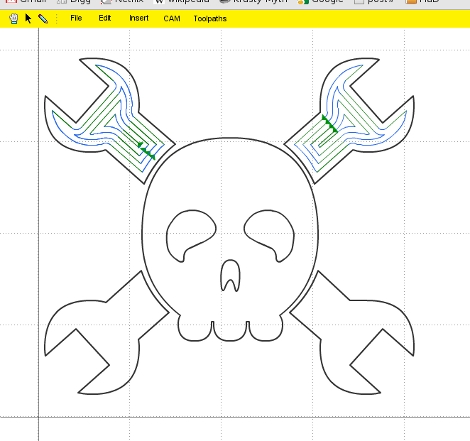
openSCAD uses a language somewhat reminiscent of C for creating models. A preview of the model is rendered alongside your code. Fully cross-platform, it runs on Linux, OS X, and Windows. Much like SketchUp, openSCAD can also extrude 2D outlines into models. This feature comes in very useful if one already has a set of technical drawings for a part. With no price tag, it’s pretty affordable during this costly season.

Sarrus Linkage 3d Printer

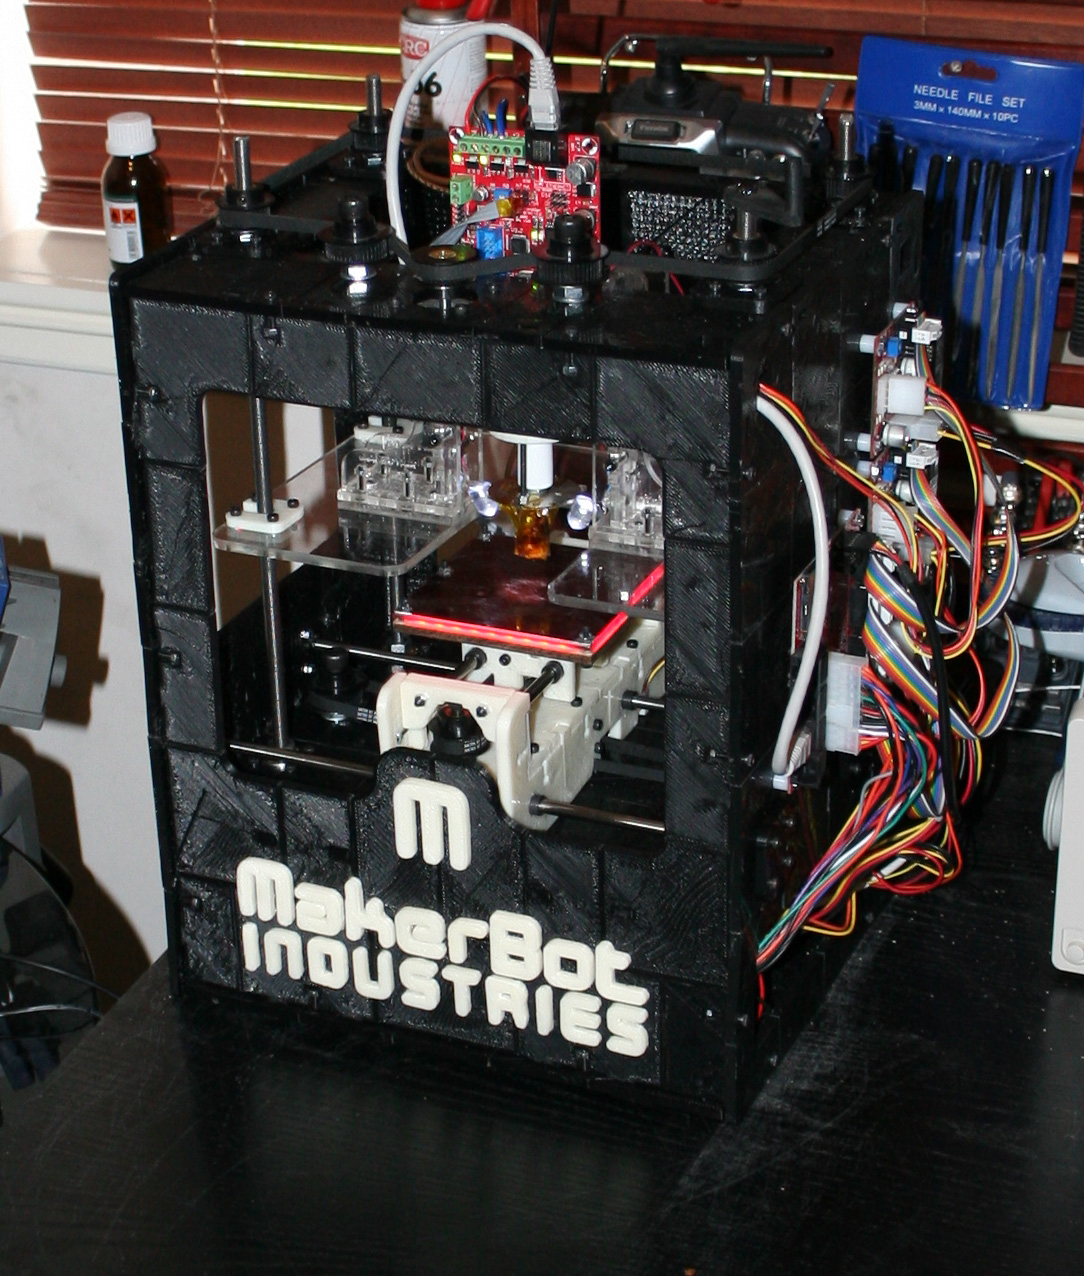
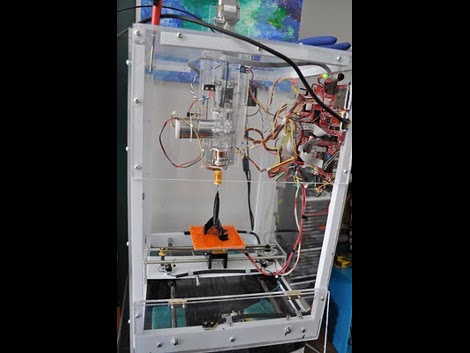
[fdavies] has been working on his own 3d printer. He is using printed parts, but unlike the RepRap he’s purposed Sarrus linkages in his design. If it works, this should remove the need for precision rods in building these types of CNC based machines. He’s also recovered DC motors and optical encoders from some inkjek printers. Given that many retailers require you to take junky inkjets home when you purchase a computer we’re betting you’ll find friends happy to part with their unused hardware. We’re impressed with the motion of the prototype seen after the break. Let’s hope this leads to the next generation of affordable 3d printers.

Continue reading “Sarrus Linkage 3d Printer”

CNC Circuit Board Fabrication

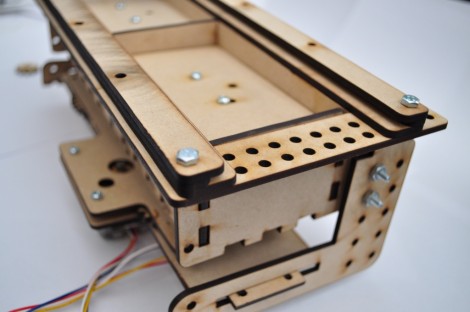
[Jonathan Ward’s] pcb mill is as impressive as it is inexpensive. Twenty-six plywood parts, labeled A-Z, are used to assemble the machine along with the customary precision rods, stepper motors, and router assembly. His bill of materials prices the unit at $458.18, a small price to pay in order to forgo a multi-step etching process.

His test board shows some fairly fine pitch that could turn out most home-project circuit boards. We’ve contacted [Jonathan] regarding the specifics of milling the plywood parts out of a 2 foot by 4 foot sheet of plywood. Watch for an update with any information he’s willing to share. We hope he’ll make the milling files for the plywood parts available so that you can build a copy of the device for your own use.

[Thanks Charles]

DIYLILCNC: Do-it-yourself CNC Mill

DIYLILCNC

The DIY LIL CNC project is the newest member of the homebrew fabrication scene. This is a three-axis CNC mill that can be built by anyone with basic shop skills and about $700 in their pocket. Many of the materials can be acquired from the likes of Home Depot: the basic framework is assembled from Masonite, while other cost-cutting measures include the use of skate bearings and a common Dremel tool for powering the cutting bit. About half of the cost is for the HobbyCNC driver and stepper motor package that runs the show.

The instructions for the DIY LIL CNC are distributed under a Creative Commons license, allowing for modification and distribution with few restrictions. They’re well-written and quite thorough, including all patterns and a complete bill of materials with suppliers, part numbers and costs. As documented, the ’bot can produce parts up to 12 x 14 x 2 inches, but the project’s creators offer some suggestions on adapting the design for larger work. It’s not self-replicating like the RepRap aims for; you’ll need access to a laser cutter for some of the parts. If you can clear that hurdle, this looks like a great introduction to CNC production.

CNC Used To Make 3D Video Using One Camera

3d-video-one-camera-cnc

[Gabriel] is making 3D movies using only one camera. This should be impossible because true 3D needs to be stereoscopic, with images from different perspectives for each eye. He’s worked this out by mounting the camera on a CNC gantry and programming it to make two passes along slightly different paths. He’s plotting the camera paths using SketchUp and a plugin that exports paths as CamBam files, automatically adjusting for perspective. The two videos are then merged using Stereo Movie Maker.

We’ve embedded both a 3D video as well as behind-the-scenes filming video after the break but you’ll need the red and blue 3D glasses to view the former. It’s not too much of a stretch to tweak his methods and use this for stopped motion video where one button press takes a frame for each eye. Now, who will be the first to bring us a Star Wars remake filmed in stopped-motion 3D using the original action figures? Continue reading “CNC Used To Make 3D Video Using One Camera”