Adding Sound To Children’s Museum Exhibits

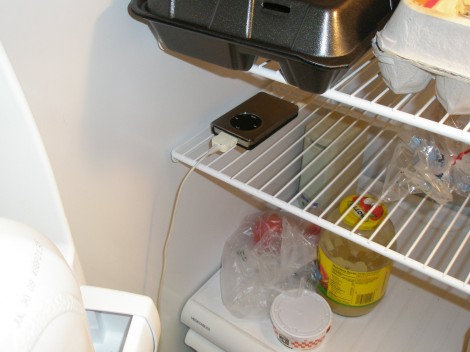
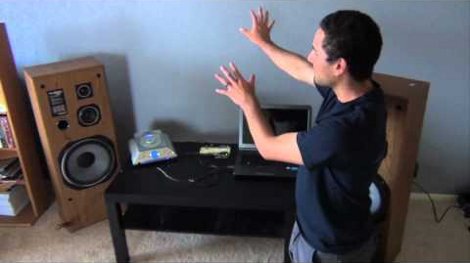
Believe it or not, the local Children’s Museum staff was happy that [Bill Porter] left this mess of wires and equipment in one of their offices. It makes up an ambient sound system for a couple of their exhibits. A movie without sound just doesn’t fully entertain, and the same can be said for these exhibits. The ambient sound that goes with a boat room, and a hospital room in the Museum really helps to snag your attention. And [Bill’s] material cost came in at just over $200 for both rooms.

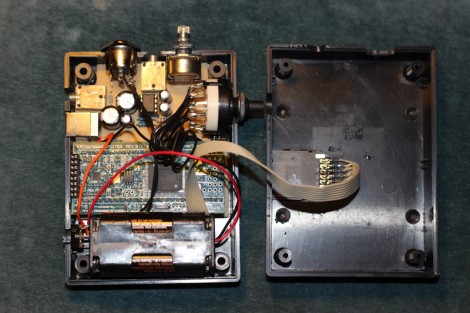
He started off by purchasing a speaker, amp, and MP3 breakout board (SparkFun). The speaker mounts in one of the ceiling tiles, with the wire running to a different room where the audio equipment is housed. There were a couple of problems with this; the museum staff forgot to turn on the system, and for all of its expense this only provided one room with audio. Bill figured that since only one speaker was being used he could make an audio file with a different clip on the left and right channel, then feed them to different rooms. He also added that programmable timer so the sounds will turn themselves on and off.

This isn’t the first time we’ve seen hacks end up as museum pieces. Check out this other project that rigs up some interactive telephones.

$3 Adds Sweet Tunes To Your Project

It’s a fun time to design your own MP3 player, lovingly adding in features to a meticulously crafted user interface. But sometimes you just want a quick and cheap way to add music to a project. [Jeff Ledger] will show you how to do just that using some knock-off hardware from overseas. Instead of a proper breakout board — which can cost a bundle — he used a generic MP3 player acquired for $3 from an eBay seller.

Cracking open the case you’ll see that you actually get a lot for your triad of Washingtons. We know, it may be of questionable quality (see this feature about cheap PSU problems) but we’re not building mission critical hardware now are we? Inside is a rechargeable Lithium battery for use with another project, and a chip-on-board device with attached SD card slot, audio jack, and USB port. The battery inputs are used to solder the MP3 pcb to the power rails on your project. To control the playback, just make connections to the button pads as [Jeff] describes in his post. It sounds like this will work with any MP3 player which runs at either 3.3V or 5V.

Microcontroller Based Audio Volume Level Compressor

In an effort listen to his music on shuffle without the need to touch the volume knob [Mike] build his own automatic volume leveling hardware. He knows what you’re thinking right now: there’s software to do that for you. But building the feature in hardware is a great stepping off point for a project.

He started the prototype using LabVIEW along with a Mobile Studio development board and a Bus Pirate. This project will be a mix of digital and analog components and it’s a bit easier starting off the exploration with these tools rather than jumping right into the AVR code.

The circuit will sample the incoming audio, modify it accordingly, and output the result. The output side is where the Bus Pirate really shines. He’s using some MCP42010 digital potentiometer chips to make the necessary changes to the levels. They communicate via SPI and it’s nice to have the Bus Pirate’s terminal to issue commands without the need to reflash a microcontroller.

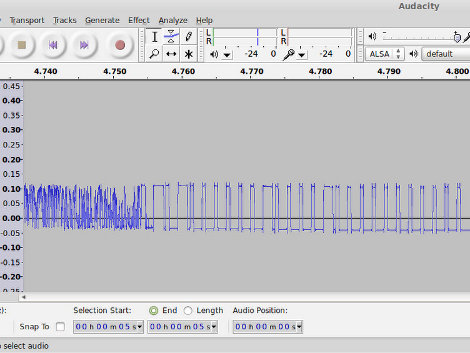
[Mike] made a video showing an audio waveform with and without the hardware leveling. Sound quality is still great, and each clip is played at a reasonably comfortable listening level. We’ve embedded that demonstration after the break.

Continue reading “Microcontroller Based Audio Volume Level Compressor”

Snap Together Boombox Great For Taking Your Music On The Go

fab-boombox

[Matt Keeter] wanted to take his music on the go, and wrote in to share a great looking boombox he built for under $100. His goal was to put something together that could be made in pretty much any hackerspace/fab lab, so his boombox was made using simple materials.

He first modeled the boombox using cardboard, later fabbing it from wood on a laser cutter. The design allows the stereo to be snapped together, though [Matt] says that some joints were glued as an extra precaution. Inside the boombox resides an custom PCB he built which incorporates an ATmega328, an MP3 decoder, and an SD card to store his music.

One feature we really like is the control scheme [Matt] built into the boombox. Each of the capacitive touch buttons are positioned on top of a copper pad, which are wired into the control board. He says that while good in theory, he had a difficult time getting the buttons to work properly, though they seem to do the job well enough.

If you’re looking for a portable music solution and have access to a laser cutter, be sure to check out [Matt’s] page for schematics and firmware.

The Most Evil Gift Ever

[form], a new user on the Hack a Day forums, was thinking, “what Christmas present i can send a friend, that would be really annoying?” We think he really hit it out of the park with this one. It’s a modified computer speaker that will play “explicit” audio until the power button is pressed 200 times and the light sensor is covered. When this present is unwrapped, the room will fill with sounds not suitable for children, the elderly, or those with heart conditions.

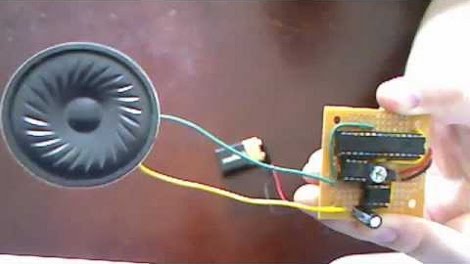
The build is based around an old powered computer speaker. Six Li-ion batteries from an old laptop provide the power, and a very simple circuit pulls sound off an SD card with the help of an ATtiny45.

The schematic for the build looks easy enough, and like a good builder, [form] included the source and HEX files. Sadly (or thankfully), there is no video of the gag gift in action; probably a good thing, because this seems like a great way to lose a friend.

Improving Terrible Computer Speakers

[Victor] likes to watch movies on his laptop, but the tiny speakers in his machine don’t do [John Williams] and other perfectly fine soundtracks justice. To pump up the jams a little bit, [Victor] got a pair of Trust Mila 2.0 speakers for Sinterklaas. Unfortunately, these speakers were terrible – noise everywhere, tinny output and a brighter-than-the-sun blue LED. These problems were fixed once [Victor] replaced the amplifier in both speakers.

After shopping around for a new power amp to go in each speaker, [Vic] hit upon the MAX9575 3.2 Watt amplifier. This little guy met all of [Victor]’s requirements. The only problem is that the MAX9575 is only available in a TQFN package.

After a deep breath and much sweat of the brow, both amps found a new home in their respective speakers, deadbug style. It probably would have been easier to etch a PCB, but we’ll give a tip of the hat to [Victor]’s fine motor skills anyway.

Because of the insane soldering skill demonstrated in the title pic, [Vic] now has a really nice pair of speakers. Check out the demo of the improved speakers after the break.

Continue reading “Improving Terrible Computer Speakers”

Muff-Fones Sound Dirty; Well, Not Literally

Baby, it’s cold outside. But that doesn’t stop [Grissini] from listening to some tunes when not indoors. He added headphones to a pair of ear warmers. We guess you could call them ear muffs, which is where the name comes from. But these are the newer type that wrap around the back of your head.

[Grissini] picked up a set of headphones that similarly wrap around the back of your head. After pulling the speakers out of their plastic enclosures he needed a way to soften the sharp edges when they’ll be pressed against your ears. Sugru once again shows its versatility by providing a soft, self-bonding, and moldable surface. The last step is dead simple, as the ear warmers already have a fabric pocket by each ear perfect for accepting the speakers.

Now we need this to go one step further, by making them wireless. We figure hacking in a bluetooth headset board would make it work with your cellphone. Or you could roll your own minimal MP3 board and house it in the part that wraps around your neck.