OLED Displays And Small Microcontrollers

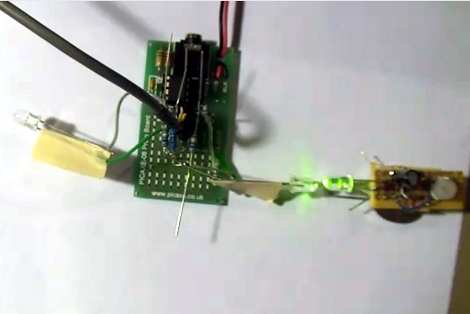
If you’ve ever thought of utilizing a small and inexpensive OLED display in your project [Rossum] has the details you need to get started. In the past we’ve seen him take a tour of available LCD screens and this is much the same, detailing his look at three different models. In the video after the break each is connected to a driver board that he made. The boards have two important components, the first is a boost driver for the 12-16V input the screens need, the second is an octal buffer necessary if you are using a 5V microcontroller. These take care of the hardware considerations, making it simple to drive them with a chip of your choosing.

Continue reading “OLED Displays And Small Microcontrollers”

Creating Art From An Old Christmas Tree

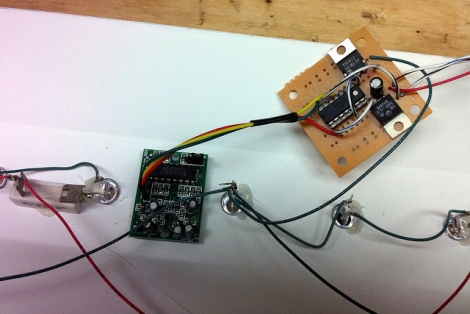
So you manged to get a great deal on a fake tree during the after Christmas sales, but what should you do with your old one? If it was lighted with fiber optics you can reuse the strands to create your own star map. [Mr Trick] shows how to disassemble one of these trees, grouping the fibers by length. He built a wood frame, then covered it with a layer of cardboard and another of black fabric. From there the painstaking process of routing the fibers in a way to looks convincing starts.[Mr Trick’s] final product uses multiple LED light sources and even includes RF control.

Think this project is large and time-consuming? Check out the same idea built into a bedroom ceiling.

Rovio Headlight Hack Looks Stock

Even the most thorough inspection may not raise the alarm that this Rovio has been hacked to include LED headlights. [Adam Outler’s] super clean work puts the two light sources on either side of the camera for maximum effect. It may not provide as many Lumens as our external headlight hack, but we were never all that excited about the black project box that housed it. [Adam] built the circuit on a scrap of perfboard, using a transistor to connect the LED pair to the battery, with the original LED power wire going to the base in order to switch the transistor.

Dome Light LED Retrofit

One of the bulbs in the dome light of [Pete’s] car burnt out. These were a bit hard to get at for replacement so he thought he’d try something that would last longer, and have no problem standing up to the vibrations that go along with automotive electronics. But plug-in LED replacements cost more money than he was willing to spend. Luckily there was a dollar store next door to the auto part shop, so he bought three LED touch lights for the dome and cargo bulbs.

After cracking them open he found that the LEDs were wired in parallel. He needed to put these in series in order to take advantage of the voltage drop. After de-soldering the bulbs he measured the characteristics of one, then calculated the voltage drop and resistor value using a worst case scenario of 14V to avoid damage to the light when the engine is revving high. From there he cut the traces on the board and rewired them. The reworked module fits nicely and as you can see in the image, gives a more pleasing light color than the orange of the stock bulb.

Flower With PCB Pot And LED Blossoms

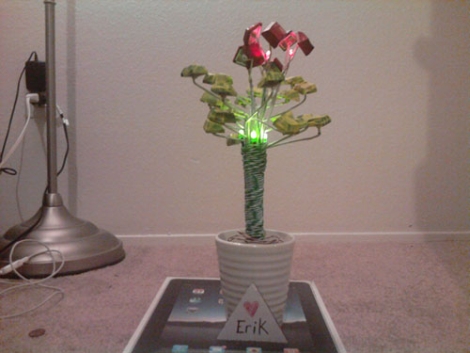
[Johannes Agricola] recently held a workshop at the Peace Mission in Goettingen, Germany where he shared his RGB LED flowers. The small round PCB hosts an ATmega88 microcontroller which is running the V-USB stack so that the unit can be controlled by a computer. Each flower blossom is an RGB LED connected with four enameled wires which, when twisted together, make up the stem of the flower. [Johannes] took tons of pictures during the assembly while offering soldering advice along side the illustrations. The PCB is single-sided helping make this a great project for someone trying out surface mount component soldering for the first time. Or if you want something a little more free-formed try out this lemon-juice powered LED flower.

512 LED Cube

Get out the soldering iron and clear your schedule, it’s going to take you a while to assemble this 8x8x8 LED matrix which contains a total of 512 LEDs. We’ve looked in on a 3x3x3 cube, and [Chr], who is responsible for this one, has assembled a 4x4x4 cube before, but this one is quite a leap in complexity. It isn’t just physical assembly problems that increase with scale, you’ll need to consider a power supply too since one layer of a 3x3x3 cube would need at 90 mA, but a single layer of the cube above requires 640 mA to light all of the diodes. Multiplexing is handled per-layer, controlled by  ICs which share 8 data lines and are latched by a shift register. This means the display only requires 11 microcontroller pins for addressing. It is striking how well [Chr] explains the design process, and how cleanly he builds the driver circuits on protoboard. There’s a lot to look at and a lot to learn, not to mention the stunning results which can be seen in the video after the break.

Continue reading “512 LED Cube”