Reusing PCB Components


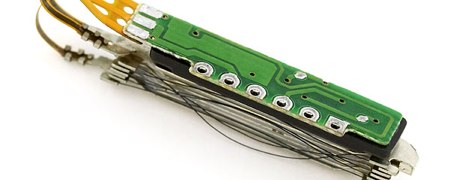
If you’re anything like us, you have a closet full of old electronics, some broken, some obsolete. You can stop using those as paperweights with the help of this guide that shows you how to recycle and reuse PCB components.

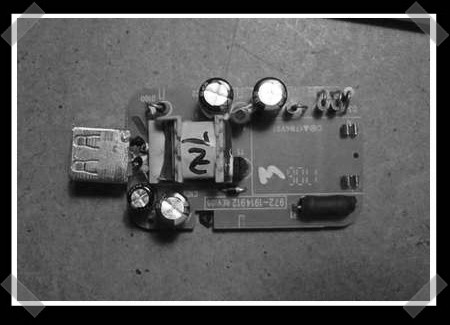
The first step of the process is finding electronics you don’t mind taking apart. Next place the PCB you’ll be stripping in a vice, with the components facing away from you and the solder side facing towards you. Grip the component you want with a pair of pliers, and apply a hot soldering iron to the solder that is holding the component. The solder will melt and allow you to safely and cleanly remove the component.

This process can be applied to virtually any component on an PCB, and the author of the guide, [Patented], got a lot of components this way, including resistors, capacitors, switches, audio jacks, and much more. Don’t forget to toss any free-floating metal or plastic parts in the recycle bin when you’re done. You can feel good about the fact that nothing was wasted, you found parts for your next project, and you cleared out some space.

ThingamaKIT: Make Your Own Thingamagoop


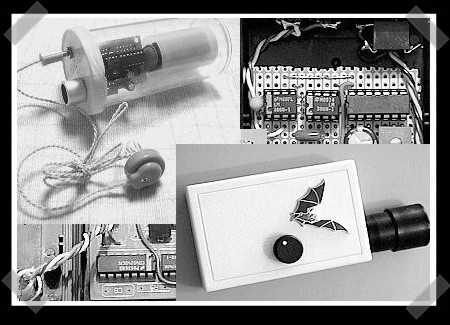
Bleep Labs’ Thingamagoop is a small synthesizer packed with wacky controls for generating unique sounds; you can now build an expanded version yourself with the ThingamaKit. Made “because there are not nearly enough beeping, zapping, bixxerfouping, anthropomorphic synthesizer monsters in the world,” it generates sounds of different pitches depending on the type and intensity of light hitting a photocell on the front panel. It’s most unique feature, is its LEDacle, which is something like a tentacle with an LED on the end. This can be pointed towards the photocell to modulate the sound. Output is through a 1/4″ audio jack.

Bleep Labs sells fully assembled Thingamagoops for $100, but the new DIY kit is available for half price. The kit version of the Thingamagoop has more controls, two photosensors, and two LEDacles. You can buy it with or without the case, and it doesn’t require any complex wiring. Look after the break for video of some Thingamagoops in action.

Continue reading “ThingamaKIT: Make Your Own Thingamagoop”

Ardupilot: Arduino Based UAV Autopilot


A short while back, [Chris Anderson] released an Arduino based autopilot. It rings in fairly cheap and being open source, you can tweak away. To add more functionality, he’s releasing a dual core version. Thanks to the second processor, it no longer requires an external hardware co-pilot. It uses an on-board GPS and features an ATtiny based fail safe. It’s still under development, but he’s made the design files available.

Beer Bot Will Pour You A Cold One


We love beer and we love robots, so guessing how we feel about this robotic bartender should be a no-brainer. Known as Mr. Asahi, the robot opens bottles and pours beer while taking your orders with aplomb and a jovial British accent. It also has a customized lazy susan with slots for bottles and notches for the robot’s hand to grasp.

Amazingly, this is not Asahi’s first beer pouring robot. That one requires you to do most of the leg work, though, so this one is a marked improvement. Best of all, it won’t ignore you when a person more attractive than you comes into the bar, and it won’t snub you for leaving a lousy tip. We now fear alcohol fueled robot rampages… they get more human every day. Video after the break.

Continue reading “Beer Bot Will Pour You A Cold One”

VU Meter Made With An LM3915


So here’s the situation: you have an audio device, maybe a boombox, perhaps one you built yourself, but it has no VU meter. No problem; building a VU meter is easy with these instructions from [Joe].

You’ll need either an LM3915 or LM3916 chip, a couple of bread boards, two audio jacks, ten LEDs, and a few other components. Wire them all together per the schematic, then plug an audio source into the input jack. You can plug your speakers or output device into the output jack, and you’re done. Keep in mind that LM3916s switch negative, so positive to positive wiring from LEDs to the bread board will be necessary. The wiring on [Joe]’s version is a bit convoluted, but it can be cleaned up on yours if you take the time. Video embedded below.

Continue reading “VU Meter Made With An LM3915”

Age Verification Cameras Easily Fooled


Nice try, Fujitaka. They manufacture cigarette vending machines in Japan, and were all set to roll out a new system of age verification cameras on their machines, which would scan the face of the buyer to look for sagging skin, wrinkles, age spots, and other signs of legal smoking age. The system is easily circumvented, however: people with a photo of an older person clipped from a magazine can fool the machine by simply showing the photo instead of their own faces.

Another aspect to Japan’s cigarette control is the Taspo card, which is an age verified ID issued to smokers of legal age or older (20 years old is the legal age in Japan). Taspo cards are required for over the counter purchases, and the majority of vending machines require them as well. Relatively few machines are outfitted with face recognition systems, but many more are set to ship in the coming months. Fujitaka claims they are working on a solution by improving the face recognition software, but we think it would be a lot easier to simply check the background of the image. Since the camera is static and always pointed in one direction, the portraits it captures should always have the same background. Someone please tell Fujitaka we just saved them a boatload of R&D money… until Guy Fawkes masks become more popular.

Another Helping Hand For The Work Bench


We like clever work bench accessories; especially the kind that make our projects that much easier. [rstraugh] put up his version of the ubiquitous helping hands: thirdhand++. The arms are made from modular coolant tubing that’s made for machine tools. With the basic arms in place, he created several attachments – like this PCB holder, a LCD holder, the usual alligator clips and even an oscilloscope probe holder.