[Alex] from Tinkerlog has revisited an old project with Synchronizing Fireflies NG. Fascinated by how fireflies blink at same rate and synchronize with each other, he built a digital version. Each board has an RGB LED and a phototransistor or photoresistor. A ping-pong ball is used as a diffuser. The blink rate is controlled by an ATtiny13v. The board power can be daisy chained, but each firefly mote operates independently of the others. The microcontroller has a fixed flash rate and monitors for other flashes. It attempts to sync by flashing earlier. The color of the LED expresses how satisfied the firefly is with its current sync. You can see a video of eight fireflies attempting to self organize embedded below.
Misc Hacks4131 Articles
RGB LED Cylinder
[Dave Clausen] from NYC Resistor sent in his open source RGB LED cylinder. We have seen many cubes in the past (even one that display low-res 3D video) so a cylinder is certainly a new concept and the RGB LEDs are a nice upgrade. The LEDs are wired in a 5-way multiplexed grid using four TLC5940NTs (16 channel LED drivers with internal PWM hardware) so each light is individually addressable. The best thing about this project, of course, is that he has source and EAGLE schematics availbale for download and both are licensed under Creative Commons.
[via NYC Resistor]
Simple Tracking In 3D Space
[kylemcdonald] has posted this how to build a simple 3D tracking interface. Using 6 resisters, some wire, aluminum foil, an Arduino, and a cardboard box, he was able to do 3D capacitive sensing. Coupling that with Processing, he was able to overlay an interface using augmented reality. The video above shows a 3D tic tac toe application. While it seems less than perfect, its pretty amazing for how simple it is.
Seen anything similar to this out there? What applications would be fun with this?
Name That Ware

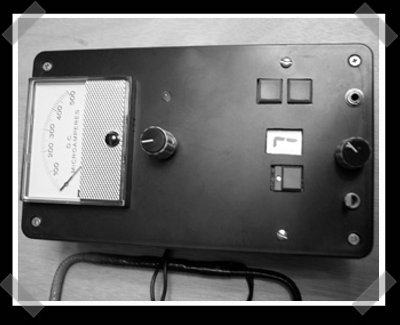
Last month we mentioned [bunnie]’s Name that Ware competition where participants try to guess the functionality of a random bit of hardware. We thought you might want to see another example; pictured above is the June 2008 ware provided by [xobs]. You can see a high res version here and an image of the daughter card as well. Be forewarned that someone has already posted the solution in the comments. At first glance there are quite a few interesting bits: board is copyright 1991, the 8-bit ISA connector doesn’t have any data lines connected, just power, and it’s got a lot of analog circuitry. Take a guess and then check out the comments on [bunnie]’s site to see the solution.
Home Made PCB Drill Press

[yellowduck] took some fantastic initiative with this home made PCB drill press. Many people have a rotary tool already. Just add some scrap wood and four hinges. The drill press isn’t perfect; it pivots a little as it lowers. This shouldn’t be a problem for drilling printed circuit boards though. The PCB should be thin enough for the pivot to have little effect. After some test runs, he added a lamp for better lighting and intends to add a return spring and foot switch. It’s definitely a better solution than drilling multiple holes with a hand drill.
Annoy Your Friends With High Pitched Noise

[Hungry_Myst] has put together this fantastic device to annoy your friends. It randomly emits high pitched sounds, then stops for a while to make it very hard to locate. He has added an extra level of annoyance by putting the noise in vicinity of 17KHz thus making it almost undetectable by people over the age of 30. The fact that not everyone in the room can hear it makes people go even crazier trying to find it.
The parts list is fairly short, and the directions concise. One thing that is fantastic about this article is that he encourages people to improve it. That alone is not a huge deal, but he mentions in several areas specific additions that would make it more user friendly: on/off, pitch control, and delay control.
Related: [jay]’s Picaxe based Brain Assailant
1-wire Barometer

[David] put together this rather nice 1-wire barometer. An MPX4115 measures the pressure while an SMD DS2438 mounted to an 8 pin DIP socket provides the 1-wire interface. The writeup includes a nice description of the board layout and wiring, making this project accessible to just about anyone with a decent tip on their soldering iron.