Seb Lee-Delisle has built a career around large installations that use powerful lasers and high-end projects to make people happy. It’s a dream job that came to fruition through his multi-discipline skill set, his charismatic energy, and a mindset that drives him to see how he can push the boundaries of what is possible through live interaction.
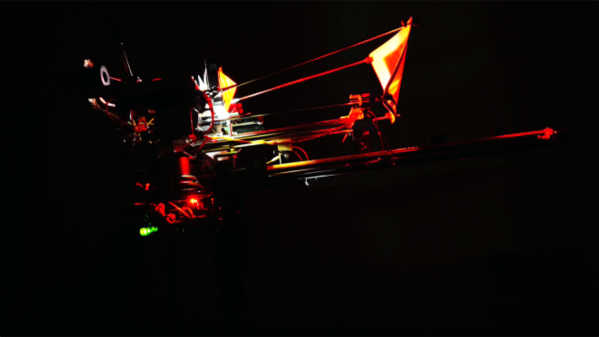
His talk at the Hackaday | Belgrade conference is about his Laser Light Synth project, but we’re glad he also takes a detour into some of the other installations he’s built. The synth itself involves some very interesting iterative design to end up with a capacitive touch audio keyboard that is lit with addressable LEDs. It controls a laser that projects shapes and images to go along with the music, which sounds great no matter who is at the keyboard thanks to some very creative coding. As the talk unfolds we also hear about his PixelPyros which is essentially a crowd-controlled laser fireworks show.
See his talk below and join us after the break for a few extra details.
Continue reading “Curiously Delightful Things Done With Lasers And Projectors”


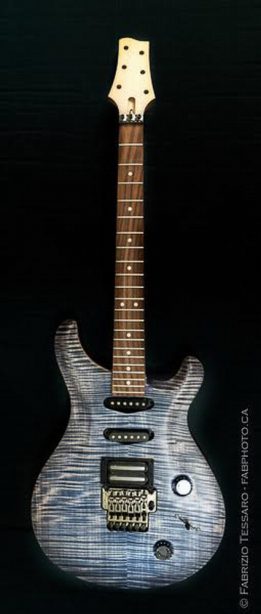 Cutting the slots in a guitar’s neck for the frets requires special tooling, and [Gord]’s contribution to his friend’s recent dive into lutherie was