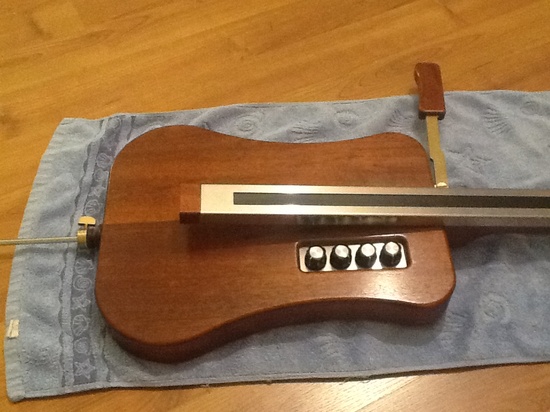
[Lee O’Donnell] is showing off his version of a MIDI organ pedal hack. We’ve been seeing a few of these lately. The organ pedals are a great stating point as they’re easy to patch into electronically, and are designed to take a beating from your feet and come out the other side no worse for wear. The build goes beyond one of our favorite MIDI pedal conversions in both features and finish.
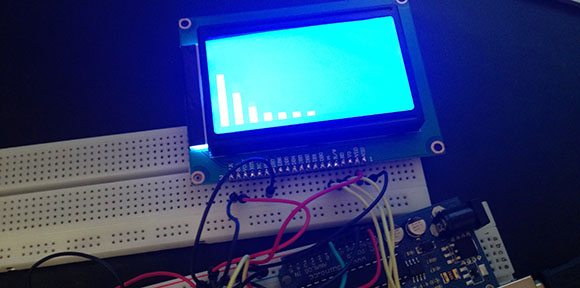
An Arduino Nano pulls this project together. It scans the pedals constantly and converts the key presses into MIDI signals. But the design includes this fabulous looking front-end which [Lee] first prototyped in cardboard before cutting and bending his own Aluminum tread plate. A two-row character display provides a menu system, but the buttons themselves act as feedback based on the behavior of the light inside each of them. One example of this is shown early in the demo video after the break. The blue button toggles between polyphonic and monophonic mode with the light fading in and out for the latter.
Continue reading “MIDI Pedal Project Looks As Good As It Sounds”