Resetting The Page Count On A Laser Printer

[Brian] really liked his Samsung color laser printer right up until it was time to replace the toner cartridges. A full set of toner cartridges sell for about the same price as the printer itself, so [Brian] figured he could simply refill the toner in the cartridges he already has. The printer sends out the ‘low toner’ warning  based on page count and won’t print if the page count is too high, negating the economy of a toner refill kit. Luckily, [Brian] figured out a dead simple way to reset the page count so he can use those third-party refill kits.

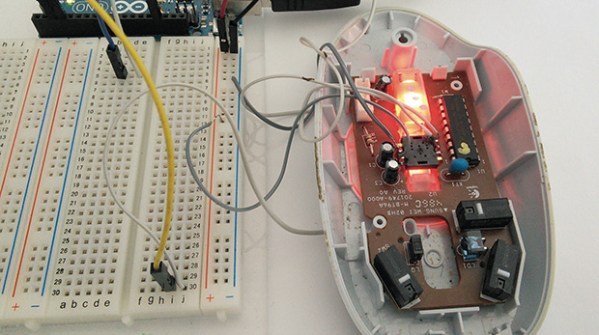
All the configuration settings and page counts for the printer are stored on an I2C EEPROM. After dumping the data held on this EEPROM with an Arduino and sniffing everything going into the EEPROM with a Bus Pirate, [Brian] was nearly at his wit’s end. Thankfully, serendipity intervened. When [Brian] restarted the printer with the Bus Pirate attached, he noticed it took much longer to initialize. Printing a configuration report, he was trilled to see that all page counts have been zeroed.

The final hack that allows [Brian] to reset the page count and used refilled toner cartridges is a simple wire that ties the SDA line of the EEPROM to ground on boot. [Brian] used a momentary switch, but given this is a once-every-few-months operation, a simple wire would suffice. Check out [Brian]’s page reset demo after the break.

Continue reading “Resetting The Page Count On A Laser Printer”

Control Your PC With A Remote

Because his computer is gradually turning into an all-inclusive media display device, [Shawn] figured a remote to control the volume and a video playlist would be a reasonable addition. TV remotes for computers have been around for years, but [Shawn] decided to go the DIY route and build his own computer remote.

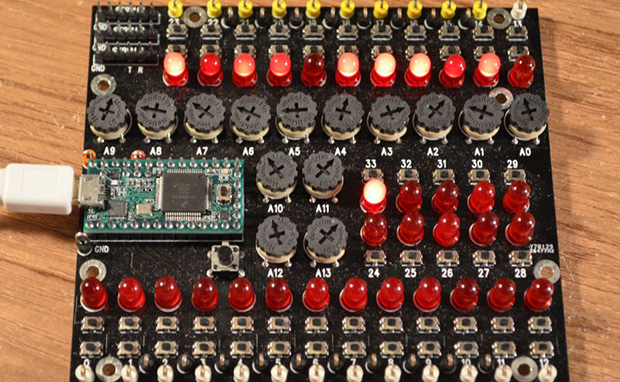
For the build, [Shawn] used a Teensy dev board with an IR receiver module and the requisite infrared remote library. To translate infrared signals to keyboard commands,[Shawn] decided to base his project off a previous build that used a small program called AutoHotKey.

Right now the build can cycle through a pre-defined YouTube and Shoutcast playlist and change the volume of the currently playing track. There’s also support for moving the mouse with directional buttons on the remote, but we’re wondering if a better implementation would be using the Windows multimedia keyboard scan codes that should be supported by [Shawn]’s laptop.

Still, [Shawn] managed a very nice build that would fit into our computer battlestations quite nicely. Check out the demo of the remote in action after the break.

Continue reading “Control Your PC With A Remote”

USB Slingshot Controller Is For The Birds

This USB slingshot controller really brought a smile to our faces. Part of it is the delightfully silly promo video you’ll find after the break. [Simon Ford] combined nature and technology to bring this USB-enabled slingshot into existence.

The frame itself is from a branch he found in the Epping Forrest of London. He whittled away the bark, and hollowed out an opening in at the base of the ‘Y’ to receive an accelerometer board. It has a pair of female pin headers to interface with the mbed seen in the image above. But the real hack here is the code he wrote to translate accelerometer data into appropriate mouse movements. His success in the area makes this translate the virtual world of Angry Birds in a visceral experience of killing things with a slingshot.

We’re suckers for this type of project. Two examples that pop into mind are these musical instrument hacks for Rock Band 2.

Continue reading “USB Slingshot Controller Is For The Birds”

Overbuilding An ITunes Rating System

Even though iTunes and it’s song rating system has been around for over a decade now, [Steve] still hasn’t gotten around to assigning ratings to his vast library of MP3s. We can’t blame him – who wants to pull up iTunes every four minutes and assign a star rating to each song individually? To solve this interface problem, [Steve] set out to design a hardware song rating interface that fell down the rabbit hole into development hell.

The build started off simply enough – just an Arduino attached to a few buttons that sends data to a Cocoa app which rates the current song. Everything was working wonderfully until [Steve] restarted his mac and the COM ports went to pot. Wanting a ‘plug-and-play’ solution, he did away with the Arduino-based build and started designing a USB device that would display the current iTunes track and provide hardware buttons for rating the current song.

The current build is based around a very capable PIC 18F4550 micro. After looking up the USB HID protocol, [Steve] had some boards fabricated. He’s keeping us waiting on a final build report, but with the amount of work that went into this project, we’re sure it’ll be a winner.

Doing It Right With A Morse Code Keyboard

Hackaday has seen dozens of Morse code keyboards over the years, but [Hudson] at NYC Resistor finally managed to give that idea the justice it deserves. He built a USB Morse code keyboard with the same type of telegraph key the pros use.

For his project, [Hudson] got his hands on a wonderful iambic paddle that is usually hooked up to CW rigs. Unlike previous Morse keyboards we’ve seen, [Hudson] used iambic paddles, a telegraph key with one lever for dits and another for dahs. Because the dits and dahs are separate electrical connections, it’s extremely easy for the microcontroller – a Teensy – to parse the Morse code and send the correct letter to the computer.

[Hudson] also added some audio feedback for the dits and dahs, and designed a laser-cut enclosure for the Teensy and speaker. Check out the video of the iambic keyer keyboard in action after the break.
Continue reading “Doing It Right With A Morse Code Keyboard”

Who Couldn’t Use A Little More Screen Space?

Text LCD’s are handy for any occasion, a printer port on your PC is also darn handy as well. Mix together and add in a splash of linux and you get a very handy Linux device driver for a 16×2 LCD connected to the parallel port.

Electrically the LCD is wired up in a typical 4 bit mode, this allows the parallel port to use its 8 bit data register to write data, but also control the Register Select and Enable pins. Next is to make a module for linux to use, it seems like pretty standard fair for this type of screen.

Make the driver, insert the module so it can be loaded, and add a node so you know where to find it later, and your only an “echo Hello > /dev/my_lcd” away from finding all sorts of creative uses for your new external display.

The PANIC Button Saves You From Bad Music

Having a communal music collection being played on random can be really fun. You experience new music and get to hear old favorites. However, not everyone shares the same taste. Sometimes, you absolutely need to just skip the song coming on, for the sake of everyone involved. That was how the Panic button was born.

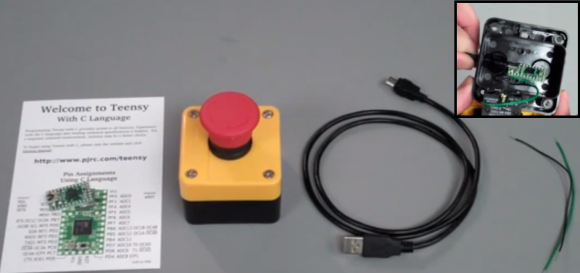
Starting with a joke panic button that would play an alarm sound, they promptly tore the guts out.  They inserted a minimus board, which has an AT90USB162 its brain, and includes onboard USB hardware.  When you slap the panic button, it emulates the key press that goes to the next track, thereby saving everyone from whatever monstrosity was threatening their ear drums.