[BeMasher] was dissatisfied with the cost of other solutions to read his smart meter, so he made a project to read it himself using an rtl-sdr dongle.
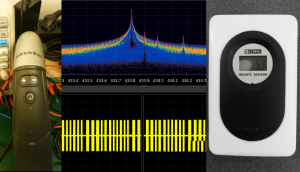
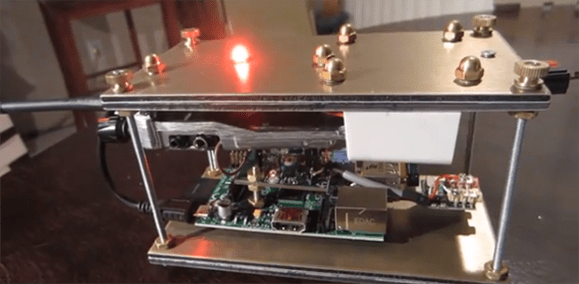
Using his hacking and reverse engineering skills along with a $20 RTL-SDR dongle, [BeMasher] wrote rtlamr to automatically detect and report the consumption information reported by smart meters within range. Though designed for his Itron C1SR, [BeMasher] claims that any electronic receiver transmitter (ERT) capable smart meter should work.
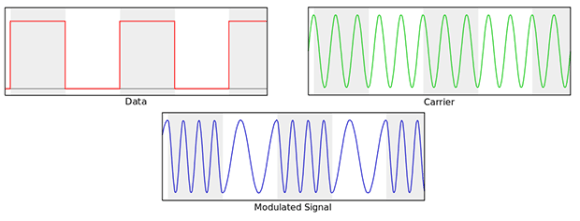
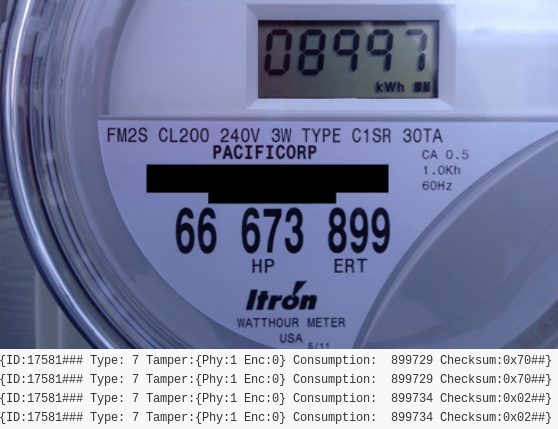
[BeMasher]’s Itron C1SR smart meter broadcasts both interval data and standard consumption in the 915MHz ISM band using a Manchester encoded, frequency hopping spread spectrum protocol. [BeMasher] used the RTL-SDR dongle to do the signal capture and analysed the resulting signal in software afterwards. [BeMasher] did a great job of going through the theory and implementation of analysing the resulting data capture, so be sure to check it for an in-depth analysis.
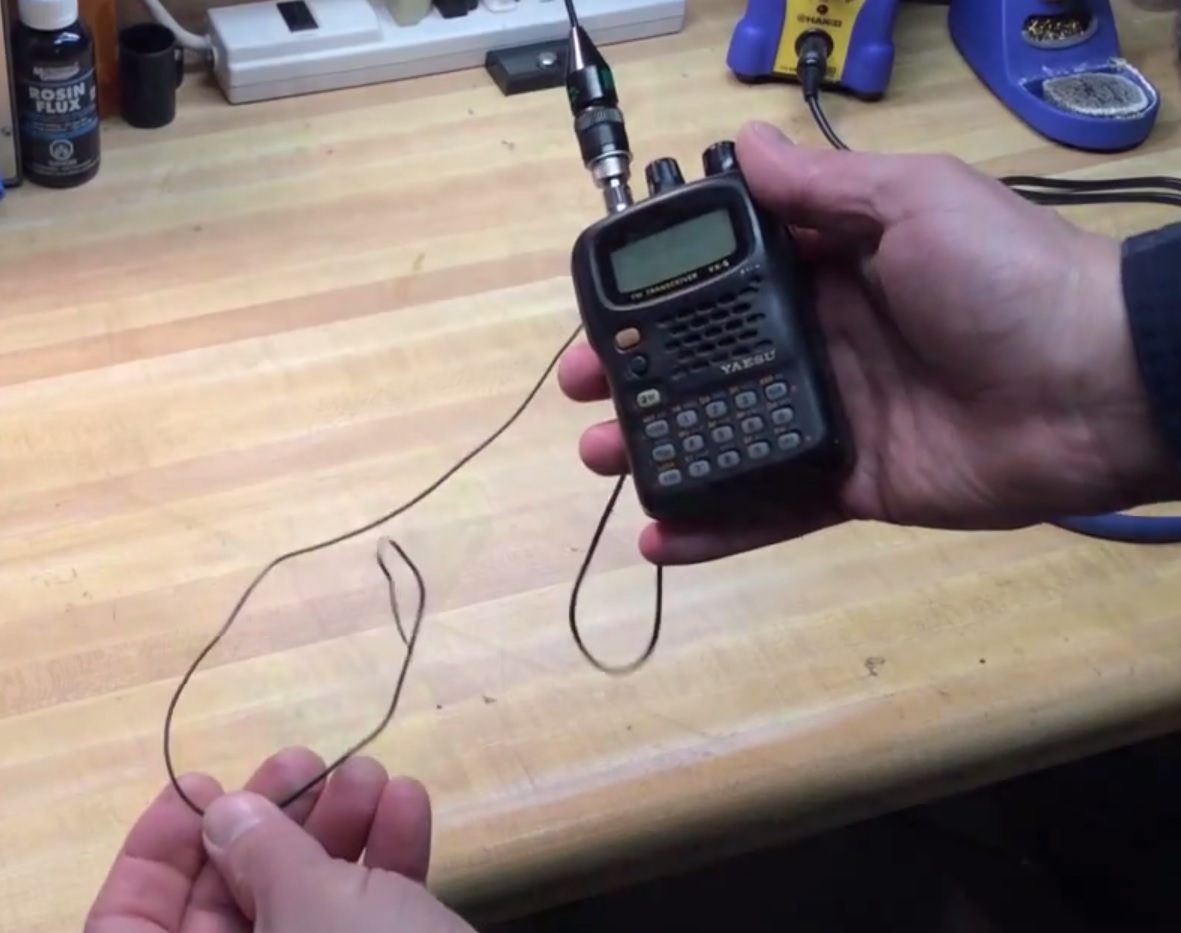
If the RTL-SDR dongles are too limited for you taste, you might want to check out some hacker friendly SDRs with a little more punch.