Ahh, toddlers. They’re as ham-fisted as they are curious. It’s difficult to have to say no when they want to touch and engage with the things that we love and want them to play with. [Shawn] feels this way about his son’s interest in the family Sonos system and engineered an elegant solution he calls Song Blocks.
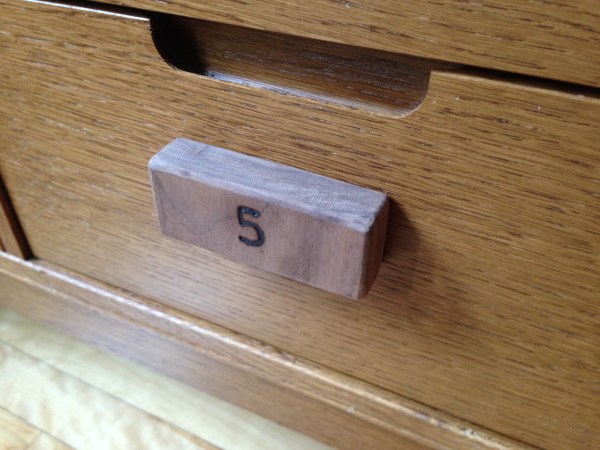
The Sonos sits on a dresser that hides a RasPi B+. Using bare walnut blocks numbered 1-12, his son can use the Sonos without actually touching it. Each block has a magnet and an NFC tag. When his son sticks a block on the face of the right drawer containing embedded magnets and an NFC controller board, the B+ reads the tag and plays the song. It also tweets the song selection and artist.
The blocks themselves are quite beautiful. [Shawn] numbered them with what look like Courier New stamps and then burned the numbers in with a soldering iron. His Python script is on the git, and he has links to the libraries used on his build page. The Song Blocks demo video is waiting for you after the jump.
Continue reading “Toddler Jukebox Requires No Quarters Or Button Mashing”