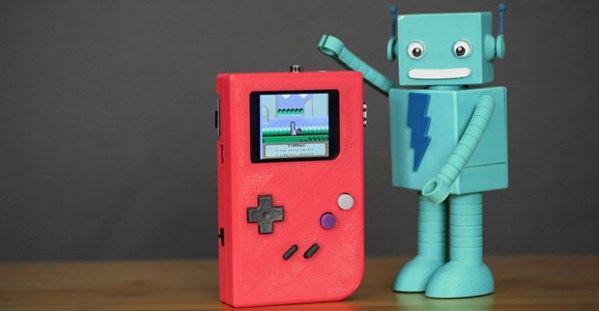
We’ve seen quite a few casemods that stuff a Raspberry Pi into a Game Boy with all the required to turn it into a very cool portable Pi and retro gaming device. Most of these builds use a modified 20-year-old Game Boy for the enclosure, and if you have an attachment to your old green screened friend, you might not want to cut it up for a Pi project. [Noe] over at Adafruit has a solution – a 3D printed Game Boy enclosure that turns a Pi and TFT screen into a barely pocketable Raspberry Pi, with all the buttons and batteries required for taking an installation of RetroPi on the road.
The PiGRRL, as this build is called, uses the Adafruit touchscreen TFT kit for the Pi, effectively turning the Pi into a very tiny tablet. This allows for normal desktop interaction with the Pi, and it’s also small enough to fit in the smallest of enclosures.
The 3D printed enclosure is the star of the show here, allowing complete access to most of the Pi’s ports, while allowing enough space in the rest of the enclosure for a largish battery, charging circuit, and buttons taken from an SNES controller.
The end result is a very usable portable Pi that just happens to be in the perfect form factor for loading up a few ROMs and playing some classic video games. Video below.
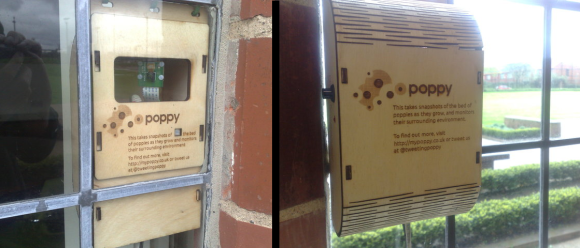
 A box containing sensors is installed in the flower bed. The intent of this project was not to have the Raspberry Pi spit out hard factual data regarding soil moistness, temperature and ambient noise, but to instead take that data from the sensors and send out a story-like narrative that makes the communication feel more personal. To receive these comments from the poppies, you can follow them on Twitter: @tweetingpoppy.
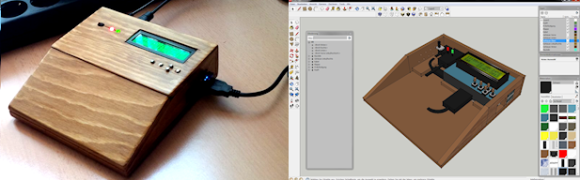
 While the most common use for a Raspberry Pi is probably a media center PC or retro game emulator, the Pi was designed as an educational computer meant to be an easy-to-use system in the hands of millions of students. Team 28 at Imperial College London certainly living up to the Raspberry Pi Foundation’s expectations