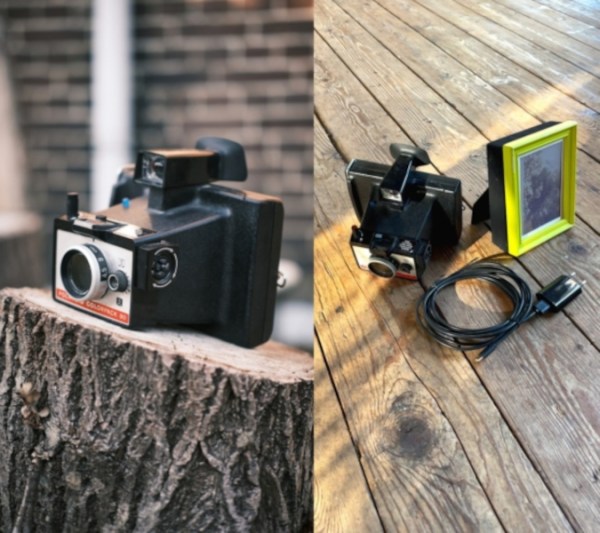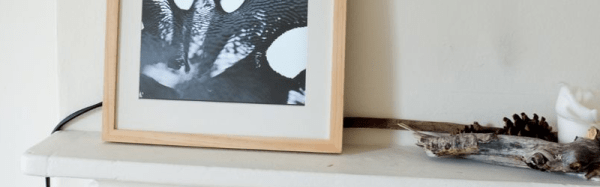
[Make Something] boasts he has made probably the fanciest picture frame you’ll ever see. He started with an original sign purchased on eBay and then made it to be bigger, brighter, and better. The frame is of solid walnut with back-lighting for the imagery all chasing that classic mid-century modern style. The backlit photo was taken the “hard way”, with an actual film camera and a road-trip to the picturesque site at Yellowstone. [Make Something] then developed the film himself in his home studio.
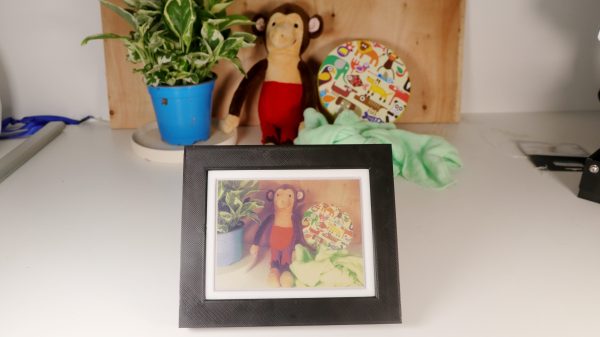
For the chimney [Make Something] used a new trick he learned in Autodesk Fusion: you take a photo of an object, convert to black and white, and then use the light/dark values to emboss or deboss a surface. To do this he took photos of the brick wall outside his shop and used that as the basis of the textured chimney he made with his 3D printer.
If you’re interested in other projects made from solid walnut, check out 3D Printed Spirograph Makes Art Out Of Walnut and Walnut Case Sets This Custom Arduino-Powered RPN Calculator Apart From The Crowd.
Continue reading “Ultimate Picture Frame Combines Walnut And 3D Printing”