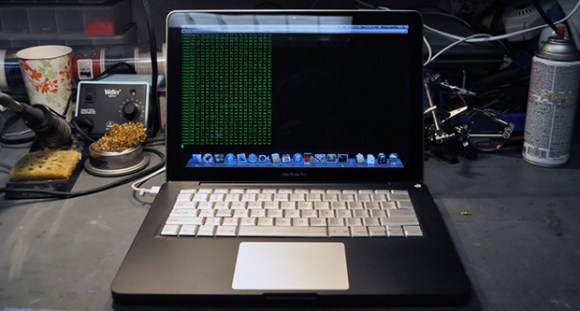
Something’s fishy about the above-pictured ultrabook: it’s an Asus Zenbook that [WarriorRocker] hacked to use a MagSafe power connector typically found on Macbooks. Most of us probably consider it standard procedure to poke around inside our desktop’s tower, but it takes some guts to radically alter such a shiny new ultrabook. It seems, however, that the Zenbook’s tiny power plug causes serious frustrations, and [WarriorRocker] was tired of dealing with them.
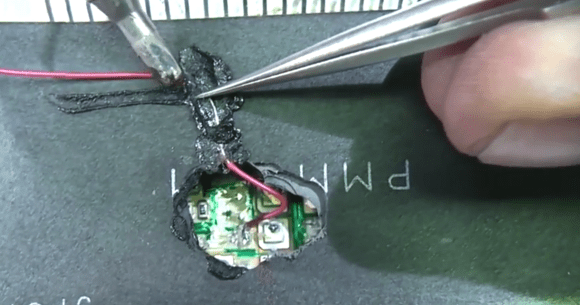
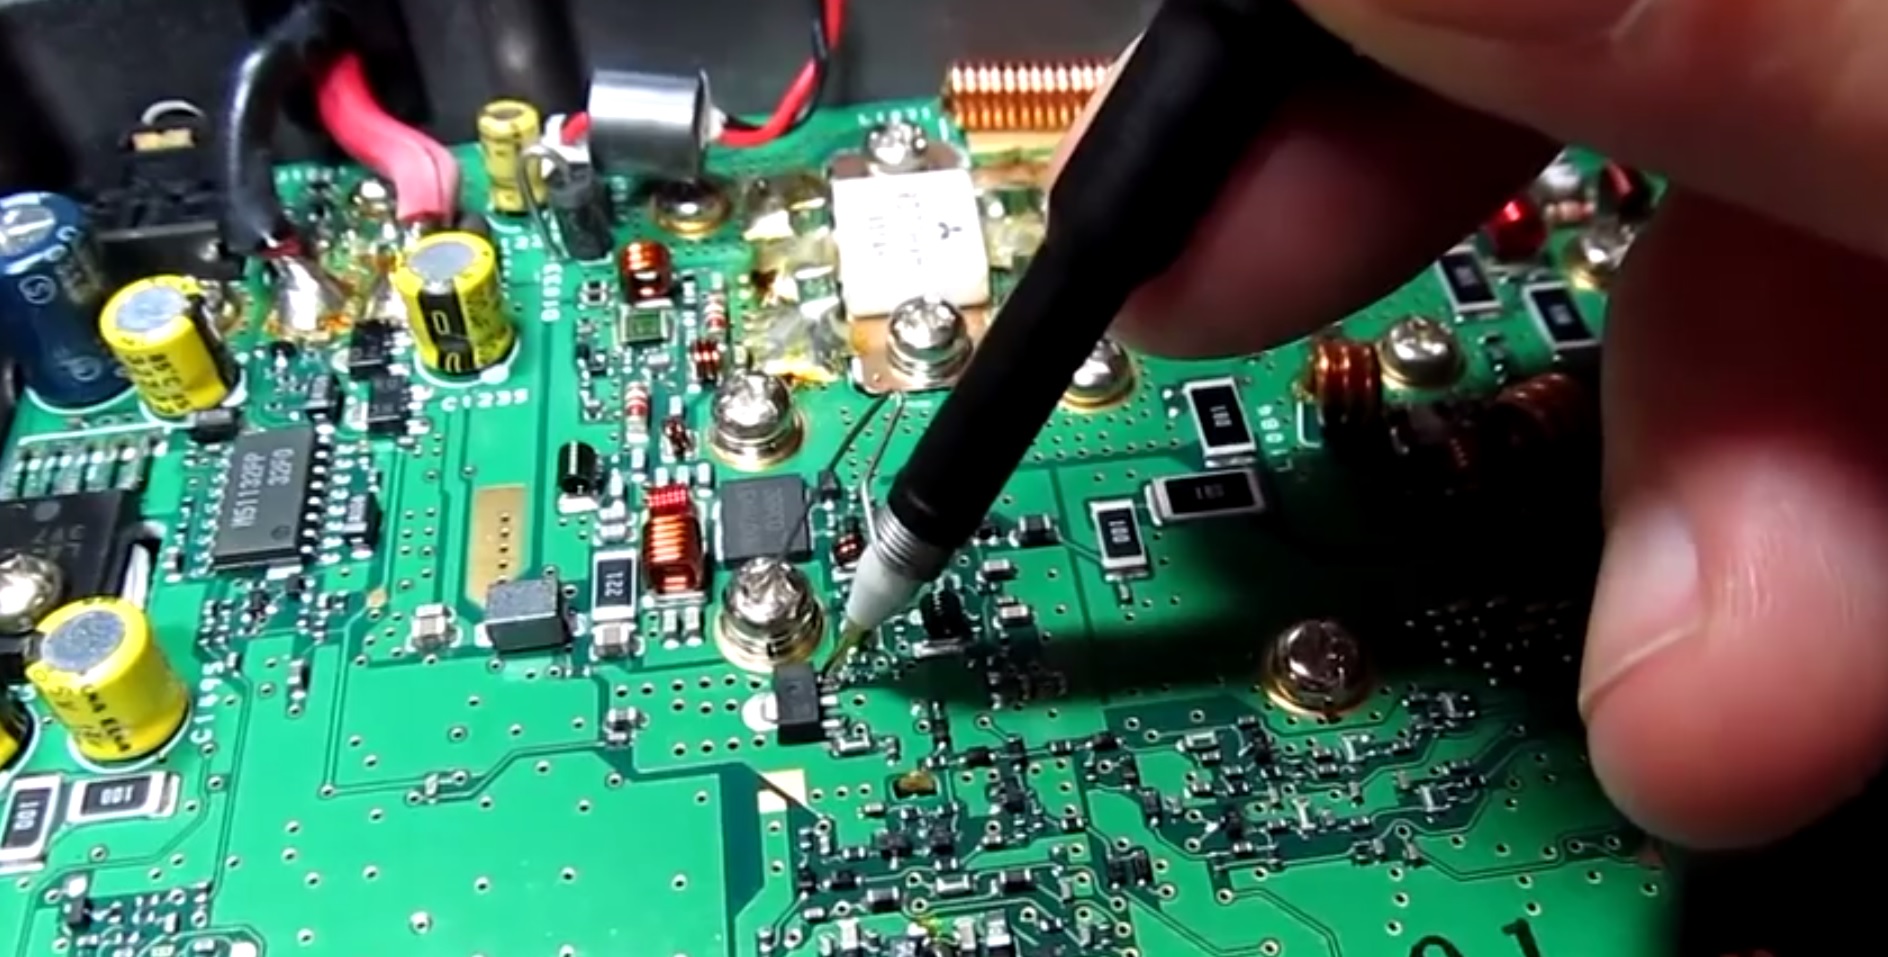
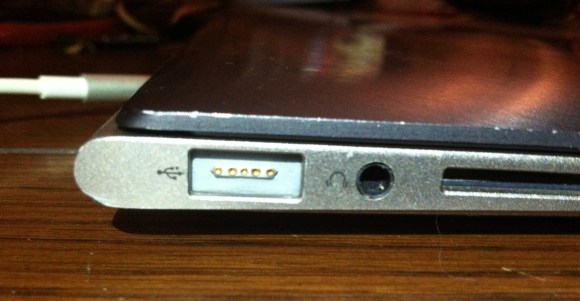
Using information he found from an article we featured earlier this summer on a MagSafe teardown, [WarriorRocker] hit up the parts drawer for some connectors and got to work. He had to modify the MagSafe’s housing to fit his Zenbook while still holding on to the magnets, but he managed to avoid modifying the ultrabook’s case—the connector is approximately the same size as a USB port. Deciding he could live with just one USB connection, [WarriorRocker] took to the board with a pair of side cutters and neatly carved out space for the MagSafe next to the audio jack. He then soldered it in place and ran wires from the VCC and Ground pins along a the channel where the WiFi antenna is routed, connecting them to the original power jack’s input pins.
[WarriorRocker] regrets that he fell short of his original goal of getting the MagSafe’s protocol working: he instead had to hack on his own adapter. We’re still rather impressed with how well his hack turned out, and it did manage to solve the charging problems. Hit us up in the comments if you can provide some insight into the MagSafe’s otherwise obscure innerworkings.