Building Your Own Replacement Refrigerator Thermostat

refrigerator_thermostat_repair

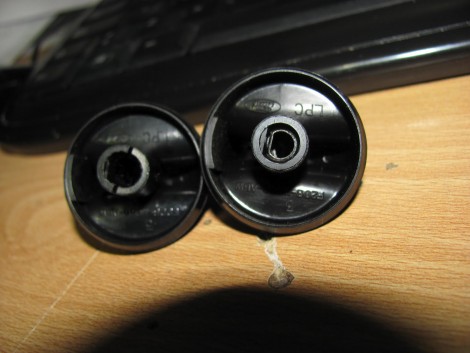
[Ron’s] refrigerator broke shortly after he came home from his weekly grocery trip, and since this was his second dead fridge in three years, he wanted to fix it rather than buy a new one…again. It turns out that the thermostat was toast, and a replacement would cost him $80. That was well more than he was willing to pay, but his groceries were starting to get warm, so he had to do something.

Being the tinkerer he is, he figured he could rig up his own thermostat that would work at least as well as the one that died on him. He scavenged an ATmega328 from a failed project, and after digging around online, put together the most barebones Arduino setup he could find. The microcontroller is tucked away in the back of the refrigerator where the old thermostat used to live, and takes input from a TMP36 temperature sensor, triggering a relay to start the refrigerator’s compressor whenever the the temp goes above 4°C.

[Ron] says his fix is just about the “worst kludge ever”, but as he saved $80 in parts and $150 in labor, we’re inclined to think it’s a job well done.

Retrofitting A 60-year Old Electric Heater

electric_heater_retrofit

[John] found an old Kenmore electric heater at a junk store one day, and thought it would look great in his bathroom. The only problem with the unit is that it was built back in the 1940s/1950s, so it lacked any sort of modern safeguards that you would expect from an indoor heater. There was no on/off switch, no fuse, no thermostat, and no tip switch – though it did have a nice, flammable cloth-covered power cord.

Since [John] wasn’t too keen on burning his house down in the name of staying warm, he decided to retrofit the old unit’s shell with a new ceramic heater. He found a $20 unit that looked like it would fit, so he disassembled both heaters and got to work. The Kenmore’s innards were scrapped, then he gave the unit a nice fresh coat of high-temp paint. The new heater was cut to fit inside the old unit’s shell, controls and safety features intact.

He says that it works very well, and that it looks great in his bathroom. If you’re considering doing something similar, be sure to check out his writeup – it is very thorough and has plenty of details that will help you along the way.

Repairing The Blue Canary In The Outlet By The Light Switch

blue_canary_in_the_outlet_by_the_lightswitch

[Vince] and his wife are big fans of [They Might be Giants], so when they were perusing their local Target one evening and stumbled upon a blue canary nightlight, they bought it immediately. While the nightlight was easy for his toddler to use, the LEDs inside started to dim after about a month, and eventually they started flickering like mad as you can see in the video below. A battery swap didn’t remedy the problem, and instead of returning it, [Vince] decided to try fixing it himself.

After poring over the device’s simple circuit, he couldn’t figure out any reason why the nightlight would start behaving like it did. He did notice that a resistor was left out of the device, likely as a cost-cutting measure, so he added one in before replacing both of the nightlight’s LEDs.

With his simple tweak, the nightlight was better than new, saving him from what would likely be a string of annoying merchandise exchanges.

Continue reading “Repairing The Blue Canary In The Outlet By The Light Switch”

Transformer-based PSU Repair

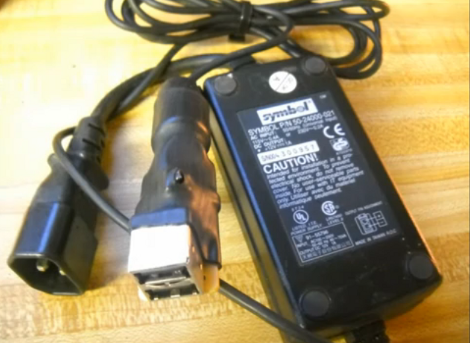
Repairing someone else’s design mistakes is much more difficult than starting from scratch. So whenever we come across someone who’s good at this type of trouble-shooting we pay attention. [Jim] had a Sangean HDR-1 in his home. It’s a tabletop HD radio that stopped powering up for some reason. He cracked it open and got to the bottom of the problem.

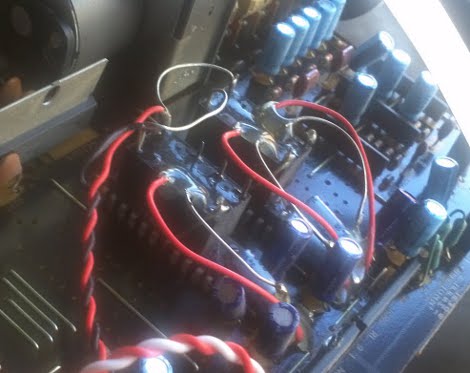
The first order of business is disassembly, which isn’t too hard with this model. With multimeter in hand he started probing the transformer and found that the contacts for the primary are an open circuit; signaling a problem. There’s no inline fuse for protection, and further study of the secondary winding let him to discover the use of 1N5817 diodes. These are underrated parts for this particular transformer. He replaced them with 1N4003 diodes to bring the device in spec. But there was still the issue of fuse protections. A bit of circuit free-forming allowed him add a fuse and varistor  by soldering the directly to the transformer’s contacts.

Why stop there? While [Jim] had the case open he also swapped out the low-end op-amp and a few electrolytic capacitors to improve the sound quality of the radio. Op-amp replacement seems to be a popular way to improve the sound from HD radios.

A Simple Fix To Resurrect Your Broken Iclicker

simple_iclicker_battery_fix

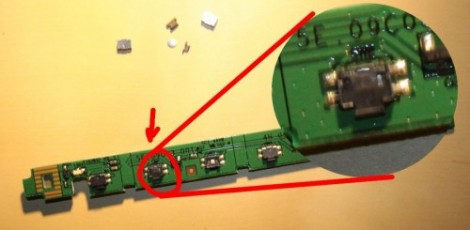
If you are currently attending college, the odds are that you are familiar with iclicker classroom remotes. If you have one of these, you might also be aware that they tend to be flaky at times, particularly when it comes to powering on. [Todd] received a few “broken” iclickers lately and has found an easy to fix design issue that might possibly save yours (and others) from the trash heap.

When he started pulling the units apart to diagnose them, he noticed that something with the battery contacts was not quite right. They are held in place by the device’s plastic shell which is pretty common, however in the iclicker, the portion of the plastic case that holds the positive battery contact is too big, preventing some batteries from making a complete circuit.

Now you might be thinking to yourself that AA batteries are all the same, but they are not necessarily created equal. Through a small bit of testing, [Todd] found that many different batteries experienced intermittent connectivity issues depending on the height of the positive terminal, and that due to their design, Duracell batteries flat out didn’t work. With the careful removal of a portion of the plastic surrounding the positive contact, [Todd] was able to fix each of his “broken” remotes.

He hopes that this information helps some people resurrect their non-functioning units, because a few minutes work sure beats buying another $30 iclicker.

Salvaging A Commercial-grade Pick And Place Machine

Why build a pick and place machine from the ground up when you can start with a full featured, but non-functional unit, and bring it back to life. That’s exactly what [Charliex] is doing with this Juki 360 rebuild.

A bit of background is in order here. [Charliex] is working alongside other hackers at Null Space Labs to restore this hardware. The Los Angeles based hackerspace sponsored the hardware badges at this year’s LayerOne, each of which was hand assembled. They’d like to avoid that tedium next year, which led to this project.

The seller of the used Juki 360 listed it in working condition, but it seems that they were polishing a turd since it is basically non-functional. The link at the top of this post is the second testimonial of their work so far. It covers the use of an Arduino board as a replacement interface, as well as a bunch of sensor repair, pneumatic testing, and motor driver firmware tweaking. If you’d like to see the initial teardown and hardware diagnostics don’t miss the first post in their adventure.

Water Vortex Exhibit Repair Gives A Look At The Bearing And Gasket Design

[Ben Krasnow’s] water vortex machine has been an exhibit in the lobby of the San Jose City Hall for quite some time now. Unfortuantely he recently had to perform some repair work on it due to the parts inside the water chamber rusting.

This is the same water vortex that we saw about a year ago. It uses a power drill to drive an impeller at the bottom of a water column to produce the vortex. That impeller was made from painted steel and after being submerged for eight months it began rusting, which discolored the water. [Ben’s] repair process, which you can watch after the break, replaces the shaft and the impeller. He reused a plastic PC cooling fan as the new impeller. The replacement shaft is stainless steel, as is all of the mounting hardware that will be in contact with water. But for us, the most interesting part of the repair is his explanation of the shaft gasket and bearings. Two thrust bearings and two radial bearings ensure that the shaft cannot move axially, which would cause a problem with the gasket. He had intended to swap out the oil seal for an all Teflon seal but the machined acrylic wasn’t conducive to the part swap. Instead, he replaced it with the same type of gasket, but bolstered the new one with some silicone to stave off corrosion.

Continue reading “Water Vortex Exhibit Repair Gives A Look At The Bearing And Gasket Design”