For years the proprietary spline pattern of rc servos has been a dealbreaker for hobbyists who want to add custom shafts and gears to their servos. First, different servo sizes have different spline sizes, and each vendor equips their servos with different patterns. True, some special vendors sell custom gears that mate to these patterns, but, overall, the hard-to-replicate pattern has severely limited the output options for servos.
This pattern didn’t deter [JB], however. With some clever CAD skills, and two working implementations, he’s demonstrated that these spline patterns can be (1) harvested and (2) added into custom components, opening a new suite of design opportunities involving servos.
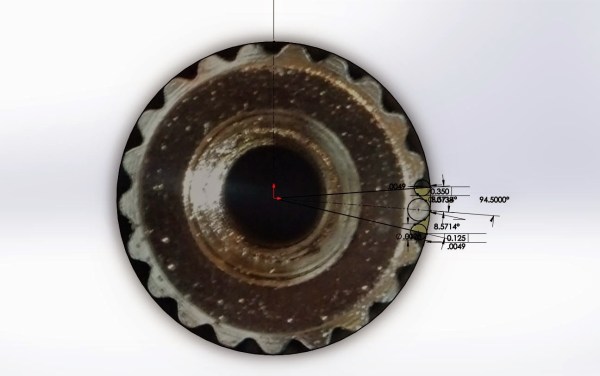
To capture the spline, [JB] imports an image into Solidworks, and traces the pattern on a properly scaled image. From there, he can embed this pattern directly into a physical model for fabrication.
To make parts that preserve this pattern, [JB] has two options. With his FormLabs printer, he can print components that already have the pattern feature, allowing him to press-fit custom links directly onto servos. Alternatively, for a sturdier component, he presents the milling method. With this technique, he drills a circle of bolt holes onto the desired output shaft and then mills out the center. From here, the shaft can also be directly pressed onto the servo spline where each spline groove fits snugly into the edge of the previously-drilled holes.
So, how well do they work? According to [JB] he’s actually managed to do some damage to himself before damaging to the 3D-printed part while trying to strip the pattern. The end-goal is to insert these shafts into transmissions for a miniature combat robot, another one of [JB’s] projects which is well-underway. Until then, we’re looking forward to seeing more servos tightly-integrated into upcoming projects.
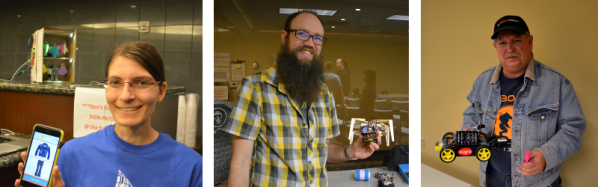
![[Claire] demonstrating robotic closet demo and app](https://i0.wp.com/hackaday.com/wp-content/uploads/2015/01/dsc_0378.jpg?w=540&h=360&ssl=1 "DSC_0378")


![[Nathan Bryant] and robot](https://i0.wp.com/hackaday.com/wp-content/uploads/2015/01/dsc_03961.jpg?w=530&h=353&ssl=1 "DSC_0396")

![[Joe Carson] and robot](https://i0.wp.com/hackaday.com/wp-content/uploads/2015/01/dsc_0390.jpg?w=262&h=174&ssl=1 "DSC_0390")


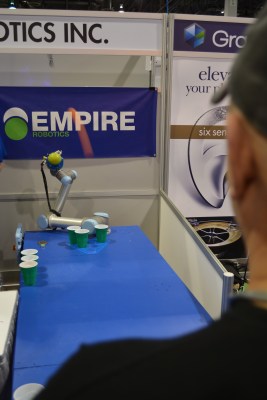 Wandering the aisles of Eureka Park, the startup area of the Consumer Electronics Show, I spotted a mob of people and sauntered over to see what the excitement was all about. Peeking over this gentleman’s shoulder I realized he was getting spanked at Beer Pong… by a robot!