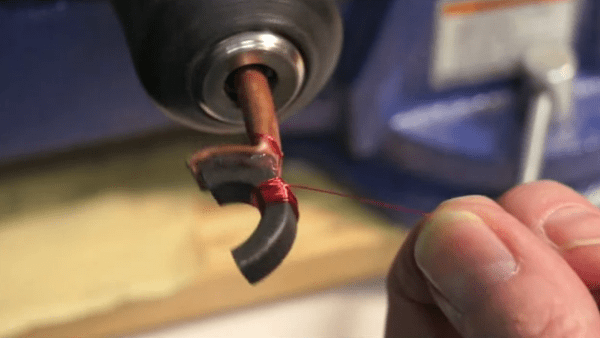
[Jay] was looking for a way to make his own vias on homemade double-sided PCBs when he stumbled across this post from about five years ago. The technique shown here makes mechanical vias and was developed by [Retromaster]. There’s no soldering involved, instead he uses some solid core copper wire and a press to crush it tightly against the board.
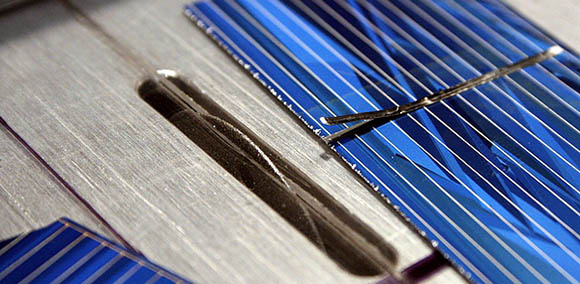
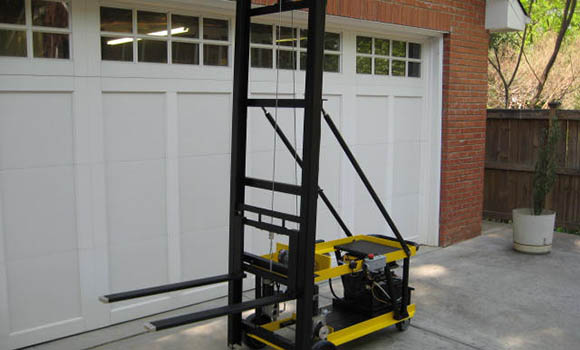
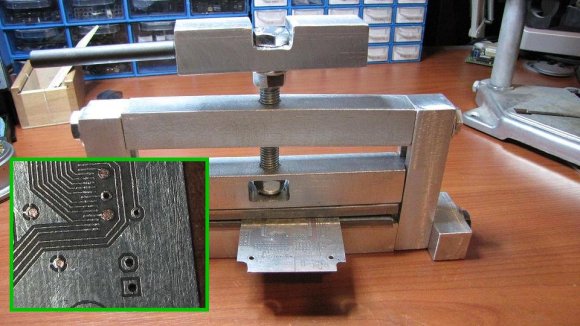
The press is made from aluminum stock, with a couple of plates of stainless steel which come in contact with the board. The aluminum stock is easy to work with, but it’s relatively soft which is the reason for the addition of steel. He uses copper wire which already fits tightly in the hole through the substrate. After clipping off the excess as near to the board as possible a trip through the press leaves each side flat as shown in the inset image.
We looked through some of the other projects we’ve seen from [Retromaster] like the Atari 2600 in an FPGA and this emulated Amiga floppy drive. But we didn’t see any diy boards where he used this crushing technique.