[Mr_GreenCoat] is studying engineering. His thermodynamics teacher agreed with the stance that engineering is best learned through experimentation, and tasked [Mr_GreenCoat]’s group with the construction of a vacuum chamber to prove that the boiling point of a liquid goes down with the pressure it is exposed to.
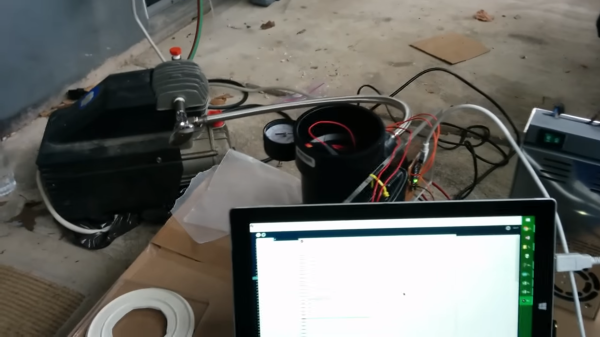
His group used black PVC pipe to construct their chamber. They used an air compressor to generate the vacuum. The lid is a sheet of lexan with a silicone disk. We’ve covered these sorts of designs before. Since a vacuum chamber is at max going to suffer 14.9 ish psi distributed load on the outside there’s no real worry of their design going too horribly wrong.
The interesting part of the build is the hardware and software built to boil the water and log the temperatures and pressures. Science isn’t done until something is written down after all. They have a power resistor and a temperature probe inside of the chamber. The temperature over time is logged using an Arduino and a bit of processing code.
In the end their experiment matched what they had been learning in class. The current laws of thermodynamics are still in effect — all is right in the universe — and these poor students can probably save some money and get along with an old edition of the textbook. Video after the break.
Continue reading “DIY Vacuum Chamber Proves Thermodynamics Professor Isn’t Making It All Up”