The Thinking Cap is a piece of wearable signage that lets you display what’s on your mind. The hat uses a Teensy 2.0 connected to a Bluetooth radio to allow the wearer to update the message on the fly, letting the room know what their thinking at that instant.
This hack is based off of LPD8806 controlled LED strips, which are becoming very popular for adding lots of LEDs to anything. There are five strips that need to be controlled over SPI, but the Teensy only has one SPI peripheral.
This lead to the use of multiplexer to allow for controlling each strip individually. The hat uses an interesting and low cost scheme to multiplex five channels using two 744052 dual 4 channel multiplexors and a 7400 inverter.
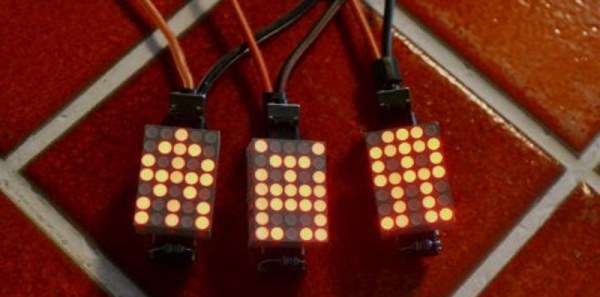
The Teensy can receive messages using the Bluetooth serial port protocol. The 5 x 7 pixel characters are stored in a framebuffer, and shifted around the hat to create the animation.
The result is a bright message circling around the user’s head, which can be updated with a smartphone over Bluetooth. Check out a video demo of the hat after the break.